
Last updated: June 17, 2026
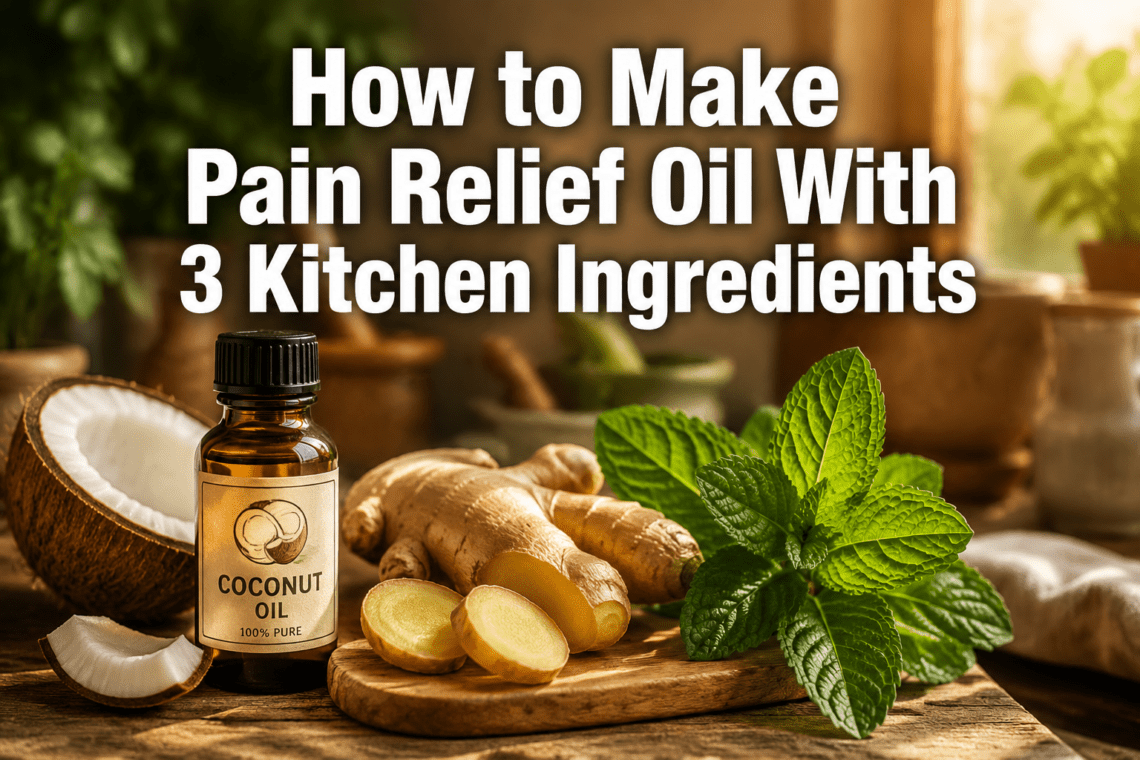
Quick Answer: To make pain relief oil at home, combine a carrier oil (like coconut oil) with cayenne pepper and a few drops of peppermint essential oil. Warm the mixture gently, strain if needed, and apply directly to sore muscles. This three-ingredient blend works by combining capsaicin’s pain-blocking heat with peppermint’s cooling menthol effect, and it takes less than 15 minutes to prepare.
Key Takeaways
- Three core ingredients – coconut oil, cayenne pepper, and peppermint essential oil – are enough to make an effective homemade muscle pain relief oil
- Cayenne contains capsaicin, which research supports as a topical pain-blocking compound [4]
- Peppermint essential oil provides a cooling, anti-inflammatory effect on sore muscles [5]
- Coconut oil acts as a safe, skin-nourishing carrier that helps the active ingredients absorb properly
- Homemade pain relief oil costs roughly $3-6 per batch, compared to $15-30 for store-bought alternatives
- Shelf life is approximately 3-6 months when stored in a cool, dark place in an airtight glass jar
- Always do a patch test first, especially if you have sensitive skin or known allergies
- This oil is suitable for post-workout recovery, general muscle soreness, and mild joint stiffness
- Not recommended for open wounds, broken skin, or use near eyes and mucous membranes
- People with sensitive skin should reduce cayenne pepper to half the standard amount

What Ingredients Work Best for Homemade Muscle Pain Relief Oil
The three best kitchen ingredients for a homemade pain relief oil are coconut oil (carrier), cayenne pepper (active pain blocker), and peppermint essential oil (cooling anti-inflammatory). Each ingredient plays a specific role, and together they cover both the warming and cooling sensations that help ease muscle pain.
Here’s why each one earns its place:
Coconut oil (carrier base)
- Absorbs into skin without leaving a heavy residue
- Has mild anti-inflammatory properties on its own
- Solid at room temperature, so it’s easy to measure and control consistency
- Works as a safe dilution base for stronger active ingredients [3]
Cayenne pepper (active heat agent)
- Contains capsaicin, a compound that temporarily reduces the substance P neurotransmitter responsible for sending pain signals [4]
- Creates a warming sensation that increases local blood flow
- Widely used in commercial pain creams for the same reason
Peppermint essential oil (cooling counterbalance)
- Contains menthol, which activates cold receptors in the skin and creates a natural cooling effect
- Has been noted in herbal medicine for its antispasmodic properties, helping relax tight muscles [5]
- Adds a pleasant scent that makes the oil more enjoyable to use
Optional additions that boost effectiveness:
- A few drops of eucalyptus oil for deeper penetration [6]
- A pinch of ginger powder for extra warmth and circulation support [7]
- Lavender essential oil if you want a calming, sleep-friendly version [8]
“The combination of a warming agent like cayenne and a cooling agent like peppermint creates what herbalists call a ‘counterirritant’ effect – it essentially distracts your nervous system from the deeper muscle pain.”
How to Make Pain Relief Oil Step by Step
Making this oil takes about 10-15 minutes and requires no special equipment. Here’s the exact process I use at home after leg day or a long hike.
What you’ll need:
- 4 tablespoons coconut oil (melted)
- 1/2 teaspoon cayenne pepper powder
- 10-15 drops peppermint essential oil
- A small glass jar or amber dropper bottle
- A fine mesh strainer or cheesecloth
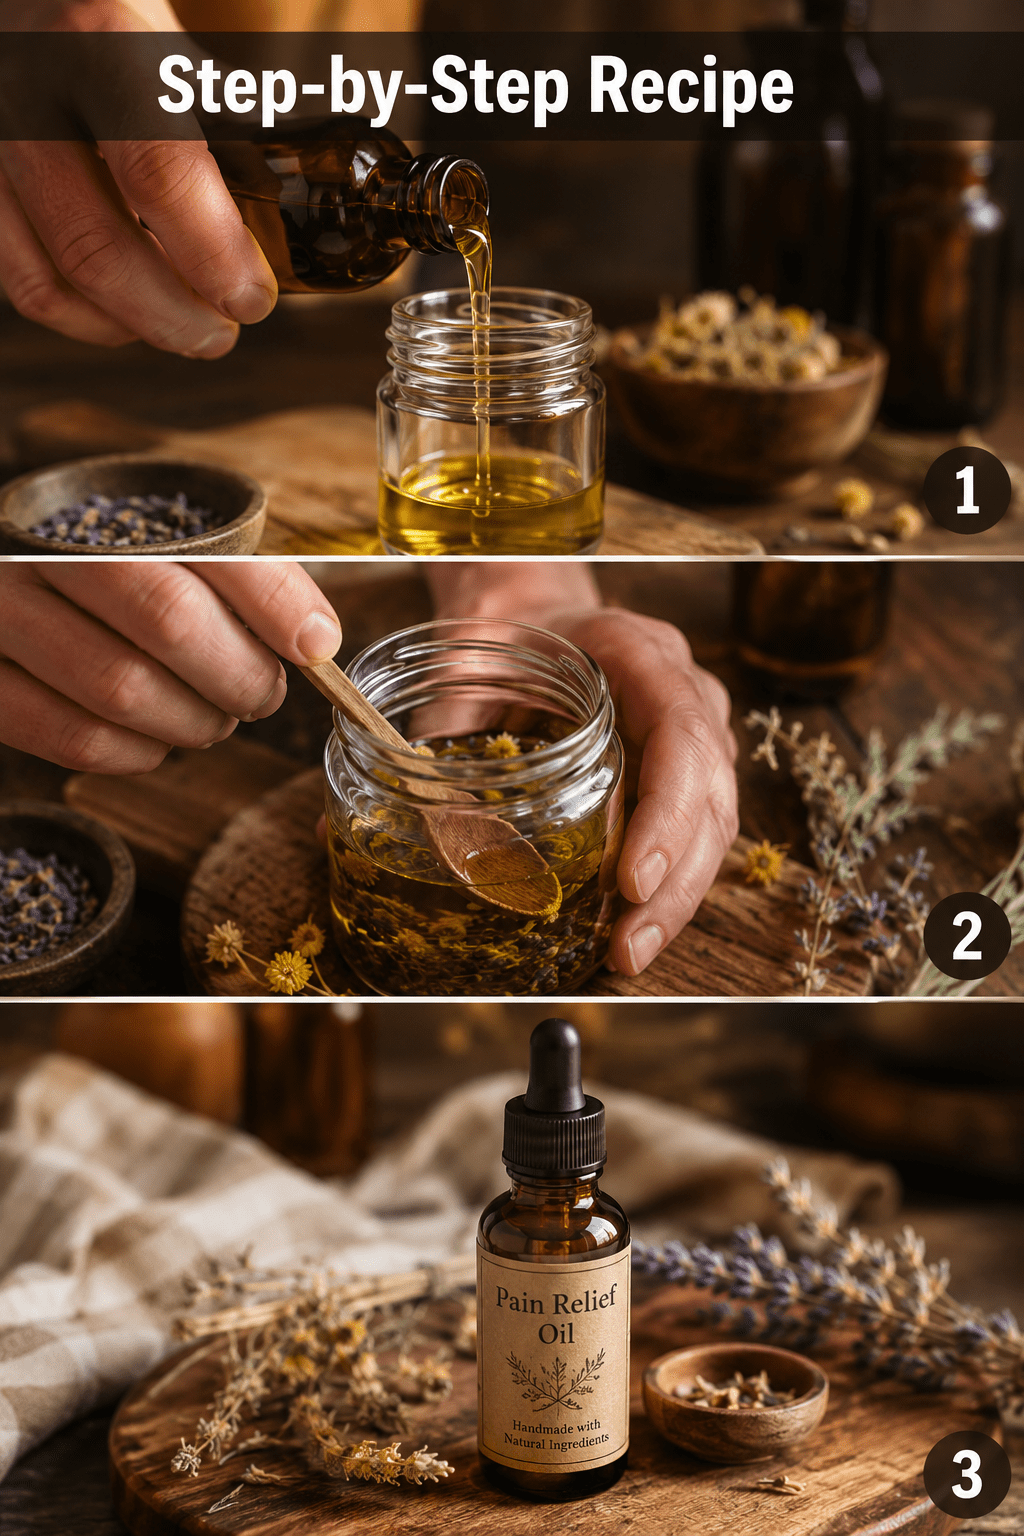
Steps:
- Melt the coconut oil gently in a small saucepan on low heat. Don’t let it boil – you just want it liquid.
- Stir in the cayenne pepper and let it infuse on the lowest heat setting for 5-7 minutes, stirring occasionally.
- Remove from heat and let it cool for 2-3 minutes (you don’t want to add essential oils to boiling oil, as heat destroys their active compounds).
- Add the peppermint essential oil and stir well.
- Strain the mixture through cheesecloth or a fine strainer into your glass jar to remove any cayenne particles that could irritate skin.
- Let it cool completely before sealing. It will re-solidify slightly at room temperature.
- Label with the date and store in a cool, dark cupboard.
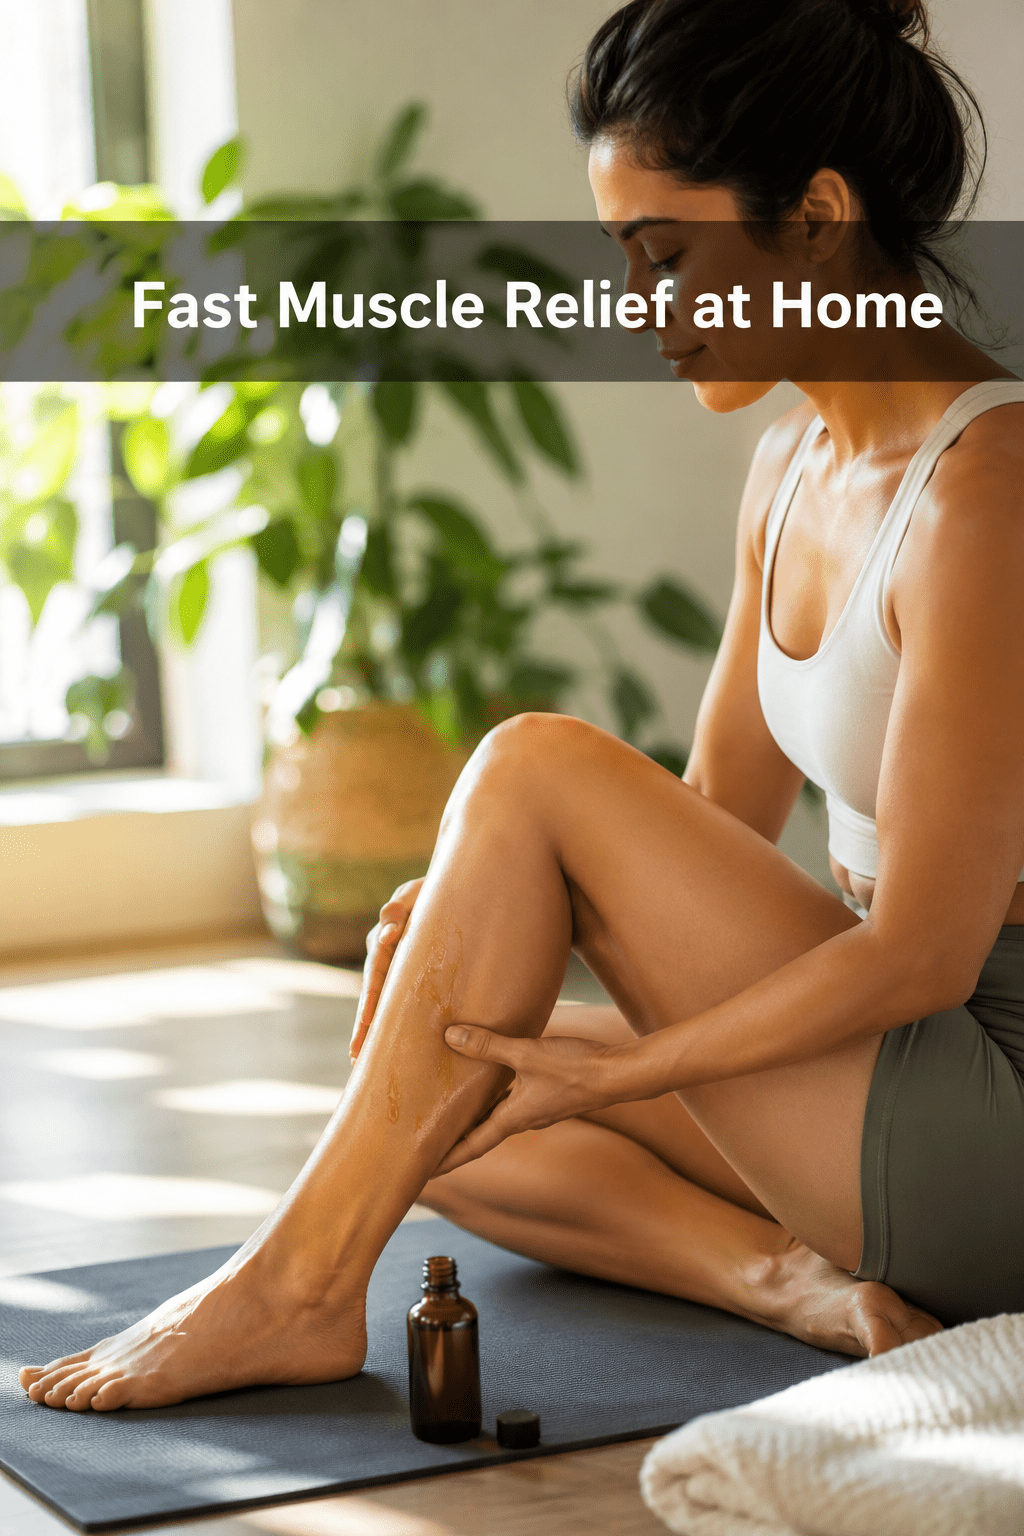
Application: Scoop a small amount (about a dime-sized portion), warm it between your palms, and massage into the sore area for 2-3 minutes. Wash your hands immediately after – especially before touching your face or eyes.
For a thicker, salve-like version of this recipe, check out this DIY pain relief salve recipe ready in 15 minutes that uses beeswax for a firmer texture.
How Much Does It Cost to Make Your Own Pain Relief Oil
Making your own pain relief oil costs roughly $3-6 per batch (approximately 4 oz), compared to $15-30 for a similar-sized commercial product. The upfront cost of buying ingredients is higher, but each bottle of essential oil and bag of cayenne pepper makes many batches.
Cost breakdown (approximate, 2026 US prices):
| Ingredient | Estimated Cost | Batches Per Purchase |
|---|---|---|
| Coconut oil (16 oz jar) | $8-10 | 10-12 batches |
| Cayenne pepper (2 oz) | $3-5 | 15+ batches |
| Peppermint essential oil (10 ml) | $6-10 | 8-10 batches |
| Glass jar or bottle | $1-2 | One-time cost |
Per-batch cost estimate: Once you have the supplies, each new batch costs about $1-3 in ingredients. That’s a significant saving over store-bought options that often contain the same core active compounds.
Can You Use This Oil for Arthritis Pain or Just Muscle Soreness
This homemade pain relief oil works for both muscle soreness and mild arthritis joint pain, but it’s more consistently effective for muscle-related discomfort. The capsaicin in cayenne pepper has been studied specifically for osteoarthritis pain relief, and topical capsaicin is an ingredient in several FDA-approved pain products [4].
Best uses:
- Post-workout muscle soreness (DOMS)
- Lower back tightness
- Neck and shoulder tension
- Mild knee or elbow joint stiffness
- Plantar fasciitis discomfort
Less effective for:
- Severe inflammatory arthritis (rheumatoid arthritis) – consult a doctor
- Deep nerve pain
- Acute injury with swelling – ice and rest first
For more targeted joint and muscle relief options, the DIY warming muscle rub recipe on this site uses a similar base with added ginger for extra joint support.
Are There Any Risks or Side Effects of Making Your Own Pain Relief Oil
The main risks are skin irritation from cayenne pepper, allergic reactions to essential oils, and accidental eye contact. These are manageable with a simple patch test and careful application. Homemade pain relief oil is generally safe for most adults when made and used correctly [4].
Key precautions:
- Always patch test first – apply a small amount to your inner wrist and wait 24 hours before full use
- Never apply to broken skin, wounds, or rashes – cayenne will cause a burning sensation
- Keep away from eyes, nose, and mouth – wash hands immediately after applying
- Avoid use during pregnancy without consulting a healthcare provider
- Don’t use on children under 12 without medical advice
- If you’re on blood thinners, check with your doctor before regular use of cayenne-based topicals
Common side effect: A temporary burning or tingling sensation from the cayenne is normal and expected. It usually fades within 20-30 minutes. If it becomes unbearable, wash the area with soap and water (not just water – oil needs soap to remove).
Which Essential Oils Are Most Effective for Muscle Pain
Peppermint, eucalyptus, and lavender are the three most well-supported essential oils for muscle pain relief. Each works through a different mechanism, so combining two or three gives better results than using just one [5][8][10].
| Essential Oil | Primary Benefit | Best For |
|---|---|---|
| Peppermint | Cooling, antispasmodic | Tight muscles, cramps |
| Eucalyptus | Anti-inflammatory, penetrating | Deep muscle aches |
| Lavender | Calming, mild analgesic | Stress-related tension |
| Camphor | Warming and cooling dual effect | Stiffness, joint pain [6] |
| Clove | Strong numbing effect | Localized sharp pain [7] |
For the basic 3-ingredient recipe, peppermint is the best single choice because it’s widely available, affordable, and has both cooling and antispasmodic effects. If you want to level up, adding 5 drops of eucalyptus alongside the peppermint noticeably improves results for deep muscle soreness.
You might also enjoy this DIY Tiger Balm recipe for headaches and sore muscles which uses a similar essential oil blend in a firmer base.
How Long Does Homemade Pain Relief Oil Last Before Going Bad
A properly stored homemade pain relief oil lasts 3-6 months. The limiting factor is the coconut oil carrier, which can go rancid over time. Essential oils themselves have a longer shelf life, but once blended with a carrier oil, the clock starts ticking [7].
Storage tips to maximize shelf life:
- Use a dark amber or cobalt glass bottle (UV light degrades oils faster)
- Store in a cool, dark cupboard – not in a bathroom cabinet where humidity fluctuates
- Always use a clean, dry spoon or dropper to scoop the oil (water contamination causes faster spoilage)
- Add 400 IU of vitamin E oil (a natural preservative) to extend shelf life by 1-2 months
Signs your oil has gone bad:
- Rancid or “off” smell (like old cooking oil)
- Change in color or texture
- Skin irritation where there was none before
What’s the Difference Between Store-Bought and Homemade Pain Relief Oil
Store-bought pain relief oils often contain the same active ingredients (capsaicin, menthol, eucalyptus) but also include preservatives, synthetic fragrances, and stabilizers that extend shelf life and improve texture. Homemade versions are fresher, cheaper, and free of additives, but have a shorter shelf life and require more care in preparation [9].
Side-by-side comparison:
| Factor | Homemade | Store-Bought |
|---|---|---|
| Cost per use | $0.25-0.75 | $1-3 |
| Ingredient control | Full control | Limited |
| Shelf life | 3-6 months | 1-3 years |
| Additives | None | Often present |
| Customization | Easy | Not possible |
| Consistency | Varies by batch | Standardized |
The main advantage of making your own is knowing exactly what goes on your skin. Many commercial products use synthetic fragrance compounds that can trigger reactions in sensitive individuals. Herbal liniments and homemade oils have been used for centuries as effective topical remedies, and the core science behind them is the same as what’s in commercial products [1].
Can People With Sensitive Skin Use This Pain Relief Oil
Yes, people with sensitive skin can use this oil, but they should reduce the cayenne pepper amount by half and do a 24-hour patch test first. The peppermint essential oil should also be reduced to 5-8 drops instead of 15 [5].
Sensitive skin modifications:
- Use 1/4 teaspoon cayenne instead of 1/2 teaspoon
- Swap coconut oil for sweet almond oil or jojoba oil, which are gentler on reactive skin
- Reduce peppermint to 5-8 drops and consider adding 5 drops of lavender instead for a calmer blend
- Avoid applying right after shaving or exfoliating
If you have eczema, psoriasis, or a known contact dermatitis history, talk to a dermatologist before using any cayenne-based topical. For a gentler alternative, the DIY face moisturizer with aloe vera for sensitive skin shows how to work with skin-calming ingredients that pair well with mild pain-relief blends.
How Quickly Does Homemade Muscle Pain Oil Start Working
Most people feel the initial warming or cooling sensation within 5-10 minutes of application. Meaningful pain relief typically sets in within 20-30 minutes, and the effect lasts 1-3 hours depending on how much you apply and how severe the soreness is.
Timeline:
- 0-5 minutes: Peppermint menthol creates an immediate cooling sensation
- 5-15 minutes: Cayenne capsaicin begins warming the area and increasing circulation
- 20-30 minutes: Peak pain-blocking effect as capsaicin temporarily depletes substance P [4]
- 1-3 hours: Gradual fade; reapply as needed, up to 3-4 times per day
For faster results, apply the oil right after a warm shower when pores are open and blood flow to the skin is already elevated.
What Common Mistakes Do People Make When Making Pain Relief Oil
The most common mistake is adding essential oils to hot oil, which destroys their active compounds and reduces effectiveness. The second most common mistake is skipping the straining step, leaving cayenne particles in the oil that can cause skin irritation.
Mistakes to avoid:
- Adding essential oils while the oil is still hot – always let it cool below 40°C (104°F) first
- Skipping the patch test – even natural ingredients can cause reactions
- Using too much cayenne – more is not better; it just increases irritation risk
- Storing in a plastic container – essential oils can leach chemicals from plastic; always use glass
- Not washing hands after application – touching eyes after handling cayenne oil is genuinely painful
- Using low-quality essential oils – synthetic fragrance oils sold as “essential oils” won’t have the same therapeutic effect; look for 100% pure on the label
Is This Pain Relief Oil Safe for Athletes and Workout Recovery
Yes, this homemade pain relief oil is well-suited for athletes and post-workout recovery. The capsaicin-peppermint combination addresses two of the main causes of exercise-related muscle soreness: reduced circulation and muscle spasm [4][5].
For athletes specifically:
- Apply 30-60 minutes after training, not immediately after (let acute inflammation begin to settle first)
- Works well for DOMS (delayed onset muscle soreness) that peaks 24-48 hours after exercise
- Safe to use before light activity, but avoid intense exercise right after application as sweat can spread the oil to sensitive areas
- Combine with a post-workout stretch routine for better results
If you’re focused on recovery, pairing this oil with a homemade electrolyte drink with pineapple helps address both topical and internal recovery needs.
How Do Professional Massage Therapists Make Their Pain Relief Oils
Professional massage therapists typically use a similar base-plus-active-ingredient approach, but they customize the essential oil blend more precisely and often use higher-quality carrier oils like sweet almond, jojoba, or fractionated coconut oil. The core method – infusing actives into a carrier – is the same as the home recipe [8][10].
What professionals do differently:
- Use fractionated coconut oil (stays liquid, absorbs faster) instead of solid coconut oil
- Blend 2-3 essential oils rather than one for a broader effect
- Often add arnica-infused oil as a carrier for extra anti-inflammatory benefit
- Measure by weight (grams) rather than volume for consistency
- Use professional-grade essential oils with documented purity testing (GC/MS tested)
A professional-style upgrade to the basic recipe:
- 3 tbsp fractionated coconut oil + 1 tbsp arnica-infused oil
- 1/4 tsp cayenne
- 8 drops peppermint + 6 drops eucalyptus + 4 drops lavender
This upgraded version is closer to what you’d find in a professional massage setting, and it’s still made entirely from accessible ingredients. For a related DIY project, see this DIY warming muscle rub recipe for a slightly different professional-inspired approach.
FAQ
Can I use olive oil instead of coconut oil as the carrier?
Yes. Olive oil works as a carrier, but it has a stronger scent that may compete with your essential oils. It also absorbs slightly more slowly. Fractionated coconut oil or sweet almond oil are better alternatives if you want a lighter feel.
How often can I apply homemade pain relief oil?
Up to 3-4 times per day for most people. Applying more frequently than that can cause skin sensitization over time, especially with cayenne-based blends.
Is it safe to use this oil on my lower back?
Yes, the lower back is one of the most common and effective application sites. Avoid applying directly to the spine itself; focus on the surrounding muscle tissue.
Can I add turmeric to this recipe?
You can, but turmeric powder will stain skin and fabric yellow. If you want turmeric’s anti-inflammatory benefits, use turmeric essential oil (a few drops) instead of the powder [3].
Will this oil show up on a drug test?
No. None of the three core ingredients (coconut oil, cayenne, peppermint) contain any compounds that trigger standard drug tests.
Can I use this on my neck and shoulders?
Yes, but be careful near your hairline and keep it away from your face. The peppermint can cause eye irritation even from indirect contact.
What if the burning sensation from cayenne is too intense?
Wash the area with soap and water immediately. Applying a plain carrier oil (like coconut oil) before washing can also help dilute and remove the capsaicin faster.
Is this safe to use during pregnancy?
Peppermint and cayenne essential oils are generally not recommended during pregnancy without medical guidance. Consult your OB-GYN before use.
Can I make this in large batches?
You can double or triple the recipe, but don’t make more than you’ll use in 3 months. Larger batches are more likely to go rancid before you finish them.
Does this work for headaches too?
A diluted version with more peppermint and less cayenne can be applied to the temples and back of the neck for tension headaches. For a dedicated recipe, see this DIY headache balm recipe ready in just 5 minutes.
Conclusion
Making your own pain relief oil at home is genuinely practical, not just a wellness trend. With three ingredients you likely already have – coconut oil, cayenne pepper, and peppermint essential oil – you can put together a muscle relief blend in under 15 minutes for a fraction of the cost of store-bought alternatives.
Your next steps:
- Start with the basic recipe – 4 tbsp coconut oil, 1/2 tsp cayenne, 10-15 drops peppermint essential oil
- Do a patch test first, especially if you have sensitive or reactive skin
- Store in a dark glass jar and label it with today’s date
- Apply after your next workout or on sore muscles and note how quickly you feel relief
- Adjust the recipe based on your skin’s response – less cayenne for sensitivity, more eucalyptus for deeper aches
If you enjoy making your own natural remedies, explore the natural remedies for beginners complete guide for a broader foundation in kitchen-based wellness. And if you want a firmer texture for easier application, the DIY pain relief salve recipe is the next logical step.
Your muscles work hard. Giving them a little homemade care is one of the simplest, most satisfying things you can do.
References
[1] Liniments – https://herbalmedicinegarden.com/methods/liniments/?utm_source=openai
[2] Recipe Pain Balm – https://projectcbd.org/health/recipe-pain-balm/?utm_source=openai
[3] Homemade Muscle Pain Relief Balms – https://www.vedaoils.com/blogs/news/homemade-muscle-pain-relief-balms?utm_source=openai
[4] Diy Muscle Rub – https://www.womenshealthnetwork.com/other-womens-health/diy-muscle-rub/?utm_source=openai
[5] Essential Oils For Sore Muscles – https://raasaoils.in/blogs/news/essential-oils-for-sore-muscles?utm_source=openai
[6] Camphor Essential Oil Roll On Benefits Uses And Diy – https://gyalabs.com/blogs/essential-oils/camphor-essential-oil-roll-on-benefits-uses-and-diy?utm_source=openai
[7] Diy Pain Relief Oil Recipes Make Your Own Blends At Home – https://www.sheopals.com/blogs/news/diy-pain-relief-oil-recipes-make-your-own-blends-at-home?utm_source=openai
[8] Essential Oils For Muscle Pain – https://mahaanss.com/blogs/news/essential-oils-for-muscle-pain?utm_source=openai
[9] Diy Soremusclerub – https://melissaknorris.com/diy-soremusclerub/?utm_source=openai
[10] Essential Oils For Pain Relief – https://gomedica.org/en/essential-oils-for-pain-relief/?utm_source=openai