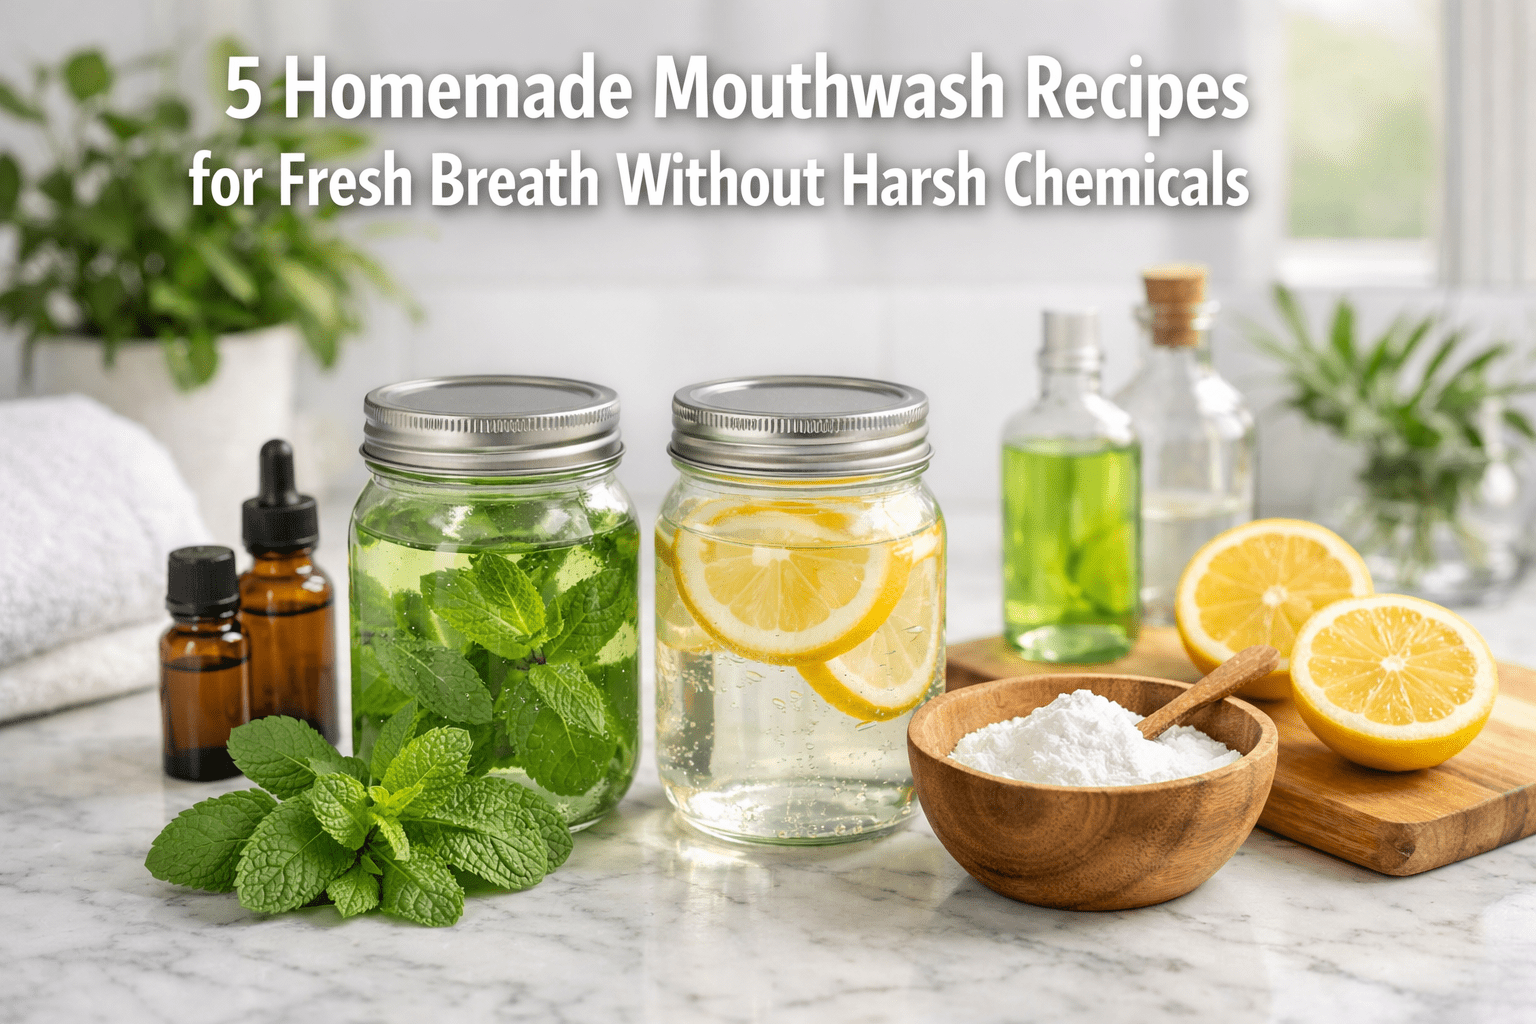
Making your own mouthwash at home lets you skip the harsh chemicals, artificial dyes, and alcohol found in commercial brands while still getting fresh breath and a clean mouth. These homemade mouthwash recipes use simple ingredients you probably already have in your kitchen, and they’re ready in minutes.
Key Takeaways
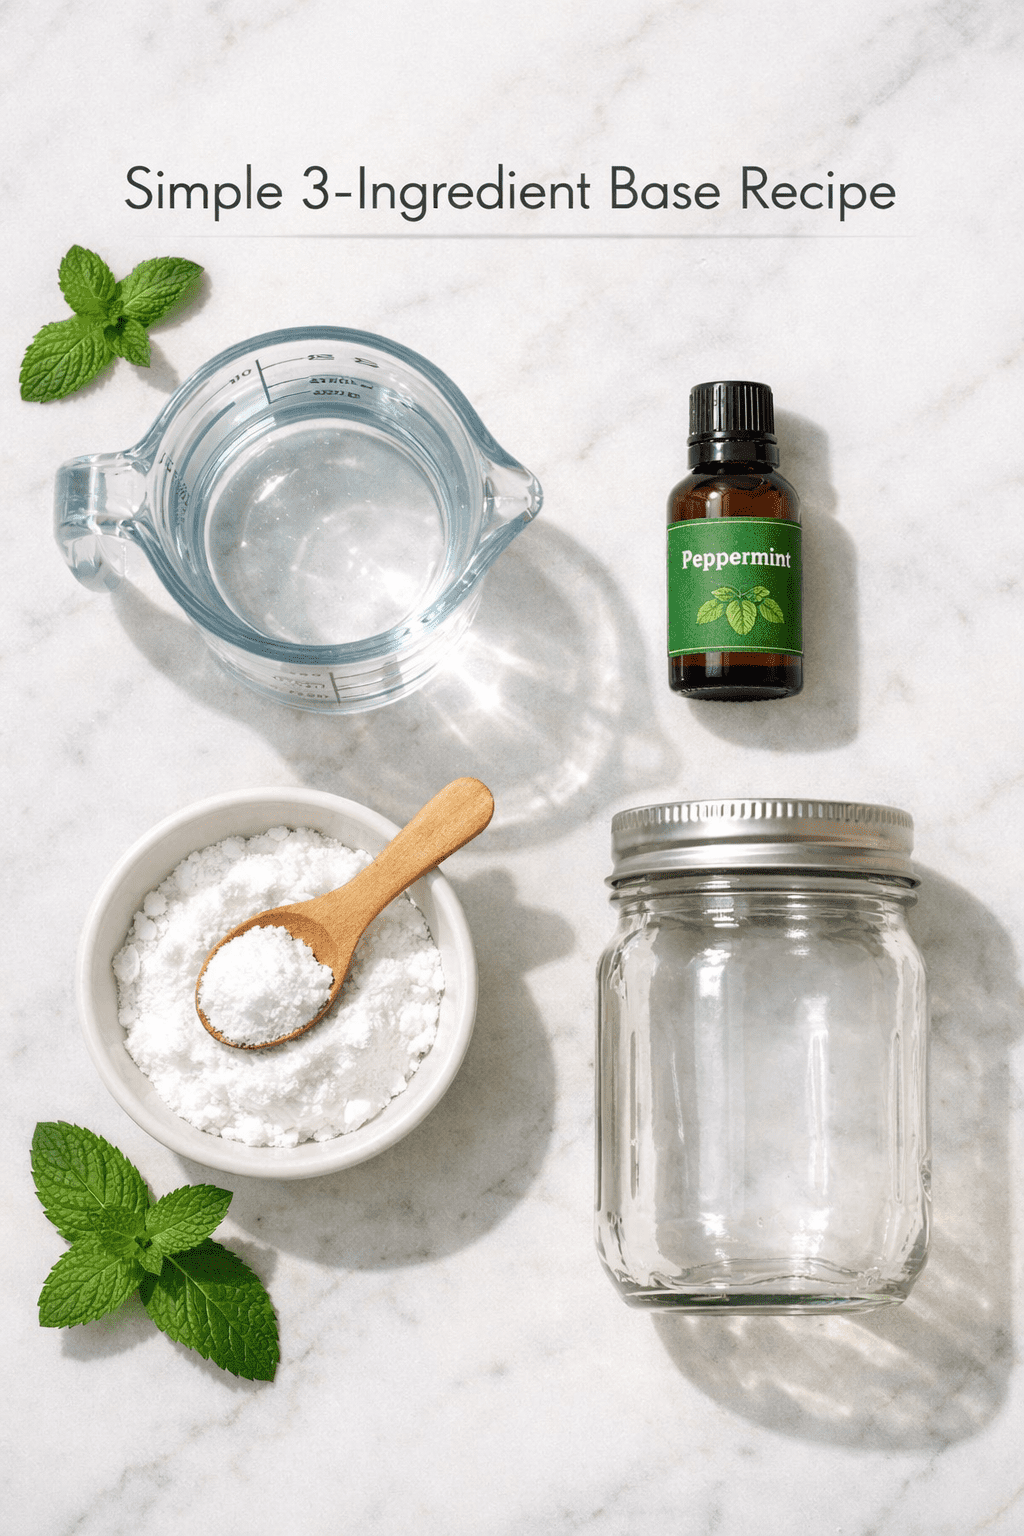
- The simplest homemade mouthwash needs just three ingredients: filtered water, baking soda, and peppermint essential oil
- Baking soda acts as both a pH balancer and antimicrobial agent to eliminate bad breath naturally
- Alcohol-free witch hazel provides infection prevention without the burning sensation
- Most water-based recipes can be stored at room temperature indefinitely, while herbal infusions need refrigeration
- Essential oil combinations like orange-clove-peppermint offer breath freshening and natural whitening benefits
- Xylitol reduces cavity-causing bacteria when added to DIY formulas
- Hydrogen peroxide formulas should be limited to once daily to prevent mouth irritation
Quick Answer
Homemade mouthwash recipes combine filtered water with natural antimicrobial ingredients like baking soda, essential oils, witch hazel, or herbal infusions to freshen breath without harsh chemicals. The most basic formula uses 1 cup water, 1 teaspoon baking soda, and 3 drops peppermint oil, ready in under a minute. These DIY alternatives are gentler on your mouth, customizable to your taste, and cost a fraction of store-bought brands.
Why Make Your Own Mouthwash at Home?
Commercial mouthwashes often contain alcohol that burns your mouth, artificial colors that stain your teeth, and synthetic preservatives you can’t pronounce. Making homemade mouthwash recipes gives you complete control over what goes in your mouth.
Benefits of DIY mouthwash include:
- No harsh chemicals – Skip the alcohol, artificial dyes, and synthetic preservatives
- Cost savings – Ingredients cost pennies per batch compared to $5-10 store-bought bottles
- Customizable flavors – Adjust sweetness, mint intensity, and essential oil blends to your preference
- Gentle on sensitive mouths – Perfect if commercial brands cause irritation or dry mouth
- Natural antimicrobial action – Ingredients like baking soda and essential oils fight bacteria effectively[2]
Choose homemade if you have sensitive gums, want to avoid alcohol, or prefer knowing exactly what you’re putting in your body. If you’re already exploring natural remedies for beginners, DIY mouthwash is an easy next step.
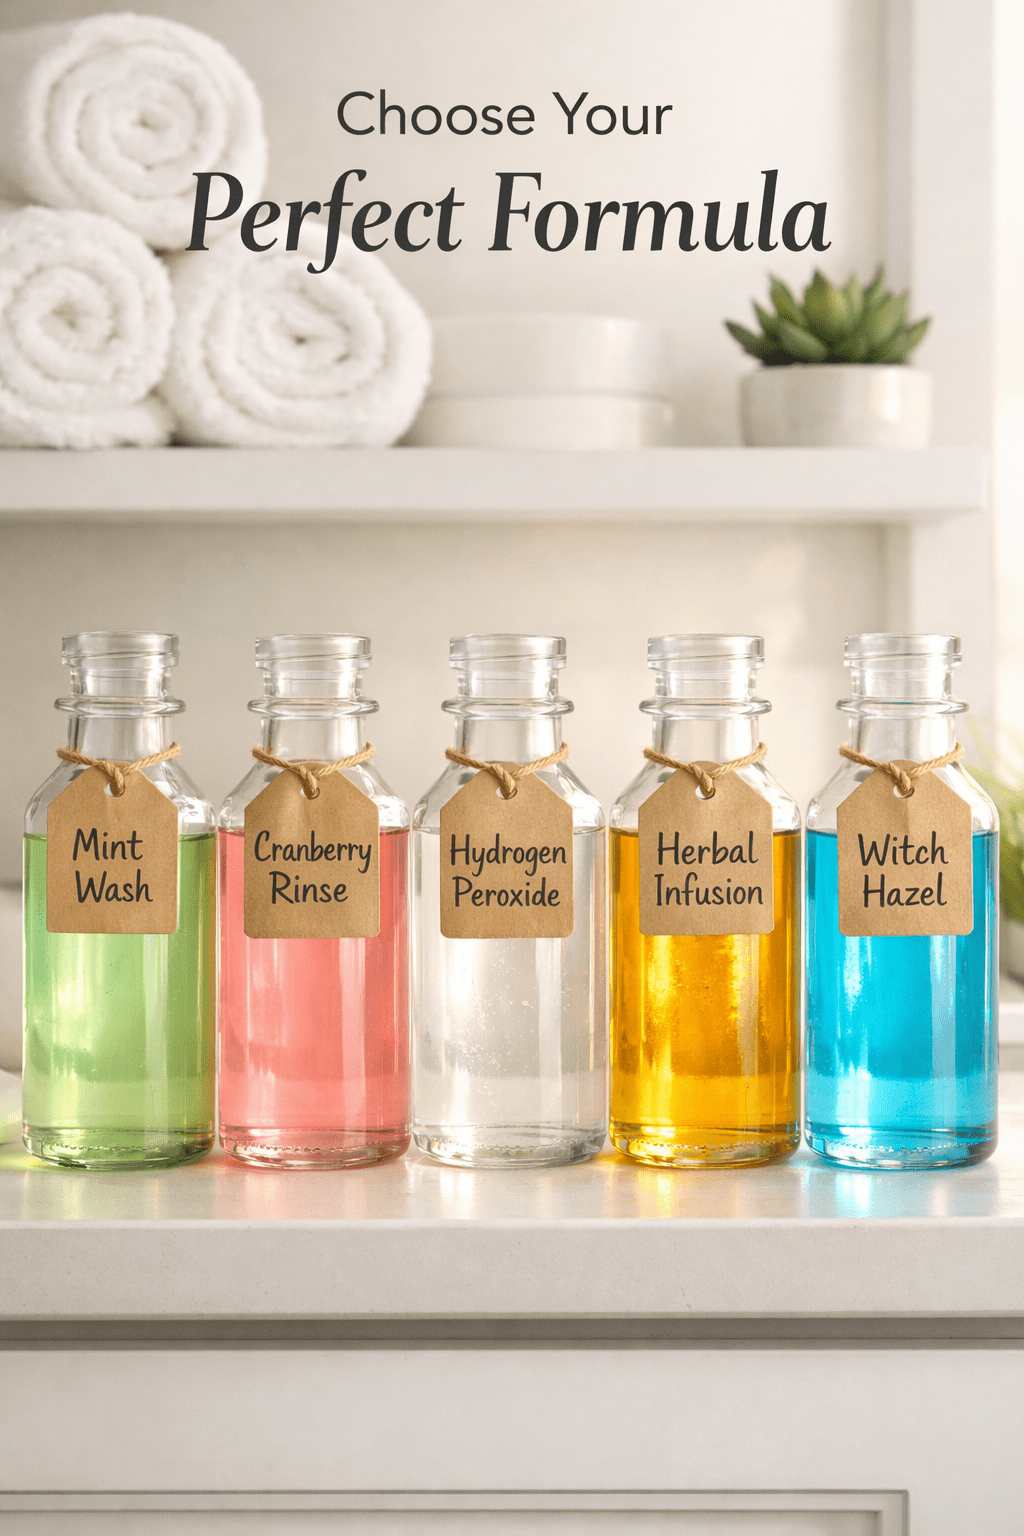
Recipe 1: Basic Three-Ingredient Mouthwash
This is the simplest homemade mouthwash recipe you can make. It requires just three ingredients and stores at room temperature without refrigeration[1].
Ingredients:
- 1 cup filtered water
- 1 teaspoon baking soda
- 3 drops peppermint essential oil
Instructions:
- Pour filtered water into a clean mason jar
- Add baking soda and stir until completely dissolved
- Add peppermint essential oil and shake well
- Store at room temperature with lid tightly closed
How to use: Swish 1-2 tablespoons in your mouth for 30-60 seconds, then spit out. Use twice daily after brushing.
Baking soda works as both a pH balancer and antimicrobial agent, helping eliminate halitosis and purify your mouth[2]. The peppermint oil provides natural freshness without artificial flavoring.
Common mistake: Using tap water instead of filtered can introduce chlorine and minerals that affect taste and shelf life.
Recipe 2: Witch Hazel Gentle Rinse
Alcohol-free witch hazel provides infection prevention without the mouth-burning sensation common in store-bought mouthwashes, functioning as an effective astringent[2].
Ingredients:
- 1 cup filtered water
- 2 tablespoons alcohol-free witch hazel
- 1 teaspoon baking soda
- 5 drops clove essential oil
- 3 drops orange essential oil
Instructions:
- Combine water and witch hazel in a glass bottle
- Dissolve baking soda completely
- Add essential oils and shake vigorously
- Store at room temperature for up to 3 months
The orange-clove-peppermint combination offers breath freshening and teeth whitening benefits[2]. Witch hazel’s astringent properties help tighten gum tissue and reduce inflammation.
Choose this recipe if you have sensitive gums or find alcohol-based rinses too harsh. Similar to how we use gentle ingredients in DIY face masks for glowing skin, this formula prioritizes comfort alongside effectiveness.
Recipe 3: Cranberry-Aloe Oral Health Rinse
This 2025 formula from naturopathic research combines cranberry’s bacterial-fighting properties with soothing aloe vera[5].
Ingredients:
- 1 cup unsweetened cranberry juice (100% pure)
- 1 tablespoon aloe vera juice
- 1 teaspoon baking soda
- 1-2 whole cloves
Instructions:
- Mix cranberry juice and aloe vera in a glass jar
- Add baking soda and stir until dissolved
- Drop in whole cloves for antimicrobial boost
- Refrigerate and use within 7-14 days
Storage note: Unlike water-based homemade mouthwash recipes, this herbal infusion requires refrigeration and lasts 7-14 days[1].
The cranberry provides natural compounds that prevent bacteria from adhering to teeth and gums, while aloe soothes irritated tissue. This works well for people prone to canker sores or mouth sensitivity.
Recipe 4: Herbal Antimicrobial Blend
Research-backed formulas using echinacea tincture and tea tree oil provide strong antimicrobial activity[6]. Clinical research is exploring herbal mouthwash infusions as safer alternatives to chlorhexidine for treating gingivitis[4].
Ingredients:
- 1 cup filtered water
- 2 teaspoons echinacea tincture
- 3-4 drops myrrh essential oil
- 2 drops tea tree oil
- 1 teaspoon vegetable glycerin (optional, for sweetness)
Instructions:
- Combine water and echinacea tincture in a bottle
- Add essential oils carefully (tea tree is potent)
- Add glycerin if desired for mild sweetness
- Shake well before each use
- Store at room temperature for up to 2 months
Edge case: If you’re pregnant or nursing, skip the myrrh essential oil and consult your healthcare provider before using echinacea.
Tea tree oil has powerful antimicrobial properties but should be used sparingly—never swallow this rinse. The echinacea tincture supports immune function in your mouth’s tissues.
Recipe 5: Whitening Hydrogen Peroxide Formula
While 3% food-grade hydrogen peroxide provides gentle whitening effects, it should be used sparingly[3]. Salt-hydrogen peroxide combinations should not exceed once daily to prevent mouth irritation.
Ingredients:
- 1/2 cup filtered water
- 1/4 cup 3% food-grade hydrogen peroxide
- 1/2 teaspoon sea salt
- 2 drops peppermint essential oil
Instructions:
- Mix water and hydrogen peroxide in a dark glass bottle (light degrades peroxide)
- Dissolve sea salt completely
- Add peppermint oil and shake
- Store in dark bottle away from light
- Use once daily maximum, not twice
Important: Use only 3% food-grade hydrogen peroxide, not the higher concentrations sold for cleaning. This formula is for occasional whitening, not daily use.
Choose this recipe if you want natural whitening without harsh strips or trays. Limit use to 3-4 times per week to avoid enamel sensitivity. Just like natural remedies for cough work best when used appropriately, this whitening rinse needs moderation.
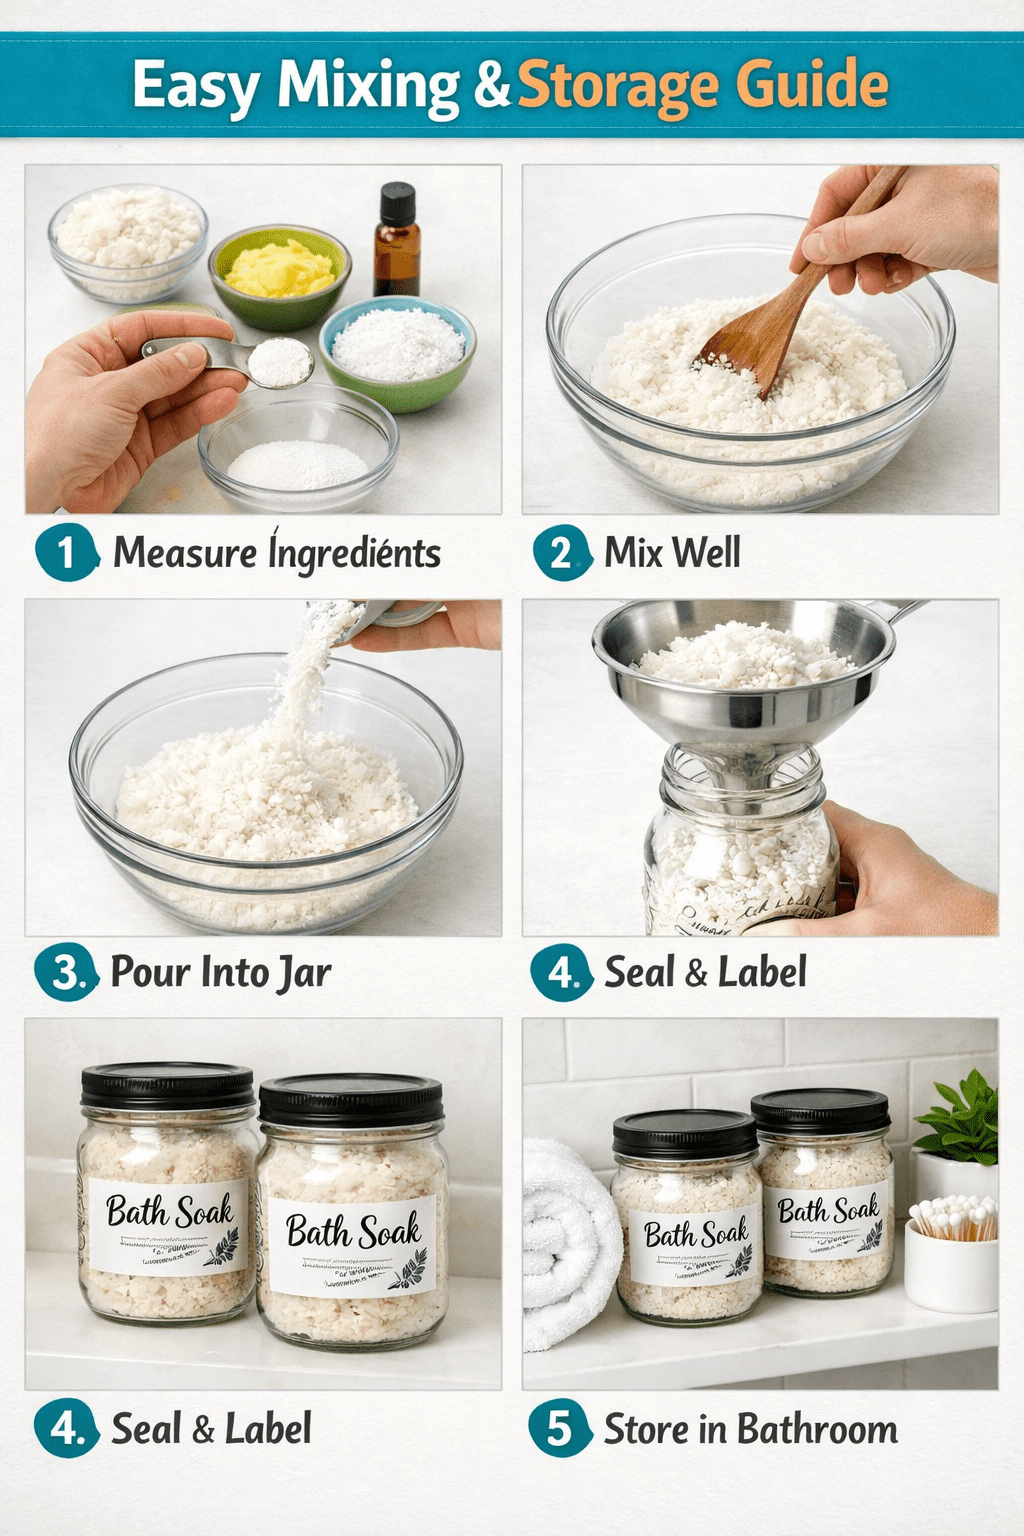
How to Store Homemade Mouthwash Recipes Properly
Storage requirements vary based on your formula’s ingredients. Simple water-based recipes keep indefinitely on the counter, herbal infusions require refrigeration and last 7-14 days, while carrier oil-based formulas need mason jars with tight-fitting lids[1].
Storage guidelines by recipe type:
| Recipe Type | Storage Location | Shelf Life | Container |
|---|---|---|---|
| Water + baking soda + essential oils | Room temperature | Indefinite | Mason jar with metal lid |
| Witch hazel formulas | Room temperature | 2-3 months | Glass bottle |
| Cranberry/juice-based | Refrigerator | 7-14 days | Glass jar, sealed |
| Hydrogen peroxide | Cool, dark place | 1 month | Dark glass bottle |
| Herbal infusions | Refrigerator | 7-10 days | Glass jar |
Best practices:
- Always use clean, sterilized containers
- Label jars with recipe name and date made
- Shake well before each use (ingredients settle)
- Discard if you notice cloudiness, separation, or off smell
- Never share mouthwash bottles between people
Optional Ingredients to Customize Your Homemade Mouthwash Recipes
Beyond the five core recipes, you can customize your DIY mouthwash with these optional ingredients.
Xylitol – This natural sweetener reduces cavity-causing bacteria and adds mild sweetness without sugar[3]. Add 1/2 to 1 teaspoon per cup of mouthwash.
Essential oil combinations:
- Cinnamon-clove-orange – Seasonal appeal with antimicrobial benefits[2]
- Spearmint-eucalyptus – Cooling sensation, good for sinus congestion
- Lemon-tea tree – Fresh citrus with strong antibacterial action
Vegetable glycerin – Adds body and mild sweetness, helps ingredients blend smoothly. Use 1-2 teaspoons per cup.
Sea salt – Natural mineral content supports gum health. Dissolve 1/4 teaspoon per cup.
Activated charcoal – For occasional whitening (use sparingly, can be messy). Add 1/4 teaspoon to hydrogen peroxide formula.
If you enjoy customizing calendula recipes for skin care, you’ll appreciate the flexibility these ingredients offer.
Common Mistakes When Making Homemade Mouthwash
Using too much essential oil – More isn’t better. Essential oils are concentrated and can irritate mouth tissue. Stick to 3-5 drops per cup maximum.
Not dissolving baking soda completely – Undissolved baking soda feels gritty and settles at the bottom. Stir thoroughly until the water runs clear.
Swallowing instead of spitting – These rinses are meant to be spit out, not swallowed. Essential oils and hydrogen peroxide shouldn’t be ingested in these concentrations.
Expecting instant whitening – Natural whitening takes weeks of consistent use, not days. Commercial whitening products use harsh chemicals for faster results.
Skipping the shake – Ingredients separate naturally. Always shake your bottle before each use to redistribute essential oils and other components.
Using expired hydrogen peroxide – Check the expiration date. Old hydrogen peroxide loses effectiveness and won’t provide whitening benefits.
How Often Should You Use Homemade Mouthwash?
Use homemade mouthwash recipes twice daily after brushing for general oral health—once in the morning and once before bed. This frequency matches the recommended use for commercial mouthwashes.
Adjust frequency based on formula:
- Basic baking soda recipes – Safe for twice daily use
- Witch hazel formulas – Twice daily, no restrictions
- Hydrogen peroxide whitening – Once daily maximum, 3-4 times weekly
- Strong antimicrobial blends – Once daily, or as needed for specific concerns
If you’re using mouthwash to address specific issues like persistent bad breath or gum sensitivity, maintain consistent twice-daily use for at least two weeks before evaluating results.
Decision rule: Choose twice daily for prevention and maintenance, once daily for whitening or strong antimicrobial formulas, as-needed for occasional fresh breath.
Troubleshooting Your DIY Mouthwash
Problem: Mouthwash tastes too strong or burns
Solution: Reduce essential oil drops by half. Start with 1-2 drops and increase gradually until you find your preferred intensity.
Problem: Ingredients separate or look cloudy
Solution: This is normal for oil-based formulas. Shake vigorously for 10-15 seconds before each use. Cloudiness in herbal infusions after a few days means it’s time to make a fresh batch.
Problem: No minty freshness
Solution: Peppermint essential oil loses potency over time. Replace your essential oil bottle every 6-12 months, and store in a cool, dark place.
Problem: Baking soda leaves gritty residue
Solution: Use finer baking soda powder, stir more thoroughly, or let the mixture sit for 5 minutes after mixing so baking soda fully dissolves.
Problem: Mouth feels dry after use
Solution: You may be sensitive to baking soda or using too much. Reduce baking soda to 1/2 teaspoon, or switch to the witch hazel formula which is more moisturizing.
FAQ
Can homemade mouthwash replace my dentist-recommended rinse?
Homemade mouthwash works well for general oral hygiene and fresh breath, but if your dentist prescribed a specific medicated rinse for gum disease or other conditions, continue using that as directed. DIY versions can complement but shouldn’t replace medical treatments.
How long does homemade mouthwash last?
Water-based recipes with baking soda and essential oils last indefinitely at room temperature. Herbal infusions and juice-based formulas need refrigeration and last 7-14 days. Hydrogen peroxide formulas stay effective for about one month when stored in dark glass[1].
Is it safe to use essential oils in mouthwash?
Yes, when used in proper amounts (3-5 drops per cup) and always spit out, never swallowed. Essential oils like peppermint, clove, and tea tree have antimicrobial properties that benefit oral health. Avoid if you’re pregnant, nursing, or have known sensitivities.
Can kids use homemade mouthwash?
Children under 6 shouldn’t use any mouthwash because they tend to swallow it. For kids 6 and older, use the basic baking soda recipe with reduced essential oil (1-2 drops only), and supervise to ensure they spit it out completely.
Will homemade mouthwash whiten my teeth?
The hydrogen peroxide formula provides gentle whitening over time with consistent use, but results are gradual compared to commercial whitening products. Expect subtle improvement over 2-4 weeks, not dramatic overnight changes[3].
Do I still need to floss if I use homemade mouthwash?
Yes. Mouthwash—whether homemade or commercial—doesn’t remove food particles and plaque between teeth. You still need to brush twice daily and floss once daily for complete oral hygiene.
Can I add honey to homemade mouthwash for sweetness?
No. Honey contains sugars that feed cavity-causing bacteria. Use xylitol or vegetable glycerin instead for sweetness without promoting tooth decay[3].
What’s the best container for storing DIY mouthwash?
Glass mason jars or glass bottles with tight-fitting lids work best. Avoid plastic, which can leach chemicals or absorb essential oil scents over time. Dark glass bottles are ideal for hydrogen peroxide formulas[1].
Why does my mouthwash separate into layers?
Essential oils don’t fully dissolve in water—they float on top. This is normal and harmless. Just shake the bottle well for 10-15 seconds before each use to redistribute the oils throughout the liquid.
Can homemade mouthwash cure bad breath permanently?
Mouthwash addresses surface bacteria and provides temporary freshness, but persistent bad breath often stems from deeper issues like gum disease, tooth decay, or digestive problems. If bad breath continues despite good oral hygiene, see your dentist to identify the underlying cause.
How much does it cost to make homemade mouthwash?
The basic three-ingredient recipe costs approximately $0.25-0.50 per batch (about 16 uses), compared to $5-10 for commercial brands. Initial investment in essential oils ($5-15 per bottle) pays off quickly since you only use a few drops per batch.
Can I use dried herbs instead of essential oils?
Yes. Steep 2-3 tablespoons of dried herbs (mint, sage, thyme) in 1 cup boiling water for 15 minutes, strain completely, let cool, then add baking soda. Refrigerate and use within 7 days. This creates a gentler, more subtle flavor than essential oils.
Conclusion
Making your own mouthwash at home gives you fresh breath without harsh chemicals, costs pennies per batch, and takes just minutes to prepare. These five homemade mouthwash recipes range from the ultra-simple three-ingredient formula to specialized blends for whitening and antimicrobial action.
Start with the basic baking soda recipe to see how easy DIY oral care can be. Once you’re comfortable with the process, experiment with different essential oil combinations or try the cranberry-aloe formula for added oral health benefits. Store your creations properly—room temperature for water-based recipes, refrigerated for herbal infusions—and shake well before each use.
Your next steps:
- Choose one recipe that matches your primary goal (fresh breath, whitening, or antimicrobial action)
- Gather your ingredients and a clean glass jar
- Mix your first batch following the instructions exactly
- Use twice daily for two weeks to evaluate results
- Adjust essential oil amounts or try different flavor combinations
Remember that homemade mouthwash complements good oral hygiene but doesn’t replace brushing, flossing, and regular dental checkups. If you have persistent oral health concerns, consult your dentist before relying solely on DIY solutions.
Ready to expand your natural wellness routine? Explore more natural remedies and DIY skincare recipes to create a complete chemical-free self-care system.
References
[1] Homemade Mouthwash Alternatives – https://www.personalcaredentistry.com/homemade-mouthwash-alternatives/
[2] Mouthwash – https://naturallivingfamily.com/homemade/beauty/mouthwash/
[3] Can You Make Diy Mouthwash At Home And Is It Effective – https://www.gatewayfamilydentist.com/can-you-make-diy-mouthwash-at-home-and-is-it-effective
[4] Nct07401069 – https://clinicaltrials.gov/study/NCT07401069
[5] Cranberries And Oral Health A Natural Rinse Recipe From Nunm Alumna Dr Daivati Bharadvaj – https://nunm.edu/2025/04/cranberries-and-oral-health-a-natural-rinse-recipe-from-nunm-alumna-dr-daivati-bharadvaj/
[6] Make Natural Mouthwash – https://lynnfielddental.com/make-natural-mouthwash/