Quick Answer: Learning how to make your own natural shampoo is simpler than most people expect. You combine a gentle plant-based cleanser (like castile soap), a thickener, a conditioning agent, and a preservative, then adjust the pH to around 4.5–5.5. The result is a customizable, sulfate-free shampoo that can leave hair feeling softer and cleaner without harsh chemicals.
Key Takeaways
- Natural shampoos use plant-based surfactants like castile soap or decyl glucoside instead of sulfates
- pH balance (4.5–5.5) is critical — too alkaline and your scalp will feel irritated and dry [1]
- A basic 1-liter batch needs distilled water, castile soap, glycerin, aloe vera, a carrier oil, and xanthan gum [3]
- Always add a preservative like Optiphen to prevent bacterial growth [1]
- Essential oils and botanical extracts go in last, after the mixture cools below 40°C (104°F) [1]
- Carrier oils like jojoba and coconut oil add moisture and reduce split ends [2]
- Provitamin B5 (panthenol) at about 2g per 100g batch adds shine and moisture [7]
- You can customize the recipe for oily, dry, curly, or color-treated hair
- Shelf life without a preservative is only 1–2 weeks; with one, it extends to several months
- Always do a patch test before using a new batch on your scalp
Why Make Your Own Natural Shampoo in the First Place?
Store-bought shampoos often contain sulfates, synthetic fragrances, and preservatives that can strip the scalp’s natural oils. Making your own gives you full control over every ingredient that touches your hair and skin.
Beyond ingredient transparency, DIY shampoo is genuinely cost-effective. A single batch using quality natural ingredients often costs less per use than premium clean-beauty brands. And once you understand the base formula, you can tweak it endlessly — for your hair type, your scent preferences, or even the season.
If you already enjoy making things like a DIY hair mask with coconut milk for dry, frizzy hair, natural shampoo is a natural next step in your hair care routine.
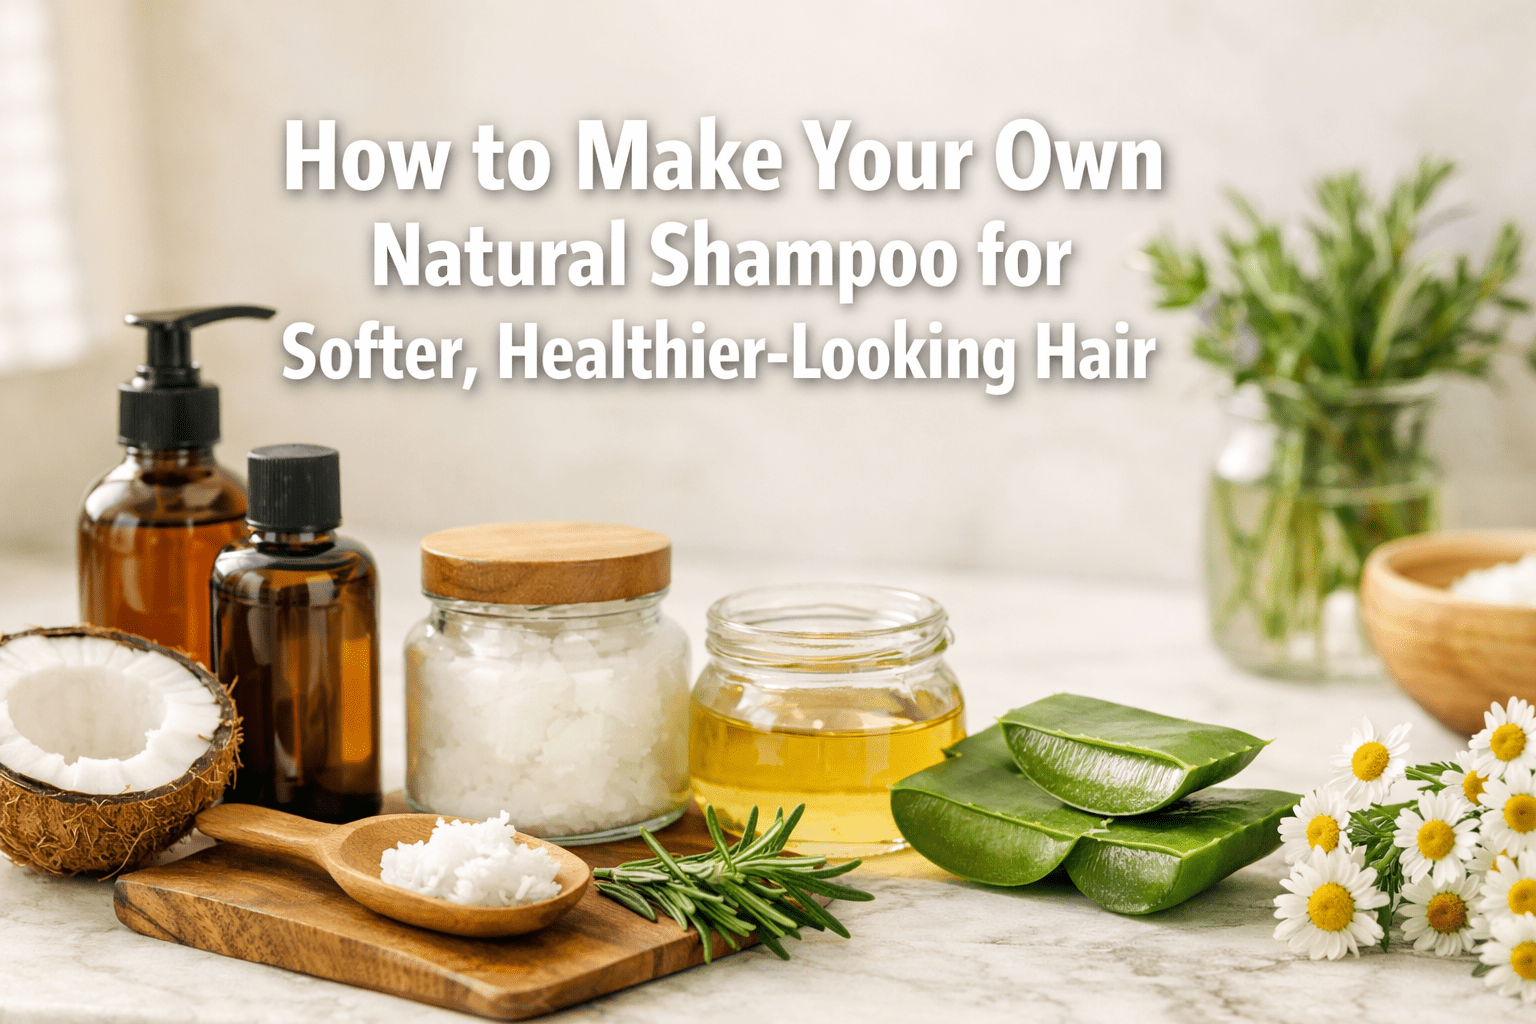
What Ingredients Do You Need to Make Your Own Natural Shampoo?
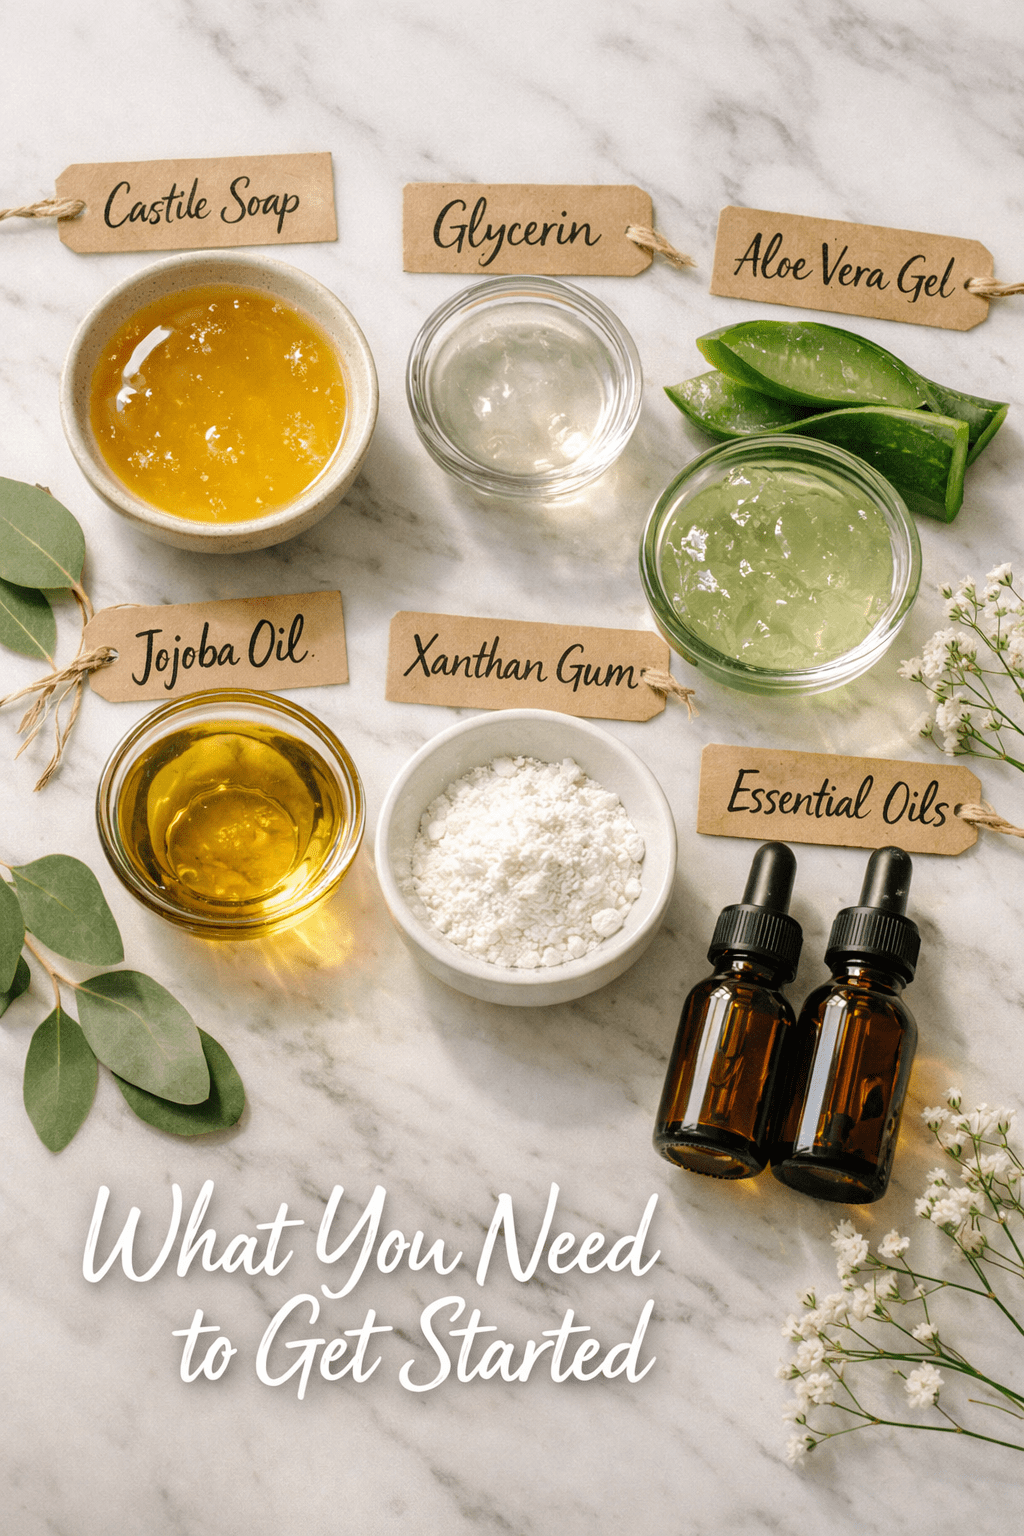
You need five categories of ingredients: a cleanser, a thickener, a conditioner, a preservative, and water. Everything else is optional but adds real benefits.
The Core Ingredients
| Category | Natural Option | Purpose |
|---|---|---|
| Cleanser | Castile soap, decyl glucoside | Removes dirt and oil |
| Thickener | Xanthan gum (0.8–5g per batch) | Gives shampoo its gel-like texture |
| Conditioner | Jojoba oil, aloe vera, glycerin | Softens and moisturizes hair |
| Preservative | Optiphen, Geogard Ultra | Prevents mold and bacteria |
| pH adjuster | Citric acid or apple cider vinegar | Keeps pH at 4.5–5.5 |
Castile soap is the most beginner-friendly cleanser because it’s widely available and already pH-adjusted [2]. For a more advanced formula, plant-derived surfactants like decyl glucoside or coco betaine give a gentler, more consistent lather [1][3].
Xanthan gum works well as a thickener but needs to be mixed carefully — add it slowly while stirring to avoid clumping. Note that it can create a slightly stringy texture if overused, so stick to the lower end of the range (around 1–2g per 100ml) when starting out [1].
For conditioning, provitamin B5 (panthenol) is worth adding at around 2g per 100g batch — it actively moisturizes the hair shaft and adds noticeable shine [7]. Pair it with jojoba oil or aloe vera gel for extra softness [2].
Common mistake: Skipping the preservative. Water-based products grow bacteria within days at room temperature. Even if you plan to use the shampoo quickly, a preservative like Optiphen at 1% of your total batch weight is non-negotiable for safety [3].
How to Make Your Own Natural Shampoo: The Basic Recipe
This beginner-friendly recipe makes roughly 1 liter of natural shampoo. It suits most hair types and can be adjusted from there.
What You’ll Need
- 300ml distilled water
- 200ml liquid castile soap
- 100ml vegetable glycerin
- 50ml aloe vera gel
- 15ml jojoba oil (or coconut oil)
- 5g xanthan gum
- 1% preservative (e.g., Optiphen — about 10ml for a 1-liter batch)
- 20–30 drops essential oil of your choice (lavender works well)
- Citric acid solution or apple cider vinegar to adjust pH
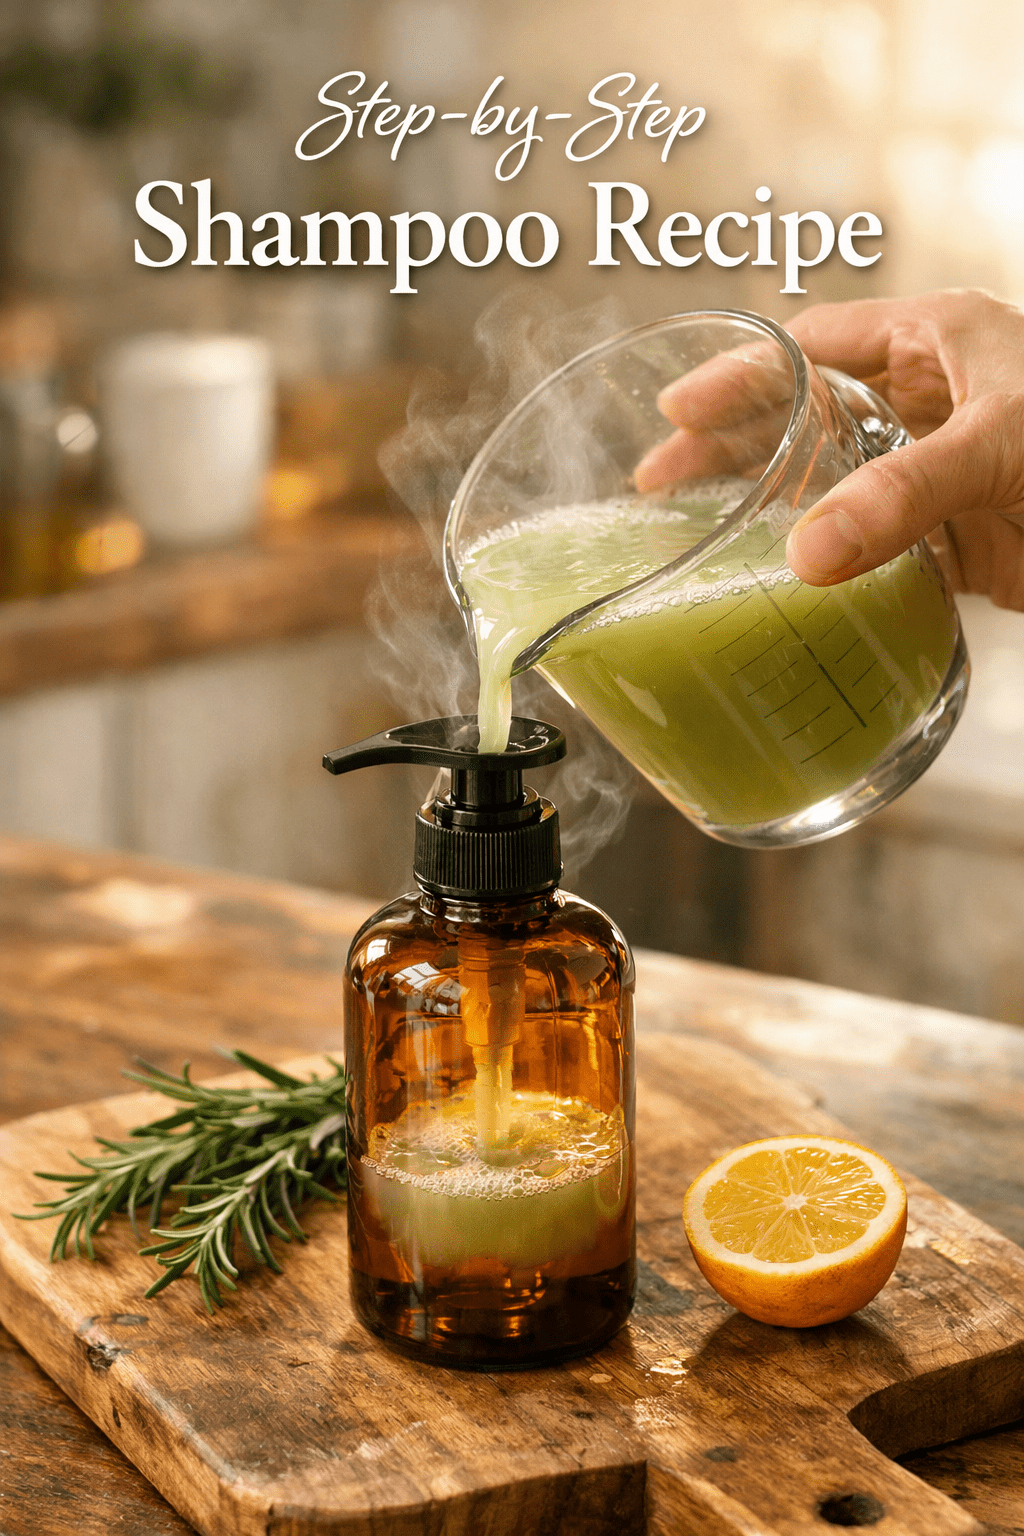
Step-by-Step Instructions
- Heat the water to about 71°C (160°F) in a heat-safe bowl or pot [3].
- Slowly whisk in xanthan gum while the water is warm to help it dissolve evenly. Stir continuously to prevent lumps.
- Add the castile soap and glycerin, stirring gently. Avoid vigorous mixing, which creates excess foam.
- Add aloe vera gel and jojoba oil, then stir until fully combined.
- Let the mixture cool to below 40°C (104°F) before the next steps [1].
- Add your preservative and stir well.
- Add essential oils and any botanical extracts now that the mixture is cool [1].
- Check and adjust pH using a pH strip or meter. Add a small amount of citric acid solution (dissolved in water) to bring the pH down to 4.5–5.5 if needed [1][3].
- Pour into a clean pump or squeeze bottle and label with the date.
Shelf life: About 2–3 months with a proper preservative. Store in a cool, dry place away from direct sunlight.
For more inspiration on making natural hair care products at home, check out this DIY rosemary water for hair growth recipe — rosemary extract also makes a great add-in for your shampoo.
How Do You Customize the Recipe for Your Hair Type?
The base recipe above works as a starting point, but small changes make a big difference depending on your hair’s needs.
For oily or fine hair: Use a slightly stronger surfactant like coco betaine, reduce the carrier oil to 5ml, and consider adding a few drops of tea tree essential oil or rosemary extract. Niacinamide and zinc PCA are also effective sebum-balancing actives for oily scalps [5].
For dry or damaged hair: Increase the jojoba oil to 20–25ml, add 2g of panthenol, and consider a small amount of shea butter (melted and blended in during the warm phase). These ingredients coat the hair shaft and lock in moisture [1].
For curly or textured hair: Prioritize aloe vera and glycerin — both act as humectants that draw moisture into the hair. Reduce lathering agents slightly to avoid over-stripping natural curl definition [5].
For color-treated hair: Keep the pH on the lower end (closer to 4.5) to help seal the hair cuticle and preserve color longer. Avoid strong essential oils that may fade color.
If your scalp needs extra attention before shampooing, try one of these DIY scalp scrubs for buildup and dandruff to prep your scalp first.
What Are the Most Common Mistakes When Making Natural Shampoo?
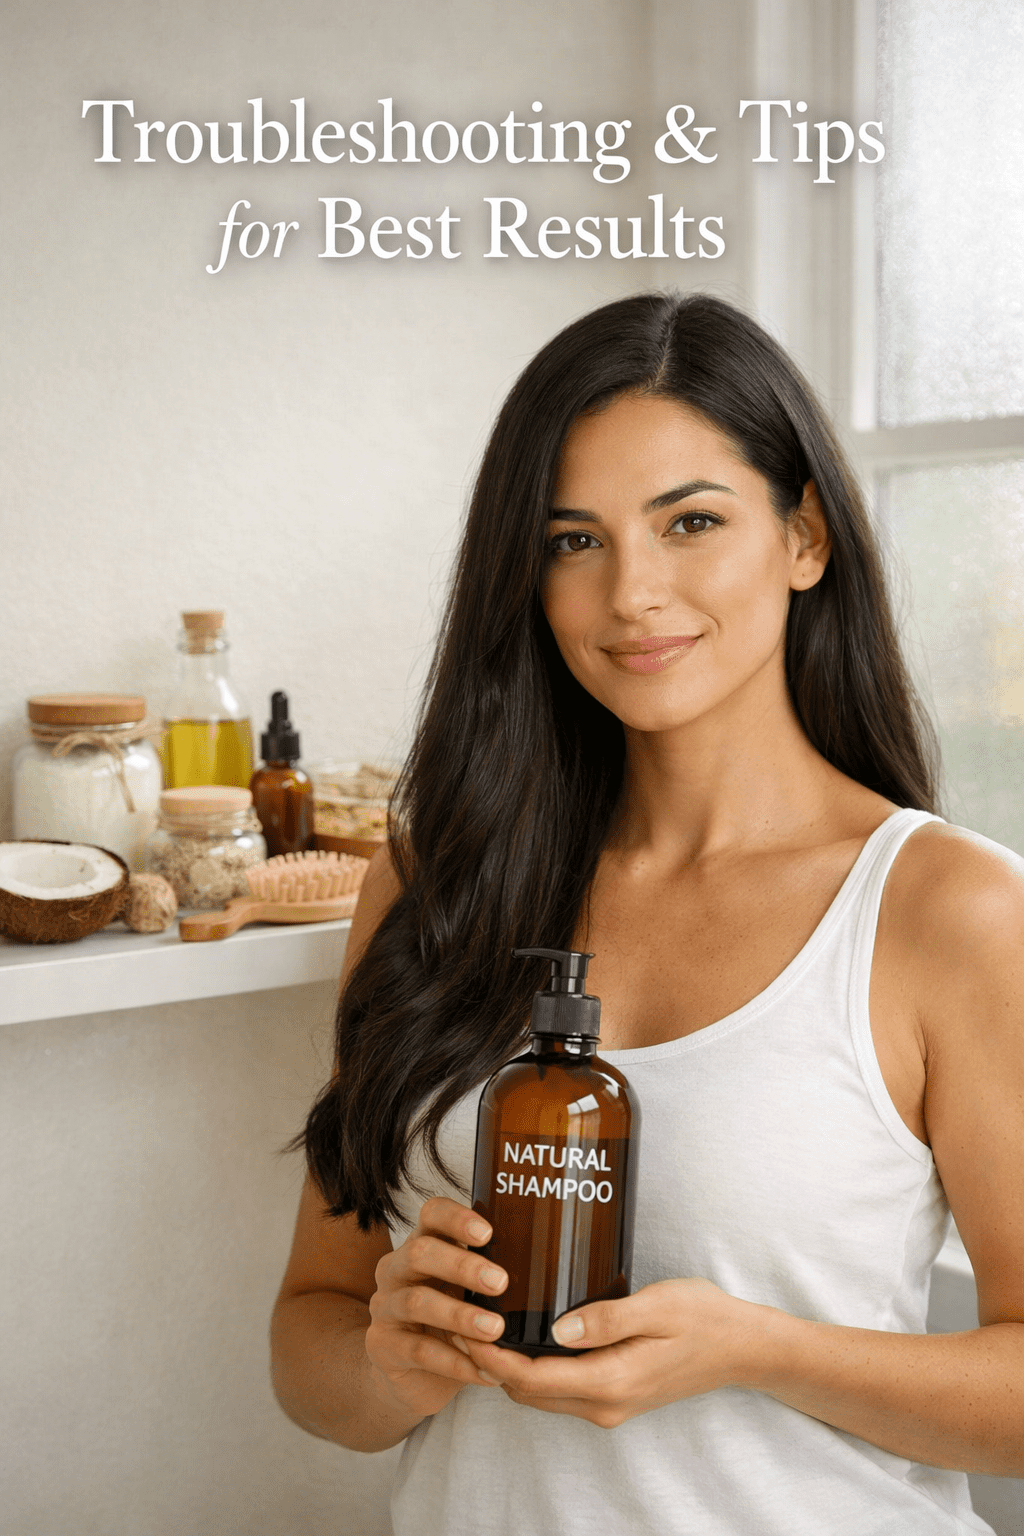
Even experienced DIYers run into a few predictable problems. Here’s what to watch for and how to fix it.
The shampoo is too thin or watery. You likely need more xanthan gum or a slightly lower water ratio. Add xanthan gum in small increments (0.5g at a time) until you reach the consistency you want [1].
The shampoo feels like it’s not cleaning well. This is often a pH issue. If the formula is too alkaline (above 6), it won’t cleanse effectively and may leave hair feeling coated. Test with pH strips and adjust with citric acid [1][3].
Hair feels waxy or heavy after washing. Too much oil in the formula is usually the cause. Cut the carrier oil in half and see if that helps. Also check that you’re rinsing thoroughly.
The mixture separated overnight. This happens when oils and water aren’t properly emulsified. Make sure you’re mixing at the right temperature and consider adding a small amount of emulsifying wax or lecithin to stabilize the formula [2].
It smells off after a week. This is a sign the preservative wasn’t added correctly or wasn’t at the right concentration. Always measure preservatives by weight, not volume [3].
Frequently Asked Questions
Can I make natural shampoo without castile soap?
Yes. You can use other gentle surfactants like decyl glucoside or sodium cocoyl glutamate as your primary cleanser. These are actually milder on the scalp than castile soap and produce a finer lather [1][2].
Is it safe to use baking soda in homemade shampoo?
Baking soda has a very high pH (around 9), which is too alkaline for scalp health. Regular use can damage the hair cuticle and cause breakage. Avoid it as a shampoo base [1].
How long does homemade natural shampoo last?
With a proper preservative like Optiphen or Geogard Ultra, a well-made batch lasts 2–3 months. Without a preservative, use it within 1–2 weeks and store it in the fridge [3].
Do I need special equipment?
A kitchen scale, pH strips, a heat-safe mixing bowl, a stick blender or whisk, and clean pump bottles are enough to get started. A digital thermometer is also helpful.
Will natural shampoo lather like regular shampoo?
It will lather, but usually less than commercial shampoos because there are no sulfates. This doesn’t mean it’s cleaning less — it just looks different. Most people adjust within a few washes.
Can I add herbal tea to my shampoo?
Yes, and it’s a great way to add botanical benefits. Brew a strong chamomile or green tea, let it cool completely, and use it in place of some or all of the distilled water. Just make sure your preservative concentration accounts for the added liquid. You might also enjoy learning how to make your own herbal tea blends at home for this purpose.
Is natural shampoo safe for kids?
A gentle formula using castile soap, aloe vera, and mild essential oils like lavender is generally considered safe for older children. For babies or toddlers, consult a pediatrician before use.
Why does my hair feel different the first few weeks?
Your scalp may go through a short transition period as it adjusts from sulfate-based products. This is normal and usually resolves within 2–4 weeks as your scalp rebalances its natural oil production.
Conclusion
Making your own natural shampoo is one of the most satisfying DIY projects you can take on for your hair health. Once you understand the five core components — cleanser, thickener, conditioner, preservative, and pH adjuster — the formula becomes flexible and fun to personalize.
Your next steps:
- Gather your ingredients (castile soap, glycerin, aloe vera, jojoba oil, xanthan gum, and a preservative)
- Make a small test batch first (250ml) before committing to a full liter
- Test the pH before bottling — this single step prevents most common problems
- Keep notes on what you change so you can repeat what works
If you enjoy making your own hair care products, you’ll likely love exploring other DIY natural body care recipes too. Check out this natural homemade deodorant recipe or browse the full collection of natural remedies at The Herbal Handbook for more ideas.
Your hair, your formula — and no mystery ingredients.
References
[1] 5 Natural Shampoo Conditioner Recipes – https://www.schoolofnaturalskincare.com/5-natural-shampoo-conditioner-recipes/
[2] Making All Natural Shampoos A Beginners Guide – https://www.newdirectionsaromatics.com/blog/making-all-natural-shampoos-a-beginners-guide/
[3] Make Your Own Shampoo To Sell – https://supliful.com/blog/make-your-own-shampoo-to-sell
[4] Make Natural Haircare Products – https://formulabotanica.com/make-natural-haircare-products/
[5] Sulfate Free Custom Shampoo Formulation Guide 2026 – https://www.hairodm.com/sulfate-free-custom-shampoo-formulation-guide-2026.html
[6] Basic Everyday Hair Shampoo Complete Guide To Ingredients Formulations And Manufacturing Process – https://makingchembooks.com/basic-everyday-hair-shampoo-complete-guide-to-ingredients-formulations-and-manufacturing-process/
[7] Shampoo Formulas Ep 90 – https://www.makingcosmetics.com/Shampoo-Formulas_ep_90.html?lang=en_US