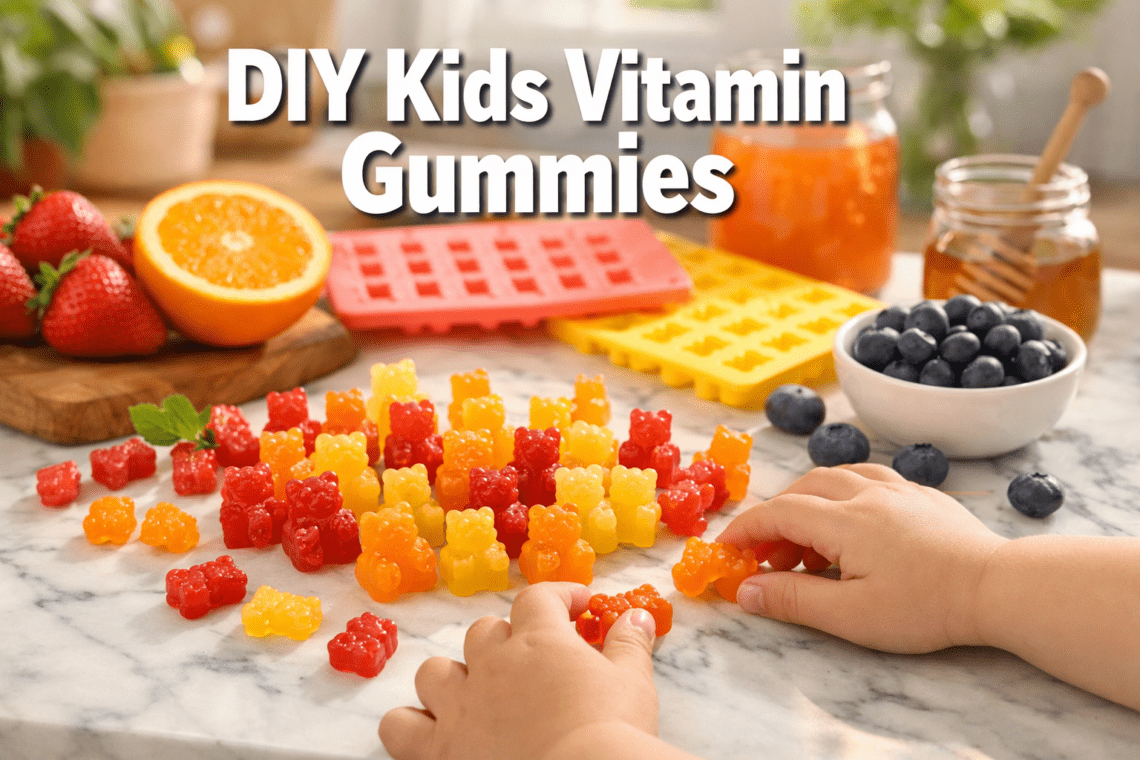

Quick Answer: DIY kids vitamin gummies are homemade chewable supplements made from real fruit juice, gelatin, and natural vitamin sources like elderberry, vitamin D drops, or zinc. Parents make them to avoid the artificial dyes, added sugars, and synthetic fillers common in store-bought children’s vitamins. They take about 20 minutes to prepare, cost less per serving than most commercial options, and kids actually enjoy eating them.
Key Takeaways
- Homemade vitamin gummies use real fruit juice and whole-food vitamin sources instead of synthetic additives
- The basic recipe needs only 3–4 ingredients: fruit juice, gelatin, honey, and optional vitamin drops
- You can customize nutrients based on your child’s actual needs (vitamin D, C, zinc, elderberry, etc.)
- Store-bought kids’ vitamins often contain artificial dyes (like Red 40), high-fructose corn syrup, and fillers
- Homemade gummies set in the fridge in 1–2 hours and keep for up to 2 weeks when stored properly
- Silicone bear or star molds make them fun and kid-approved
- Always check with your pediatrician before adding any supplement to your child’s routine
- Making gummies together is a screen-free activity that doubles as a simple STEM lesson for kids
Why Are Parents Skipping Store-Bought Kids’ Vitamins?
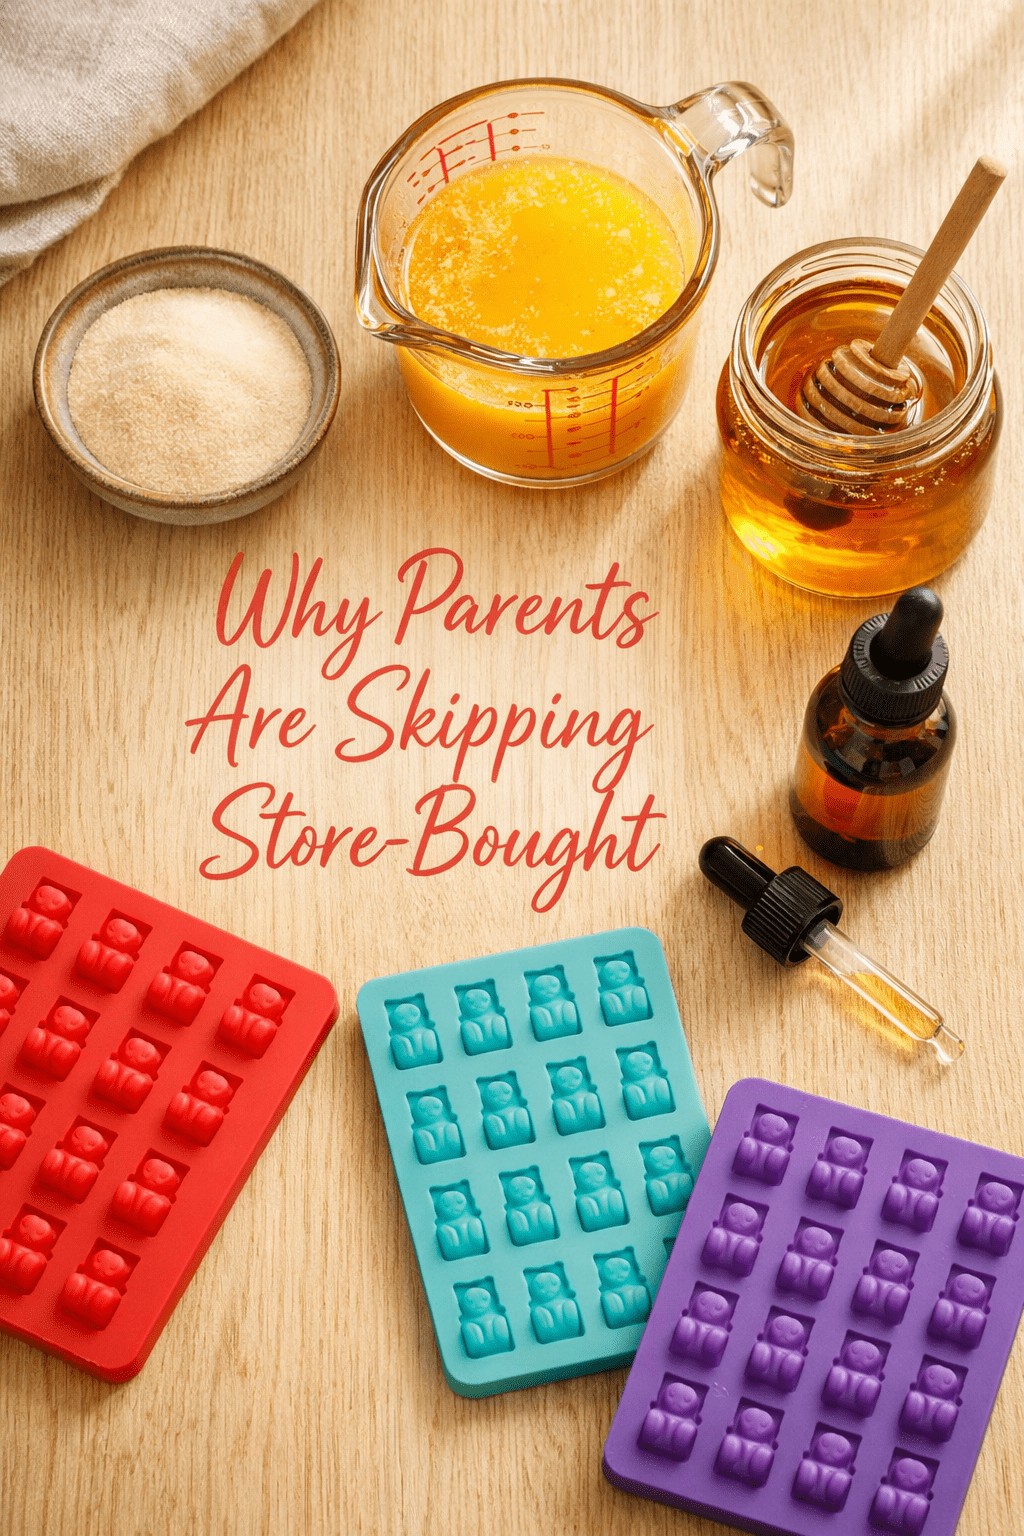
More parents are turning to DIY kids vitamin gummies because they want to know exactly what goes into their child’s daily supplement. Store-bought children’s vitamins often contain ingredients that parents find concerning, even when the front label says “natural.”
Here’s what you’ll commonly find on the back of a commercial kids’ vitamin label:
- Artificial dyes: Red 40, Yellow 5, Blue 2 — used purely for appearance
- Added sugars: Many brands contain 2–3 grams of sugar per gummy
- Synthetic binders and fillers: Hydrogenated oils, starch, and preservatives
- Mega-doses: Some commercial vitamins exceed the recommended daily intake for certain nutrients
“If I wouldn’t put those ingredients in my kid’s dinner, why am I putting them in their vitamins?”
That’s the question driving this trend. Homemade gummies let you use real orange juice for vitamin C, elderberry syrup for immune support, and a small measured drop of vitamin D — nothing more. For a broader look at building a natural wellness routine for your family, the Natural Remedies for Beginners: Complete Guide is a great starting point.
What Nutrients Can You Actually Add to DIY Kids Vitamin Gummies?
You can add several well-studied, kid-appropriate nutrients to homemade gummies, as long as you use age-appropriate doses. The key is using concentrated, natural sources rather than guessing with powders.
| Nutrient | Natural Source to Use | Notes |
|---|---|---|
| Vitamin C | Fresh orange or strawberry juice | High in natural ascorbic acid |
| Vitamin D | Liquid vitamin D3 drops | Easy to measure; essential for bone health |
| Zinc | Elderberry syrup (trace amounts) | Use a pediatric-dosed syrup |
| Iron | Avoid DIY | Too easy to over-dose; use pediatrician-prescribed supplements |
| Omega-3 | Cod liver oil (small amount) | Can affect texture and taste |
| Elderberry | Homemade or store-bought syrup | Popular for immune support |
Choose X if: Your child eats a varied diet and just needs a vitamin D or C boost — a simple juice-based gummy with D3 drops is all you need. If your child has a diagnosed deficiency, work with your pediatrician rather than relying on homemade gummies alone.
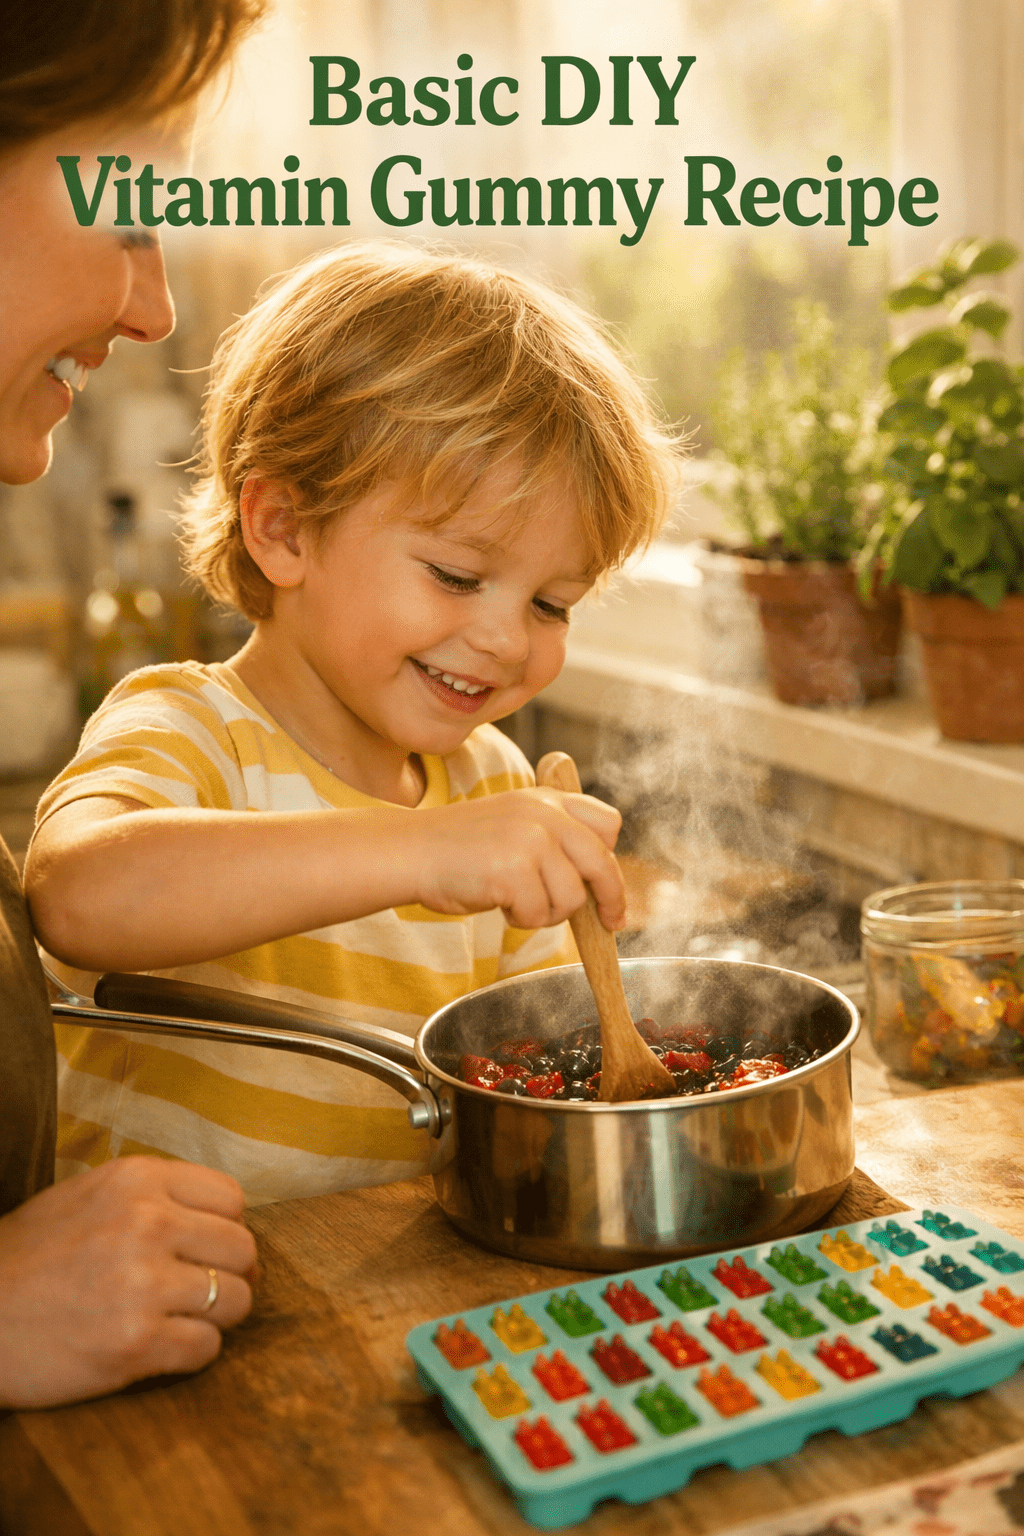
The Basic DIY Kids Vitamin Gummy Recipe (Step-by-Step)
This is the foundational recipe most parents start with. It makes about 50–60 small bear-shaped gummies, depending on your mold size.
What you’ll need:
- 1/2 cup 100% fruit juice (orange, apple, or mixed berry work well)
- 2 tablespoons unflavored gelatin (or grass-fed gelatin powder)
- 1–2 tablespoons raw honey (skip for children under 1 year)
- Optional: 400 IU liquid vitamin D3 drops, elderberry syrup, or a small amount of vitamin C powder
Step-by-step instructions:
- Pour the fruit juice into a small saucepan over low heat. Do not boil.
- Sprinkle gelatin evenly over the juice. Let it sit for 2 minutes to bloom.
- Stir gently over low heat until the gelatin fully dissolves (about 3–4 minutes).
- Remove from heat. Stir in honey and any vitamin drops.
- Use a dropper or small spoon to fill silicone molds.
- Refrigerate for at least 1–2 hours until fully set.
- Pop gummies out of the molds and store in an airtight container in the fridge.
Common mistake: Heating the juice too high kills heat-sensitive vitamins like vitamin C. Keep the temperature below 180°F (82°C) and add vitamin C powder after removing from heat.
Making gummies together is also a genuinely fun activity. Kids learn about nutrition, measurement, and how liquids become solids — a simple win for hands-on learning. If you enjoy making natural remedies at home, you might also like our 5 Herbal Teas for Immunity and Wellness for more whole-family wellness ideas.
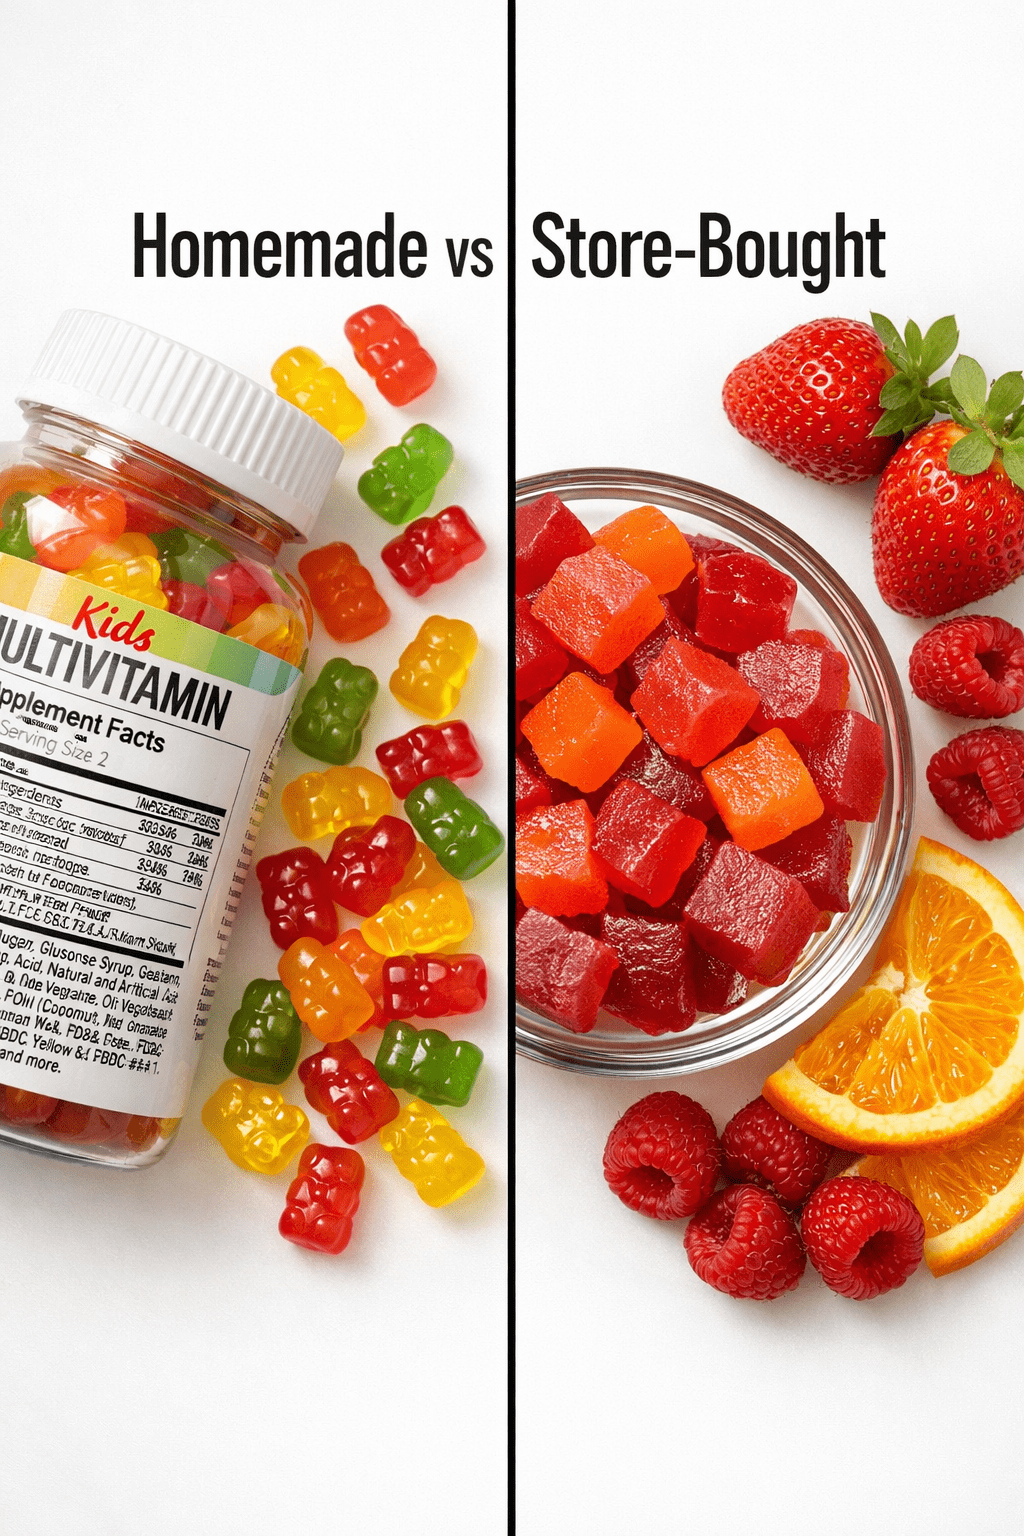
Homemade vs. Store-Bought: An Honest Comparison
Homemade gummies win on ingredient quality and customization; store-bought wins on convenience and guaranteed nutrient accuracy. Here’s the full picture:
| Factor | DIY Kids Vitamin Gummies | Store-Bought Vitamins |
|---|---|---|
| Ingredient control | Full control | Limited; read labels carefully |
| Artificial dyes | None (your choice) | Common in many brands |
| Added sugar | Adjustable | Often 2–3g per serving |
| Nutrient accuracy | Estimated, not lab-tested | Standardized doses |
| Cost per serving | Lower (estimated $0.05–0.15 each) | Higher ($0.20–0.50+ each) |
| Prep time | 20 minutes + 2 hours to set | Zero |
| Shelf life | Up to 2 weeks refrigerated | 1–2 years |
| Fun factor for kids | High | Low |
Edge case: If your child has a clinically diagnosed deficiency (iron, B12, etc.), a homemade gummy cannot reliably deliver a therapeutic dose. In that case, use a pediatrician-recommended supplement for the deficiency and homemade gummies as a general wellness addition.
DIY Kids Vitamin Gummies: Flavor Variations That Kids Love
Plain gelatin and juice works, but these flavor combinations make kids ask for their vitamins every morning.
Top parent-approved combinations:
- Strawberry-orange: Strawberry juice base + fresh orange zest + vitamin C powder
- Apple-elderberry: Apple juice + elderberry syrup (immune-focused, slightly tart)
- Mango-carrot: Mango juice + a tablespoon of carrot juice + vitamin D drops (great beta-carotene source)
- Mixed berry: Blueberry and cherry juice blend + honey (antioxidant-rich)
- Tropical: Pineapple and coconut water base (naturally sweet, no honey needed)
Tip: Use 100% juice with no added sugar. The natural sugars in whole fruit juice are lower and come with fiber context when consumed as part of a whole diet — but you still want to keep portions reasonable. One to two gummies per day is typical for a daily supplement serving.
Common Mistakes to Avoid When Making Kids’ Vitamin Gummies
Most failed batches come down to a few fixable problems.
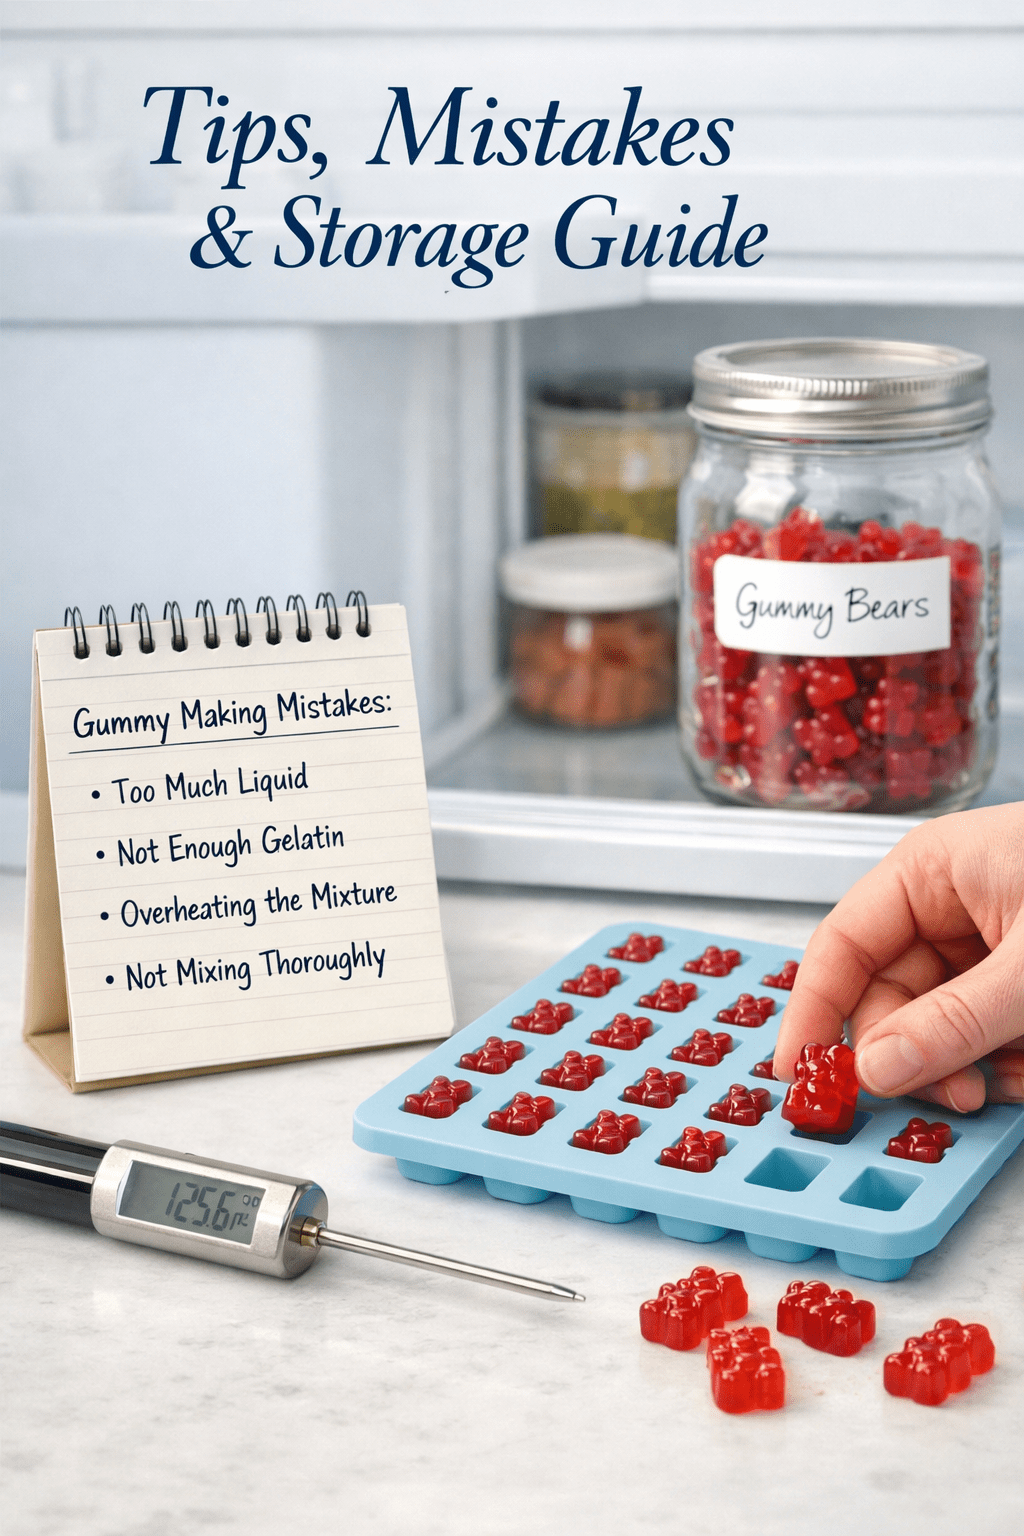
Gummies won’t set:
- Not enough gelatin. Use 2 tablespoons per 1/2 cup liquid minimum.
- Juice contains bromelain or papain (pineapple and papaya break down gelatin). Use canned pineapple juice, not fresh.
Gummies are too rubbery:
- Too much gelatin. Reduce by 1 teaspoon and try again.
Vitamins degrade during cooking:
- Always add heat-sensitive vitamins (C, D drops) after removing the pan from heat.
Kids won’t eat them:
- Try a sweeter juice base or add a small amount of honey.
- Use fun molds — dinosaurs, stars, and letters are popular.
Mold grows before the week is out:
- Store in a sealed glass container in the fridge. Do not leave at room temperature.
For more natural home remedy projects that follow similar careful preparation steps, our Natural Remedies section has plenty of ideas for the whole family.
Are DIY Kids Vitamin Gummies Actually Safe?
Yes, when made with appropriate ingredients and age-suitable doses, homemade vitamin gummies are safe for most children. The main safety considerations are straightforward.
Follow these safety rules:
- No honey for children under 12 months (risk of infant botulism)
- Use measured drops, not guesses, for added vitamins like D3 — follow the dosage on the bottle
- Do not attempt to DIY iron supplements — iron toxicity in children is a serious risk
- Check with your pediatrician before adding any supplement, especially if your child takes medication or has a health condition
- Label your containers with the date made and ingredients used
The American Academy of Pediatrics (AAP) notes that most healthy children eating a varied diet do not need routine supplementation, but vitamin D is commonly recommended, especially for breastfed infants and children with limited sun exposure. Always follow your pediatrician’s specific guidance for your child.
If you’re interested in other natural wellness preparations made at home, our Guides & How-Tos section covers a wide range of beginner-friendly recipes.
FAQ: DIY Kids Vitamin Gummies
Q: How many homemade vitamin gummies should my child eat per day?
One to two gummies per day is the standard serving for a supplement. More than that can mean too much of certain vitamins, especially fat-soluble ones like D and A.
Q: Can I use agar-agar instead of gelatin to make vegan gummies?
Yes. Use 1 teaspoon of agar-agar powder per 1/2 cup of liquid. Note that agar sets firmer and faster than gelatin, so work quickly when filling molds.
Q: How long do homemade vitamin gummies last?
Up to 2 weeks in an airtight container in the refrigerator. They do not keep well at room temperature because they have no preservatives.
Q: Can I add elderberry syrup to the basic recipe?
Yes. Replace 2–3 tablespoons of the juice with elderberry syrup. Reduce or skip added honey since most elderberry syrups are already sweetened.
Q: Do the vitamins survive the cooking process?
Vitamin D3 drops and most mineral supplements survive gentle heat. Vitamin C is heat-sensitive — add it after removing from heat. Elderberry’s active compounds also hold up better when added off-heat.
Q: What molds work best?
Small silicone molds (bear, star, or dinosaur shapes) work best. They’re flexible, easy to pop gummies out of, and dishwasher-safe. Avoid hard plastic candy molds — gummies tend to stick.
Q: Can toddlers eat these gummies?
Children over 12 months can generally eat gummies made with honey. For children under 2, skip honey and use only 100% fruit juice as the sweetener. Always supervise young children eating gummy-textured foods to prevent choking.
Q: Is grass-fed gelatin worth the extra cost?
It’s a personal choice. Grass-fed gelatin has the same gelling properties as standard gelatin. Many parents prefer it for quality reasons, but standard unflavored gelatin works just as well for the recipe.
Conclusion: Start Simple, Then Customize
DIY kids vitamin gummies are one of the most practical natural wellness projects a parent can take on. The basic recipe takes 20 minutes, costs very little, and gives you complete control over what your child is actually swallowing each morning.
Your actionable next steps:
- Start with the basic recipe using orange juice, gelatin, honey, and vitamin D3 drops
- Buy a silicone bear mold (widely available online for a few dollars)
- Check with your pediatrician about which nutrients your child actually needs
- Make a small test batch before committing to a full recipe — adjust sweetness and texture to your child’s preference
- Label and refrigerate your gummies and make a fresh batch every 1–2 weeks
Once you’ve nailed the basic version, experiment with elderberry, mango-carrot, or mixed berry variations. And if you enjoy making natural wellness products at home, explore more ideas at The Herbal Handbook — there’s a whole world of simple, ingredient-conscious recipes waiting for you.
Please read our Medical Disclaimer before making any changes to your child’s supplement routine. This article is for informational purposes only and is not a substitute for professional medical advice.