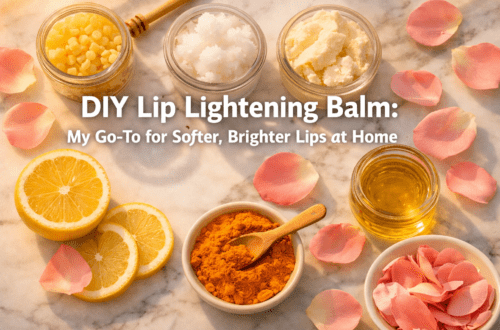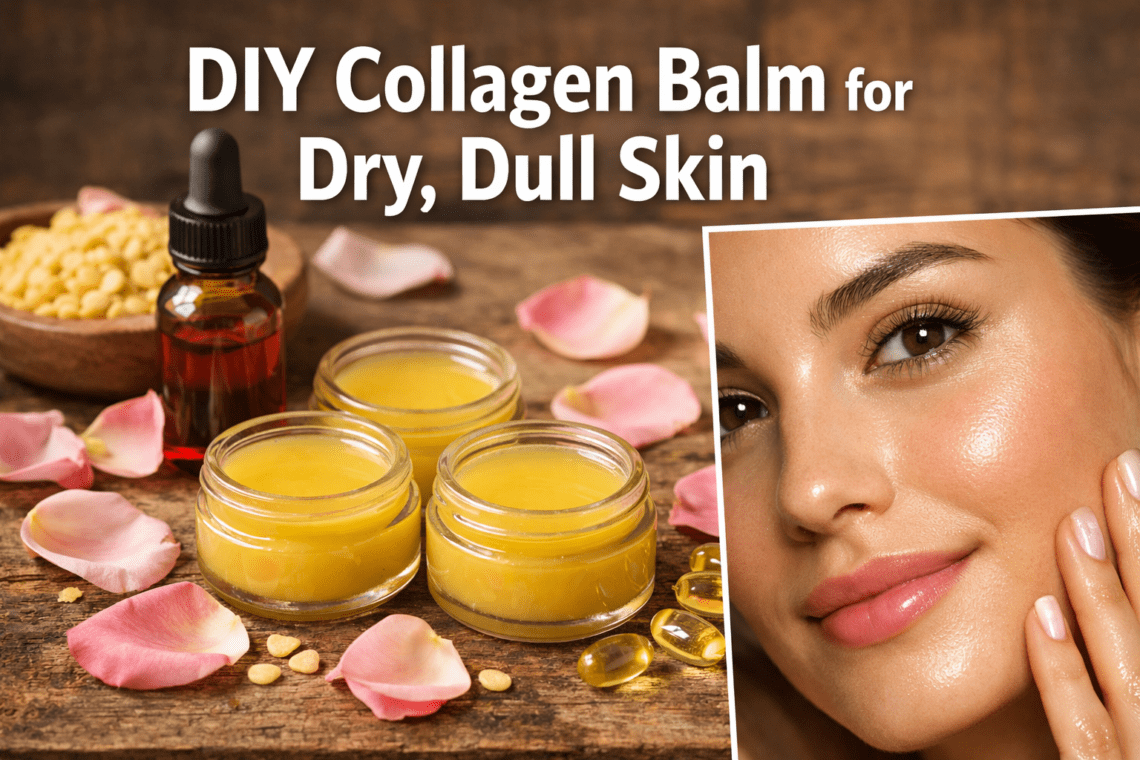

Quick Answer: A DIY collagen balm is a homemade skin treatment made with natural ingredients that support your skin’s collagen production and lock in moisture. You melt together a base of beeswax and shea butter, then add collagen-boosting oils like rosehip and vitamin C. The result is a rich, nourishing balm that helps dry, dull skin look plumper and more radiant within a few weeks of regular use.
Key Takeaways
- A DIY collagen balm uses plant-based ingredients like rosehip oil, vitamin E, and shea butter to support skin hydration and firmness.
- You don’t need to add actual collagen protein to the balm — topical collagen molecules are too large to penetrate skin, so the focus is on ingredients that support your skin’s own collagen.
- The recipe takes about 20 minutes and costs roughly $15–$25 in ingredients, most of which you’ll use again.
- Best for dry, dull, or mature skin; use caution if you have oily or acne-prone skin.
- Store in a clean glass jar and use within 3–6 months.
- Apply to clean skin at night for best absorption.
- Patch test first, especially if you have sensitive skin.
What Exactly Is a DIY Collagen Balm?
A DIY collagen balm is a thick, oil-based skin treatment you make at home using natural ingredients chosen to hydrate skin and encourage collagen synthesis. It’s not a cream or serum — it’s a balm, meaning it’s denser and more occlusive, sealing moisture into the skin rather than adding water.
The name can be a little misleading. Collagen molecules in skincare products are generally too large to pass through the skin barrier, so adding collagen powder to a balm won’t deliver collagen directly to your cells. Instead, a well-made homemade collagen balm focuses on ingredients that stimulate your skin to produce more collagen on its own — things like vitamin C, rosehip oil, and antioxidant-rich plant butters.
“The goal isn’t to replace collagen from outside — it’s to give your skin the building blocks it needs to make more of its own.”
If you’re new to making natural skincare at home, check out the DIY Skincare category on The Herbal Handbook for more beginner-friendly recipes.
What Ingredients Go Into a Homemade Collagen Balm?
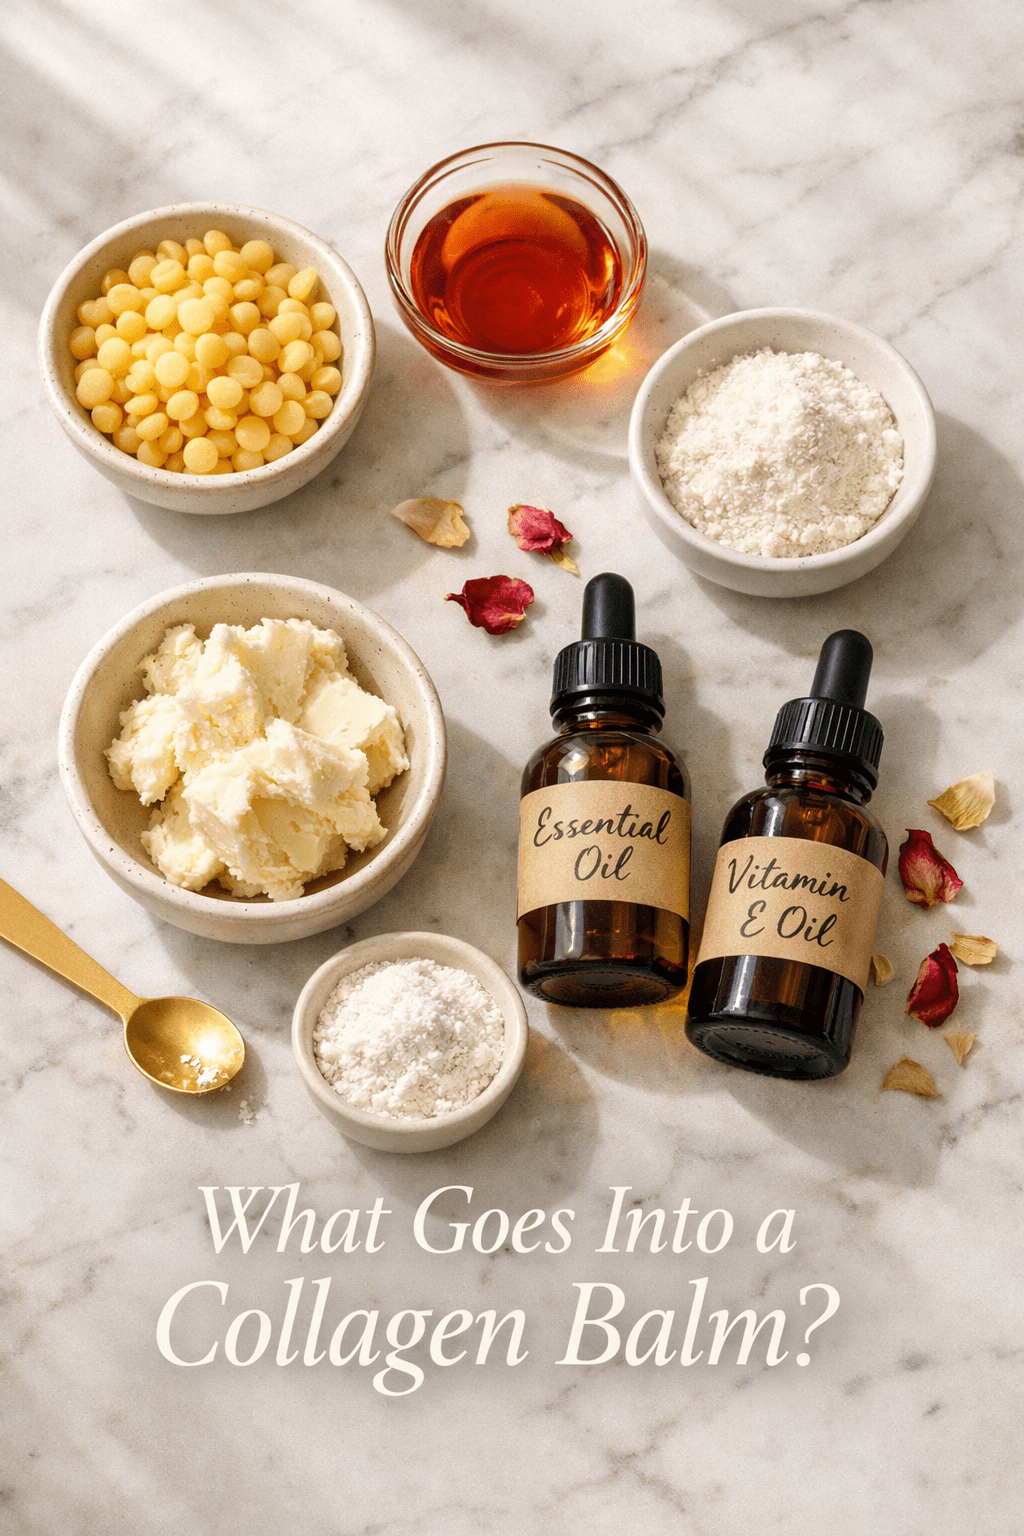
The best ingredients for a collagen-boosting balm are ones that hydrate, protect, and support skin repair. Here’s what I use and why each one earns its place.
| Ingredient | Role | Amount |
|---|---|---|
| Beeswax pellets | Creates firm, protective base | 2 tbsp |
| Shea butter | Deep moisture, anti-inflammatory | 3 tbsp |
| Rosehip seed oil | Rich in vitamin A and C precursors | 1 tbsp |
| Vitamin E oil | Antioxidant, extends shelf life | 1 tsp |
| Vitamin C powder (L-ascorbic acid) | Stimulates collagen synthesis | ¼ tsp |
| Frankincense essential oil | Skin-firming, anti-aging properties | 5 drops |
| Lavender essential oil | Soothing, gentle for most skin types | 5 drops |
A few notes on ingredients:
- Rosehip seed oil is one of the most studied plant oils for skin regeneration. It’s high in linoleic acid and natural retinoids, both of which support collagen activity.
- Vitamin C is well-established as a cofactor in collagen synthesis. Even a small amount in a balm can be beneficial, though oil-based formulas are less stable for vitamin C than water-based ones — so use it fresh and store carefully.
- Frankincense has been used in traditional skincare for centuries and is popular in natural anti-aging recipes. You can also explore our DIY Turmeric Butter for Skin recipe for another powerful plant-based option.
Choose rosehip oil if: your skin is dry or showing early signs of aging. Skip it if: you have very oily or acne-prone skin, as it can clog pores for some people.
How Do You Make a DIY Collagen Balm Step by Step?
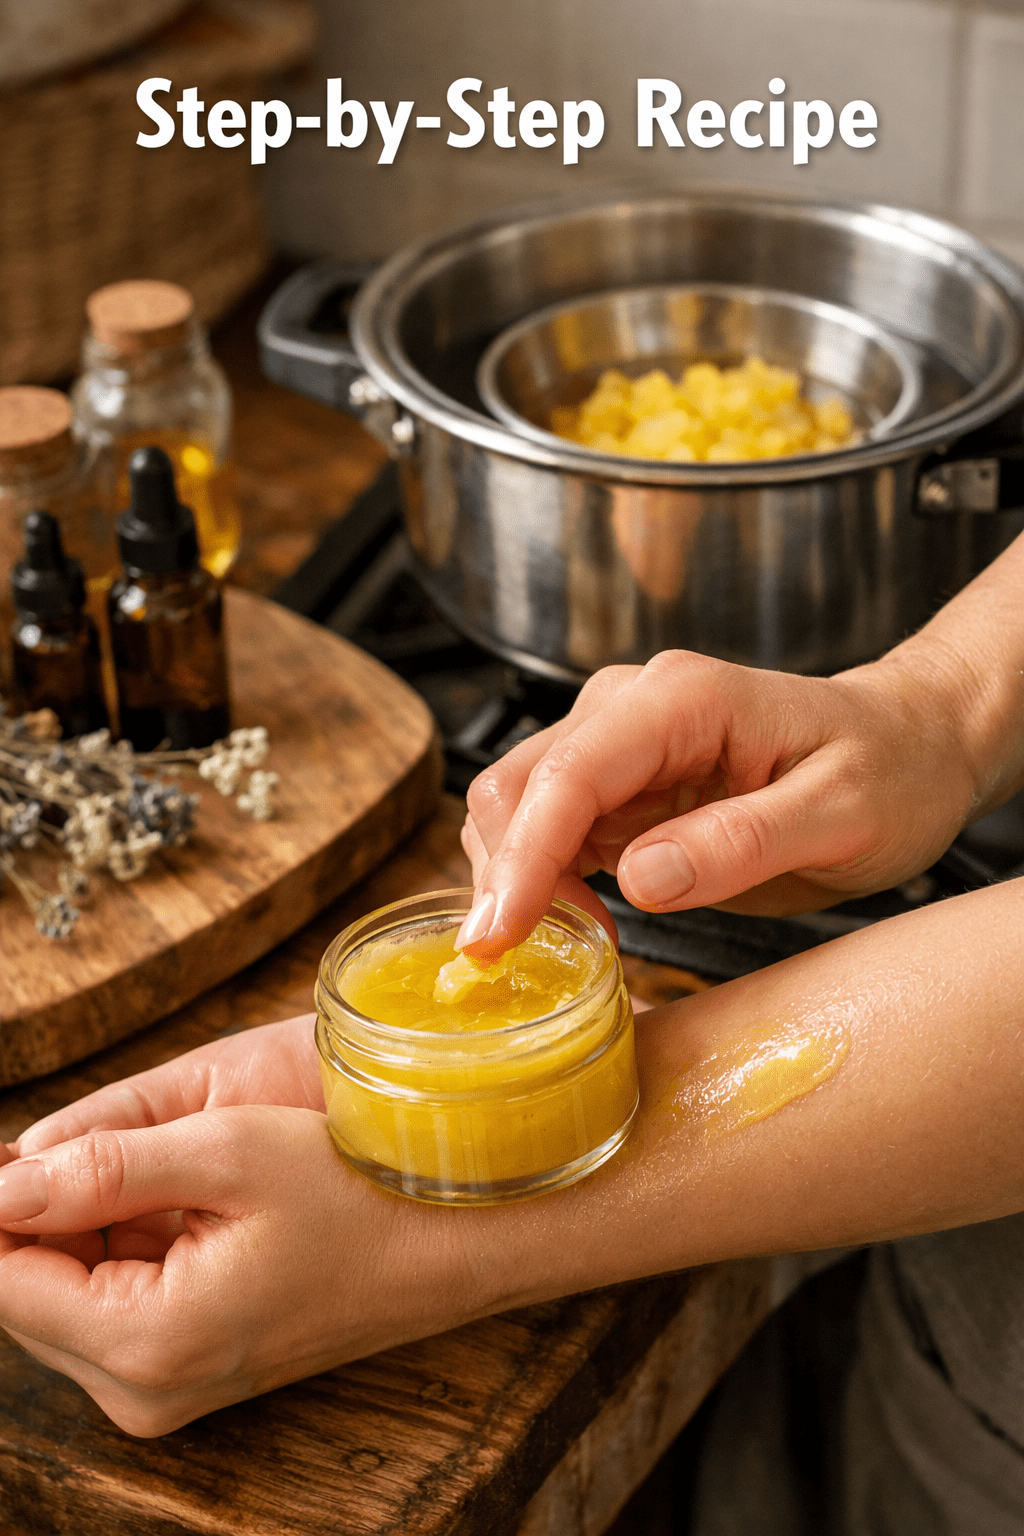
Making this balm takes about 20 minutes, plus cooling time. You’ll need a double boiler (or a heatproof bowl over a pot of simmering water), a small glass jar, and a stirring spoon.
Step-by-step instructions:
- Set up your double boiler. Fill a small pot with 2 inches of water and bring it to a gentle simmer. Place a heatproof glass bowl on top.
- Melt the beeswax. Add the beeswax pellets to the bowl and stir occasionally until fully melted (about 5 minutes).
- Add shea butter. Stir in the shea butter until it melts completely into the beeswax.
- Remove from heat. Take the bowl off the pot and let it cool for 2–3 minutes. You want it warm but not scorching.
- Add your oils. Stir in the rosehip seed oil and vitamin E oil.
- Add vitamin C powder. Sprinkle in the vitamin C and stir well to combine. Work quickly — vitamin C degrades with prolonged heat.
- Add essential oils. Drop in the frankincense and lavender oils and stir.
- Pour into your jar. Transfer the mixture to a clean, dry glass jar and let it set at room temperature for 1–2 hours.
- Label and date it. Write the date on the jar — this balm keeps for up to 6 months when stored in a cool, dark spot.
Common mistake: Adding vitamin C while the mixture is still very hot. High heat breaks down ascorbic acid quickly, so always let the balm cool slightly before stirring it in.
For more homemade balm inspiration, our DIY Headache Balm Recipe uses a similar base and is just as easy to make.
How Does a DIY Collagen Balm Compare to Store-Bought Options?
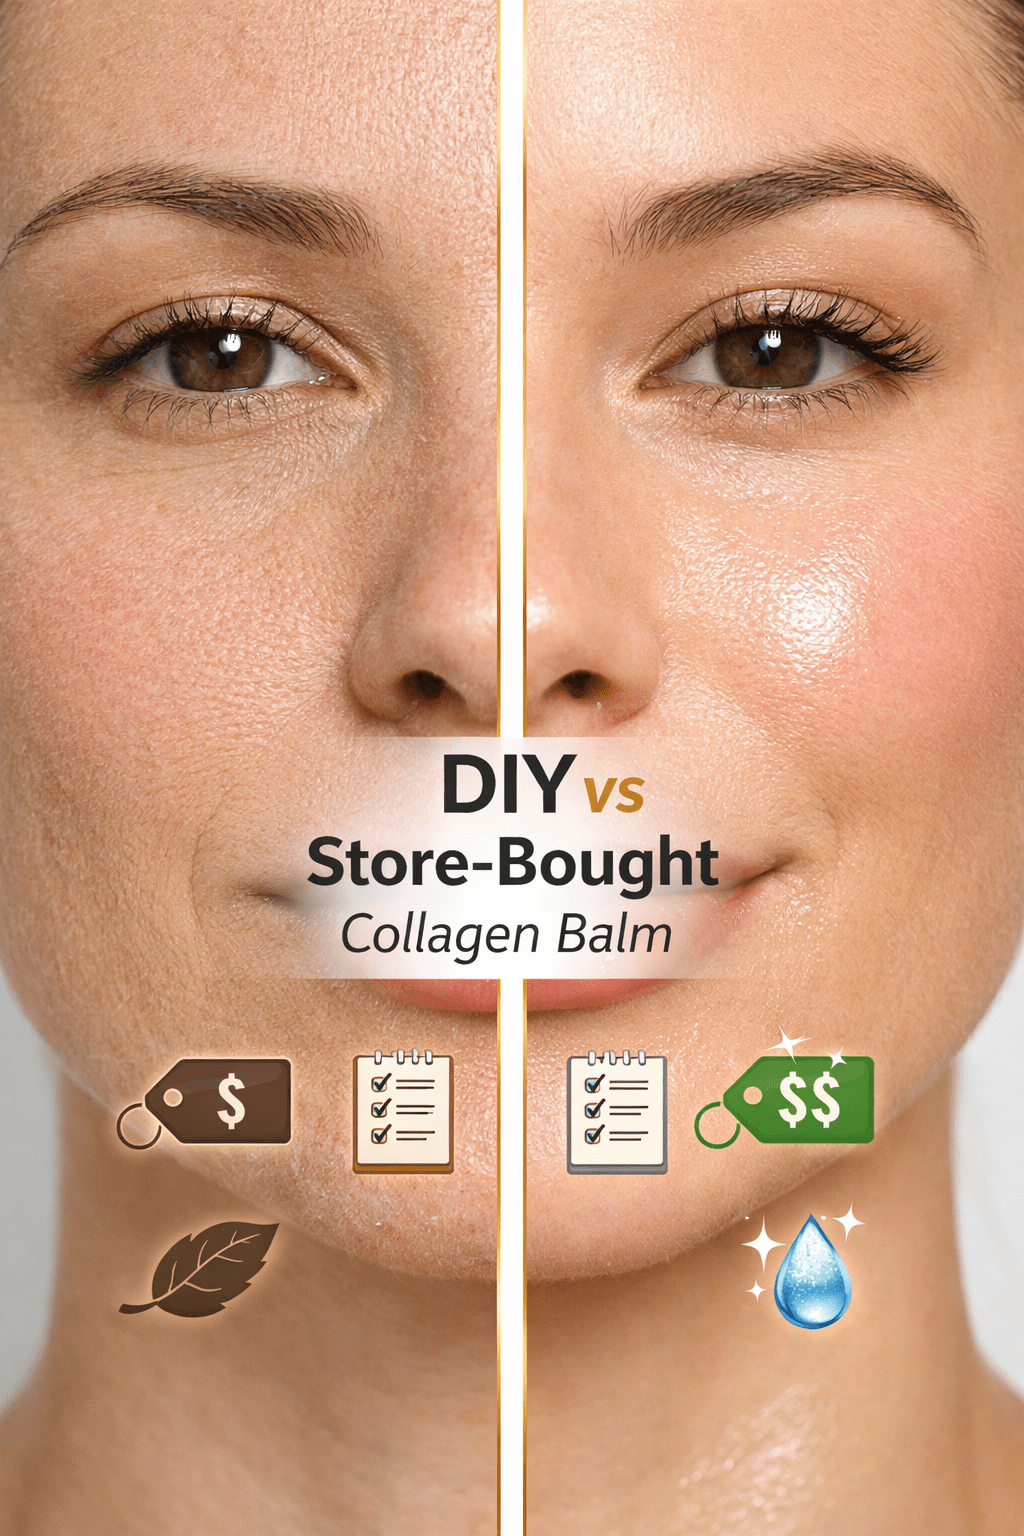
Homemade collagen balm and commercial products each have real trade-offs. Here’s an honest comparison.
| Factor | DIY Collagen Balm | Commercial Collagen Balm |
|---|---|---|
| Cost per jar | ~$3–$5 (once you have supplies) | $20–$80+ |
| Ingredient control | Full control, no fillers | Variable, often includes preservatives |
| Shelf life | 3–6 months | 12–24 months (due to preservatives) |
| Collagen delivery | Supports synthesis; no direct collagen | Same limitation applies |
| Customization | Fully customizable | Fixed formula |
| Convenience | Requires prep time | Ready to use |
The honest truth: Most commercial “collagen balms” face the same limitation as DIY versions — topical collagen can’t penetrate deeply enough to replace lost collagen [2]. So the main advantage of going DIY is knowing exactly what’s in it and paying far less per jar.
If you want to support collagen from the inside out as well, some people find that collagen-supporting nutrition (vitamin C-rich foods, bone broth) works alongside topical care [2].
How Should You Apply a DIY Collagen Balm for Best Results?
Apply your homemade collagen balm correctly and you’ll get noticeably better results than just slapping it on randomly.
Best practice routine:
- When: Apply at night, after cleansing. Skin repairs itself during sleep, so this is when a rich balm does the most good [1].
- How much: A pea-sized amount is enough for the face. Warm it between your fingertips first — body heat softens the balm and helps it spread evenly.
- Where: Focus on dry areas: cheeks, forehead, around the mouth, and the neck.
- Layering: If you use a serum (like a vitamin C serum), apply that first and let it absorb, then seal it in with the balm.
- Frequency: Nightly for dry or mature skin; 2–3 times per week for normal skin.
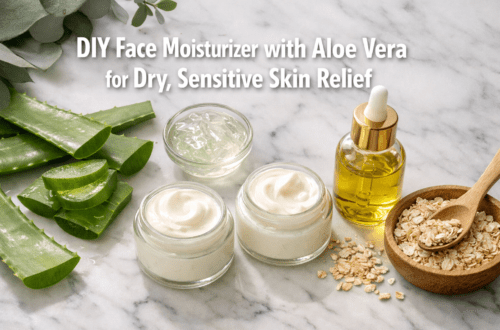
Edge case: If you live in a hot, humid climate, you may find a full balm too heavy. In that case, mix a small amount with a few drops of aloe vera gel before applying. For a lighter alternative, our DIY Aloe Vera Face Mask for Glowing Skin is a great complement to this routine.
Who Should (and Shouldn’t) Use a Homemade Collagen Balm?
This balm is a good fit for most people with dry, dull, or mature skin — but it’s not for everyone.
Best suited for:
- Dry or dehydrated skin types
- Mature skin showing early signs of fine lines
- Anyone with a compromised skin barrier (eczema-prone, wind-damaged, or post-winter skin)
- People who prefer fragrance-free options (just skip the essential oils)
Use with caution if you have:
- Oily or acne-prone skin (the occlusive base can clog pores)
- A known allergy to beeswax or any listed ingredient
- Very sensitive skin (do a patch test on your inner arm 24 hours before applying to your face)
Patch test rule: Apply a small amount to your inner forearm, wait 24 hours, and check for redness, itching, or swelling before using on your face.
For oily skin concerns, our 5 Pore Tightening Home Remedies for Oily Skin might be a better starting point.
Frequently Asked Questions
Can I add actual collagen powder to my DIY balm?
You can, but it won’t deliver collagen to your skin cells. Collagen molecules are too large to penetrate the skin barrier. Focus instead on ingredients like vitamin C and rosehip oil that support your skin’s own collagen production.
How long before I see results from a homemade collagen balm?
Most people notice softer, more hydrated skin within a few days. Visible improvements in firmness or dullness typically take 4–8 weeks of consistent use.
Can I use coconut oil instead of shea butter?
Yes, but coconut oil is more comedogenic (pore-clogging) than shea butter. If you have dry, non-acne-prone skin it works fine. Shea butter is the better choice for most skin types.
Does the balm need a preservative?
Because this recipe contains no water, it doesn’t need a traditional preservative. Vitamin E oil acts as an antioxidant to slow rancidity. Keep it in a cool, dark place and use within 6 months.
Can I use this balm on my body, not just my face?
Absolutely. It works well on dry elbows, knees, hands, and lips. For a dedicated body option, try pairing it with a DIY Rice Powder Body Scrub first to prep the skin.
What if my balm is too hard or too soft?
Too hard: reduce the beeswax by half a tablespoon next time. Too soft: add an extra half tablespoon of beeswax. Climate matters too — balms soften in warm weather naturally.
Is frankincense essential oil safe during pregnancy?
Essential oil safety during pregnancy is a topic to discuss with your healthcare provider. When in doubt, leave the essential oils out entirely — the balm still works well without them.
Can I make a vegan version?
Yes. Replace beeswax with candelilla wax (use about half the amount, as it’s firmer) and you have a fully plant-based balm.
Conclusion
A DIY collagen balm is one of the most practical, affordable ways to give dry, dull skin a real boost — and you can make a full jar in under 30 minutes. The key is choosing the right ingredients: a beeswax and shea butter base for protection, rosehip oil and vitamin C to support collagen synthesis, and vitamin E to keep everything stable.
Your next steps:
- Gather your ingredients (most are available at health food stores or online).
- Make a small test batch using the recipe above.
- Patch test for 24 hours before applying to your face.
- Use nightly for 4–6 weeks and track your skin’s progress.
If you want to build a fuller natural skincare routine around this balm, explore our 5 DIY Face Masks for Glowing Skin and our DIY Anti-Age Face Mask for complementary recipes that work well together.
Your skin doesn’t need a $70 jar of promises. It needs good ingredients, consistency, and a little patience — and you’ve got all three now. 🌿
References
[1] How To DIY Facial At Home – https://www.cosmopolitan.com/style-beauty/beauty/a70012623/how-to-diy-facial-at-home/
⚠️ Disclaimer: This article is for informational purposes only and is not a substitute for professional medical or dermatological advice. Always patch test new skincare products and consult a healthcare provider if you have skin conditions or concerns. See our Medical Disclaimer for full details.