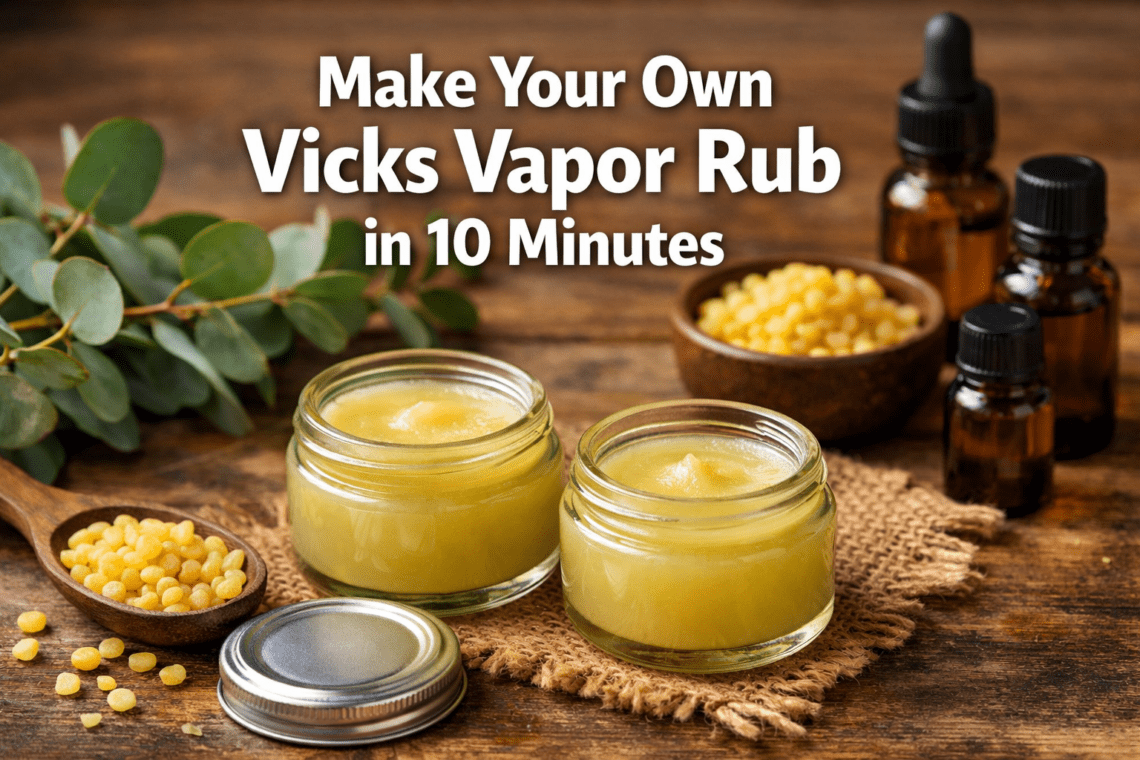

Quick Answer: You can make your own Vicks Vapor Rub at home in about 10 minutes using beeswax, a carrier oil (like olive or coconut oil), and a few essential oils — mainly eucalyptus, peppermint, and lavender. Melt the beeswax and oil together, stir in the essential oils off the heat, pour into a small jar, and let it cool. That’s genuinely it.
Key Takeaways
- Core ingredients: beeswax, a carrier oil (olive or coconut), eucalyptus essential oil, plus optional peppermint and lavender
- Time required: about 10 minutes active time, plus 30–60 minutes cooling
- Equipment needed: a small saucepan, a heat-safe bowl or double boiler, a spoon, and a small glass or metal jar
- Shelf life: up to one year when stored in a cool, dry place in a glass or metal container [2]
- Customizable strength: if the first batch isn’t strong enough, you can remelt and add more essential oil [2]
- Child safety note: peppermint and camphor are considered too harsh for young children — use gentler oils for kids [2]
- Texture tip: let the mixture cool completely before using to get that smooth, spreadable consistency [1]
- Cost: a batch costs a fraction of the store-bought price, and most ingredients last for multiple batches
What Ingredients Do You Need to Make Your Own Vicks Vapor Rub?
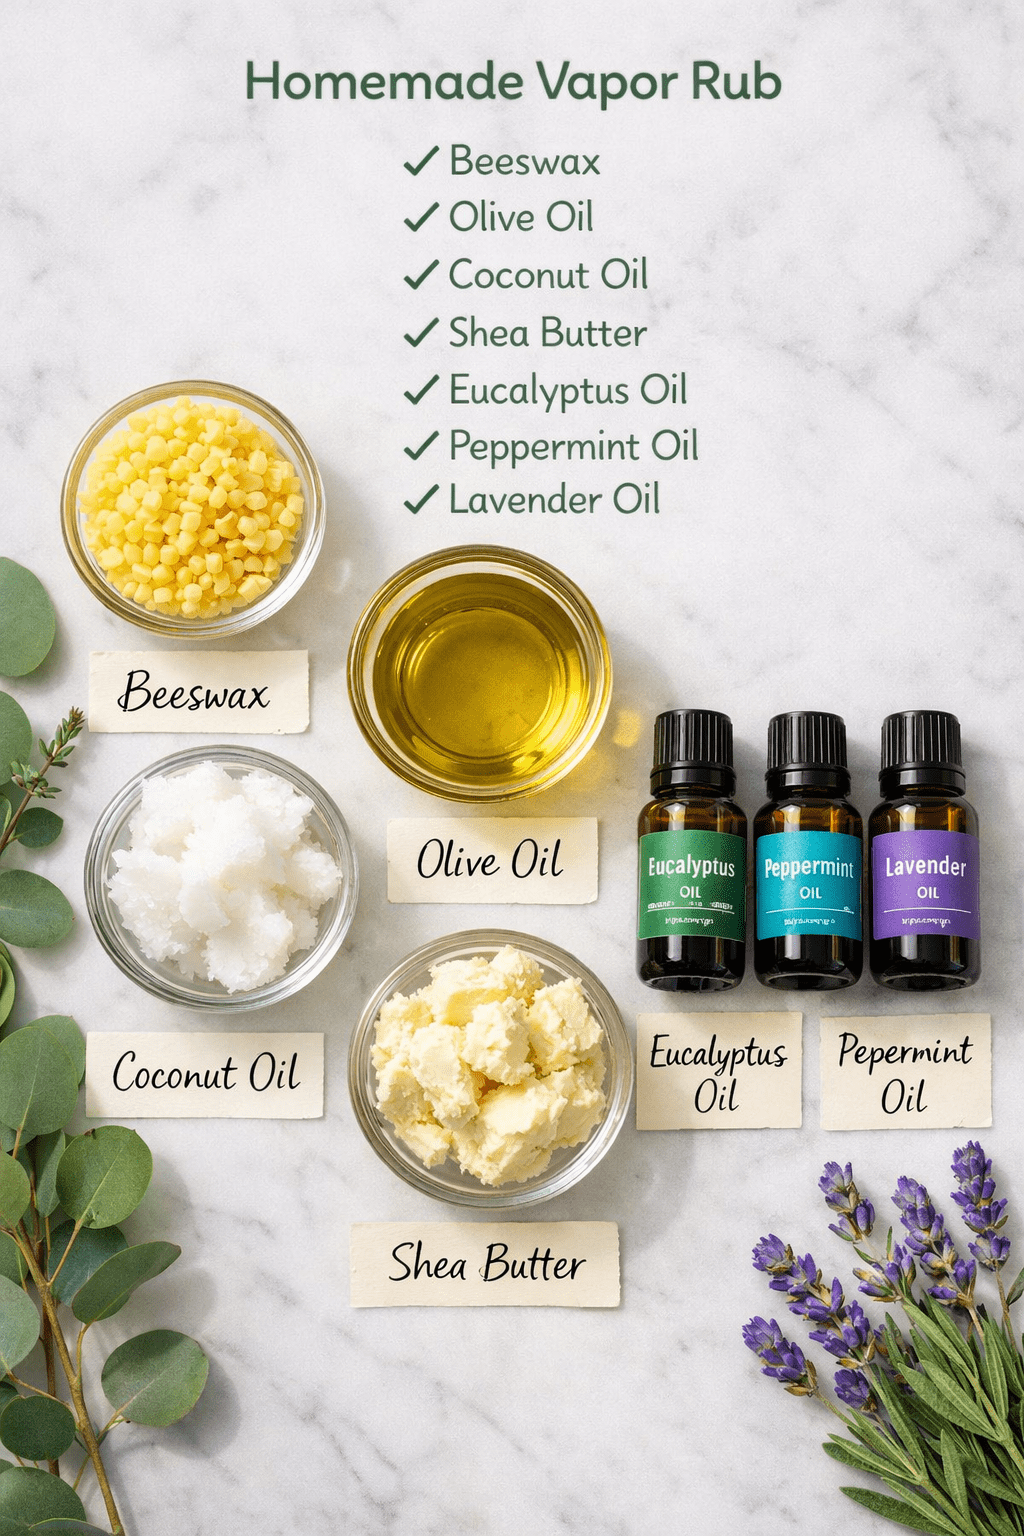
You need five basic ingredients, most of which you can find at a health food store or online. The list is short on purpose — this is a beginner-friendly recipe.
Here’s the simple starter recipe [2]:
| Ingredient | Amount | Purpose |
|---|---|---|
| Olive oil (or coconut oil) | ¼ cup | Carrier/base oil |
| Beeswax pellets | 2 teaspoons | Gives solid texture |
| Eucalyptus essential oil | 25–30 drops | Main decongestant scent |
| Lavender essential oil | 10–15 drops | Calming, skin-soothing |
| Rosemary essential oil | 20–25 drops | Supports breathing |
Want a richer, more moisturizing version? Swap some of the olive oil for ¼ cup of shea butter. Shea butter adds a deeply moisturizing quality that’s especially helpful for dry, sore skin under the nose [1].
Coconut oil vs. olive oil: Coconut oil melts at around 76–77°F and has natural antibacterial properties that can support cold relief [3]. Olive oil stays liquid at room temperature, so your finished rub will be slightly softer. Either works — choose based on what you have on hand.
💡 Choose coconut oil if you want a firmer rub with extra antibacterial support. Choose olive oil if you prefer a softer texture or already have it in your pantry.
How to Make Your Own Vicks Vapor Rub: Step-by-Step
This process takes about 10 minutes from start to pouring. The cooling time after is hands-off.
What you’ll need:
- Small saucepan + heat-safe glass bowl (to create a double boiler)
- Wooden spoon or silicone spatula
- Measuring spoons
- Small glass jar or 4-ounce metal tin
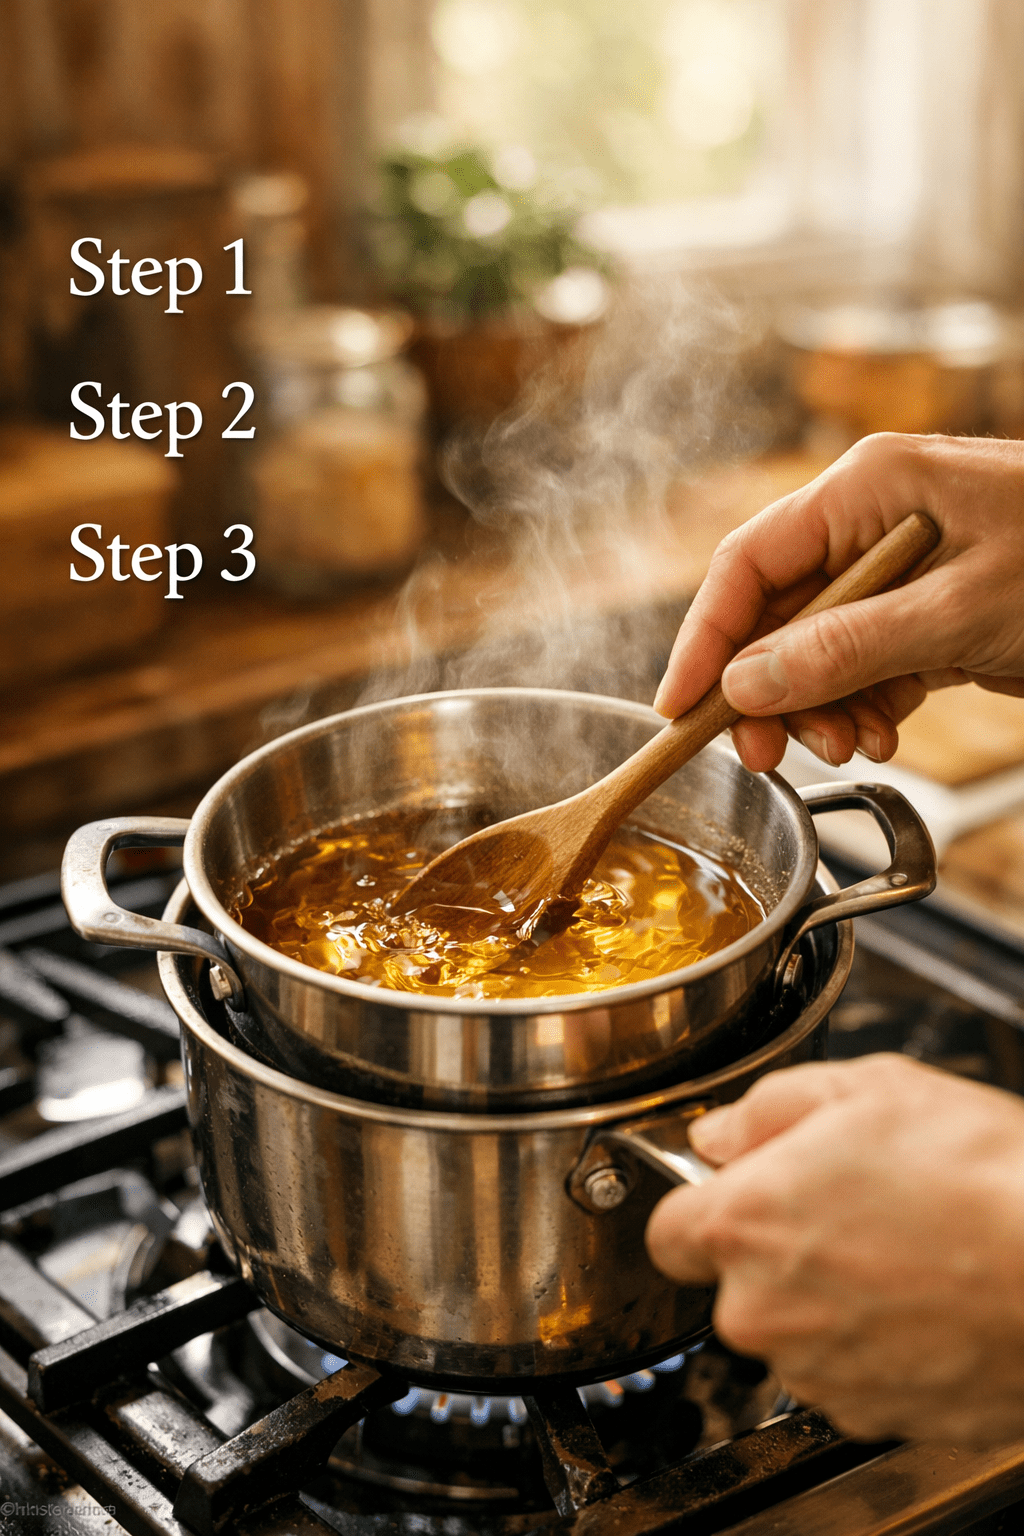
Step 1: Set Up Your Double Boiler
Fill a small saucepan with 1–2 inches of water and bring it to a gentle simmer. Place a heat-safe glass bowl on top. The bowl should sit above the water, not touch it. This indirect heat method protects your ingredients from overheating [3].
Step 2: Melt the Beeswax and Carrier Oil
Add your beeswax pellets and carrier oil to the bowl. Stir gently and constantly. The goal is to melt them together — not cook them. As soon as the beeswax is fully melted and the mixture looks clear and smooth, remove the bowl from the heat [4].
Step 3: Add Your Essential Oils
This step is important: let the mixture cool for 1–2 minutes before adding essential oils. If the liquid is too hot, it can degrade the oils and reduce their therapeutic strength. Then add your eucalyptus, lavender, and rosemary drops and stir well [3].
Eucalyptus is the key ingredient here — it’s found in virtually every commercial vapor rub because it helps clear the respiratory system and break down congestion [1].
Step 4: Pour and Cool
Pour the mixture into your jar or tin immediately, before it starts to set. Then leave it alone. Don’t put it in the fridge to speed things up — let it cool at room temperature for 30–60 minutes. This gives you the smooth, silk-like texture rather than a grainy or lumpy finish [2].
Step 5: Test and Adjust
Once cooled, test the strength. If it feels too mild, you can remelt the batch gently and add more essential oil drops until it reaches the strength you want [2].
Homemade Vapor Rub vs. Store-Bought: Is It Worth Making?
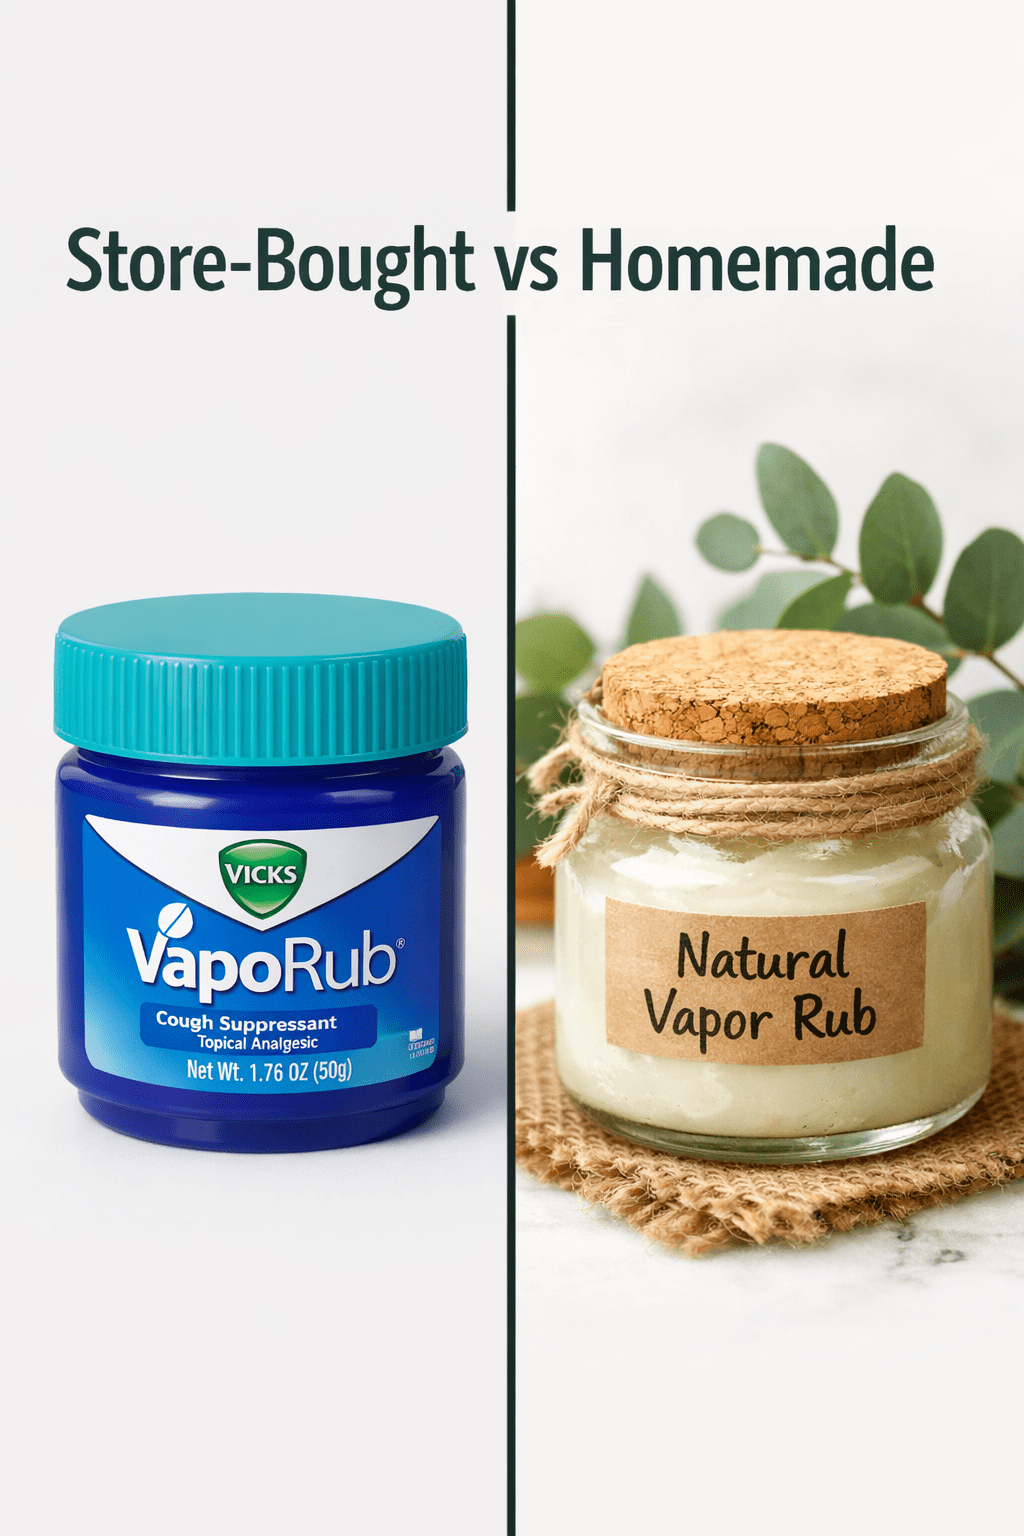
Homemade vapor rub is worth making if you want to control what goes on your skin, avoid petroleum-based ingredients, or simply save money over time. Here’s a quick comparison:
| Factor | Store-Bought Vicks | Homemade Version |
|---|---|---|
| Main base | Petrolatum (petroleum jelly) | Beeswax + natural oil |
| Scent strength | Fixed | Fully adjustable |
| Skin feel | Can feel greasy | Smooth and spreadable [2] |
| Cost per batch | ~$5–8 per jar | Lower after initial ingredient purchase |
| Shelf life | 2+ years | Up to 1 year [2] |
| Child-safe options | Limited | Fully customizable |
The homemade version doesn’t contain petrolatum, artificial preservatives, or synthetic fragrance. For people with sensitive skin, that’s a meaningful difference. For people who just want something that works fast and costs less, it’s also a practical choice.
If you enjoy making natural body care products, you might also like this DIY warming muscle rub recipe or this natural sinus chest rub recipe — both use a similar base and technique.
Common Mistakes to Avoid When Making Vapor Rub at Home
Most beginner problems come down to heat and timing. Here’s what to watch for:
- Overheating the mixture: High heat breaks down essential oils and can scorch beeswax. Keep the simmer gentle and stir constantly [3].
- Adding essential oils while too hot: Wait a minute or two after removing from heat. If the mixture is still steaming, it’s too hot for the oils [3].
- Using too little beeswax: If your rub stays liquid or is too soft, add a bit more beeswax next time. A firmer texture is easier to apply without mess.
- Cooling in the fridge: This causes uneven setting and a grainy texture. Room temperature cooling gives the best result [1].
- Skipping the stir after adding oils: Essential oils are lighter than the wax mixture and will float if you don’t stir them in thoroughly.
For more beginner guidance on working with natural ingredients, the Natural Remedies for Beginners: Complete Guide is a solid starting point.
How Do You Store Homemade Vapor Rub and How Long Does It Last?
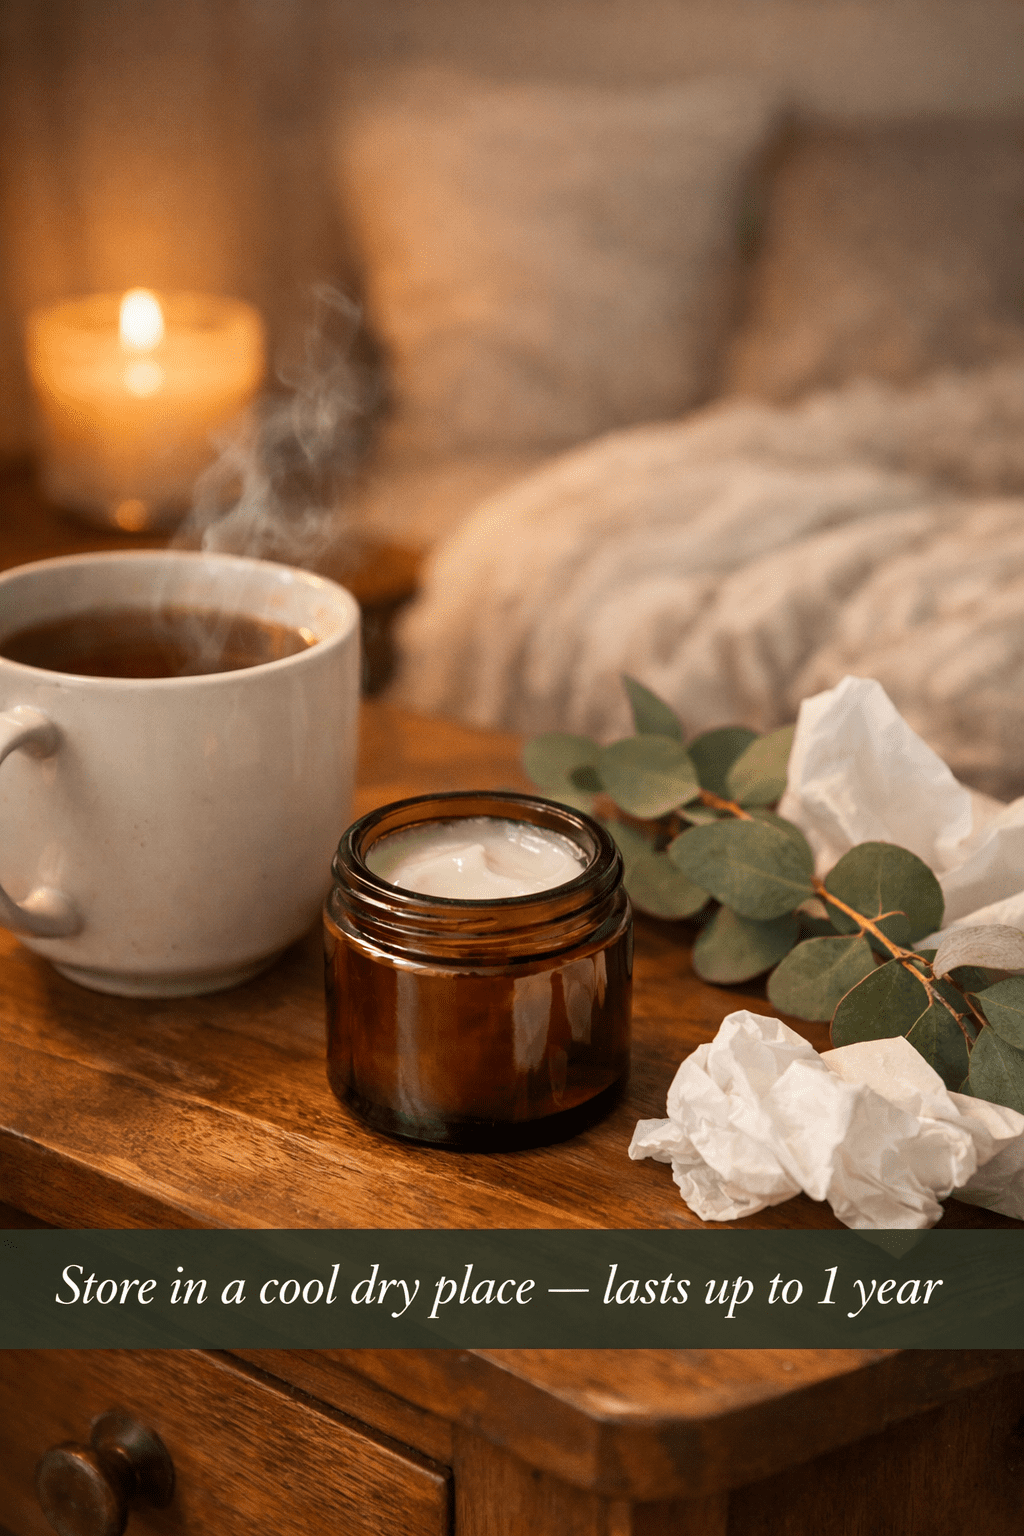
Store your homemade vapor rub in a small glass jar or 4-ounce metal tin in a cool, dry place — away from direct sunlight and heat. Stored properly, it lasts up to one year [2].
Storage tips:
- Glass and metal containers are better than plastic because essential oils can interact with some plastics over time
- Label your jar with the date you made it
- If it smells “off” or changes color significantly, discard it and make a fresh batch
- Keep out of reach of children, especially if you’ve used peppermint oil
Is Homemade Vapor Rub Safe for Children?
Homemade vapor rub can be made child-safe, but the standard adult recipe needs adjustment. Peppermint oil and camphor (found in some recipes) are considered too harsh for young children and should be avoided in formulas intended for kids [2].
For a gentler child-friendly version, use only lavender and a small amount of eucalyptus (check age-appropriate guidelines for eucalyptus use with young children, as it’s generally not recommended for children under 2). Always do a small patch test on the child’s skin first.
When in doubt, consult a pediatrician before using any essential oil product on a child. You can also check our medical disclaimer for more context on how we approach health-related DIY content.
If you’re dealing with a cold and want more natural relief options alongside your vapor rub, check out 10 natural remedies for cough that actually work or this hot toddy recipe for colds.
FAQ
Can I use vegetable oil instead of olive or coconut oil?
Yes, but vegetable oil has a shorter shelf life and a less neutral scent. Olive or coconut oil are better choices for both longevity and skin feel.
How many drops of essential oil should I use total?
A standard batch uses 55–70 drops total across all oils. Start on the lower end and adjust after testing — you can always remelt and add more [2].
Can I make this without beeswax?
You can use candelilla wax (vegan alternative) at roughly half the amount, since it’s firmer than beeswax. Without any wax, the rub will stay liquid and won’t have the balm-like texture.
What’s the best essential oil for congestion relief?
Eucalyptus is the most effective for respiratory support and is the primary active ingredient in commercial vapor rubs [1]. Peppermint is a strong secondary option for adults.
Can I use this on my face?
Avoid applying near the eyes or on broken skin. The essential oils are potent and can cause irritation in sensitive areas. Chest, back, and the soles of the feet are the most common application spots.
How do I know if my beeswax is fully melted?
The mixture will look clear and uniform with no white pellet chunks visible. It should pour smoothly like a thin liquid at this stage.
Can I add camphor to make it more like the original Vicks?
Camphor is the ingredient that gives Vicks its distinctive cooling sensation, but it requires careful handling and is not safe for children. If you want to include it, research safe dilution rates carefully and keep the product away from kids.
What if my finished rub is too hard to spread?
Remelt it and add a bit more carrier oil, then re-pour and cool again. A slightly higher oil-to-wax ratio gives a softer texture.
Conclusion
Making your own Vicks Vapor Rub at home is genuinely one of the easiest DIY natural remedies you can try. With five basic ingredients, a double boiler setup, and about 10 minutes of active time, you get a customizable, natural chest rub that works without petroleum or synthetic additives.
Here’s what to do next:
- Gather your ingredients: beeswax pellets, olive or coconut oil, eucalyptus, lavender, and rosemary essential oils
- Set up a simple double boiler and follow the five steps above
- Pour into a small glass jar, let it cool completely, and label it with today’s date
- Test the strength and adjust on your next batch if needed
Once you’ve made your first batch, you’ll likely never go back to buying it. And if you enjoy this kind of natural DIY, explore more recipes in our natural remedies collection — there’s a lot more where this came from.
References
[1] How To Make Homemade Vapour Rub – https://www.freshskin.co.uk/blog/how-to-make-homemade-vapour-rub/
[2] Homemade Vicks Vapor Rub – https://www.mrshappyhomemaker.com/homemade-vicks-vapor-rub/
[3] Vicks Vapo Rub Recipe – https://gardentherapy.ca/vicks-vapo-rub-recipe/
[4] DIY Vapour Rub – https://www.biomestores.com/blogs/diy-recipes/diy-vapour-rub