
Quick Answer
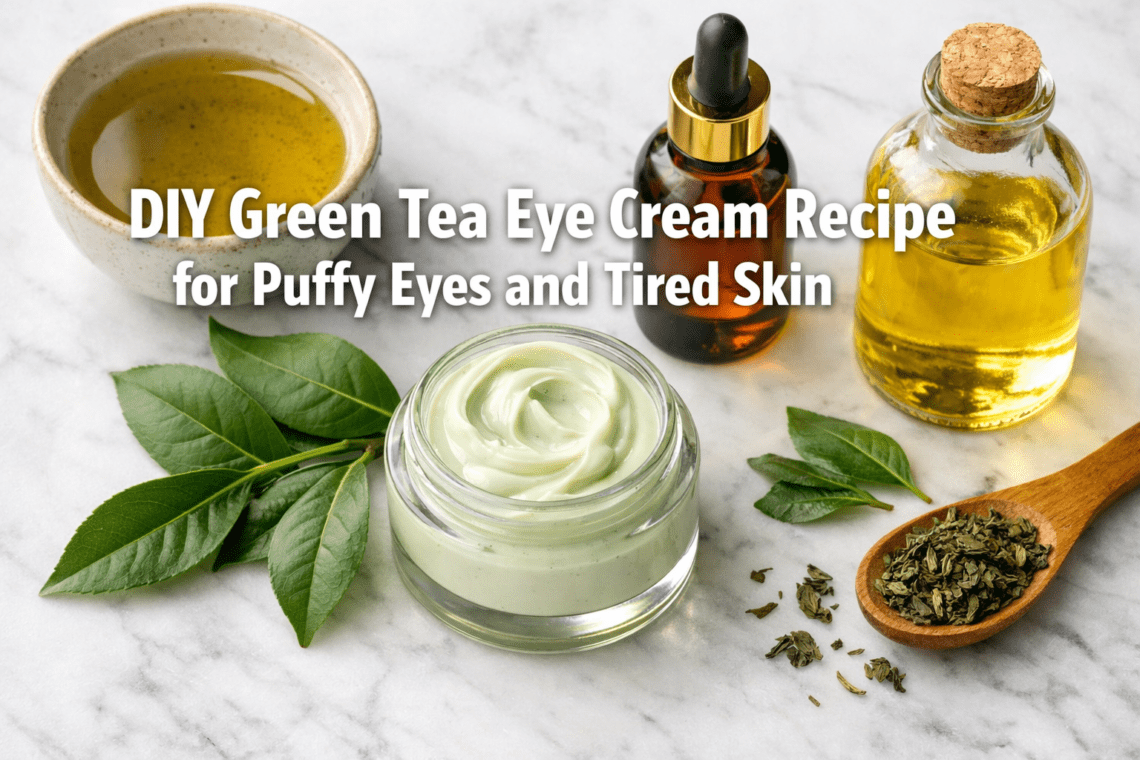
A DIY green tea eye cream combines brewed green tea, rosehip seed oil, sweet almond oil, and emulsifying wax into a lightweight cream that targets puffiness, dark circles, and tired-looking skin around the eyes. The caffeine in green tea causes blood vessels to constrict, which visibly reduces swelling, while the polyphenols calm inflammation [1][2]. You can make a small batch at home in about 30 minutes with basic kitchen tools.
Key Takeaways
- Green tea’s caffeine reduces puffiness by narrowing blood vessels and improving circulation around the eye area [2][4]
- Polyphenols (catechins) in green tea act as anti-inflammatory and anti-bacterial agents that soothe delicate skin [1]
- Vitamin K found in green tea specifically helps fade dark circles under the eyes [1]
- Rosehip seed oil penetrates deep skin layers to support collagen production and brighten skin [2]
- Temperature matching is the most critical step: both your oil mixture and tea mixture must be the same temperature before you combine them, or the cream won’t set [2]
- Never add essential oils to eye cream — they can seriously irritate the sensitive eye area [4]
- Store your finished cream in a clean glass jar in the fridge and use within 2 to 3 weeks
- Apply with your ring finger using a gentle tapping motion — never rub or drag the skin
- This recipe is best for adults with puffy, tired, or dull under-eye skin; it’s not a medical treatment for severe dark circles or swelling
Why Does Green Tea Work So Well Around the Eyes?
Green tea works on puffy eyes because of two main things: caffeine and polyphenols. Caffeine causes vasoconstriction, meaning it narrows blood vessels, which reduces the blood pooling and fluid buildup that causes puffiness [4]. Polyphenols, especially catechins, calm inflammation and help soothe the thin, reactive skin around the eyes [1].
Here’s what each key compound does:
- Caffeine: Acts as a vasodilator when applied topically, tightening skin and improving circulation to reduce puffiness [2]
- Catechins (polyphenols): Reduce inflammation and act as natural anti-bacterial agents on the skin [1]
- Vitamin K: Targets dark circles by supporting healthy blood vessel function directly under the eyes [1]
- Antioxidants: Help protect skin cells from oxidative stress that speeds up aging around the eye area
“The caffeine in green tea doesn’t work instantly like a magic eraser — it’s absorbed gradually, so consistent daily use gives the best results.” [4]
One thing worth knowing: caffeine’s effect is real but takes time. Multiple applications over days or weeks tend to show more noticeable improvement than a single use [4].
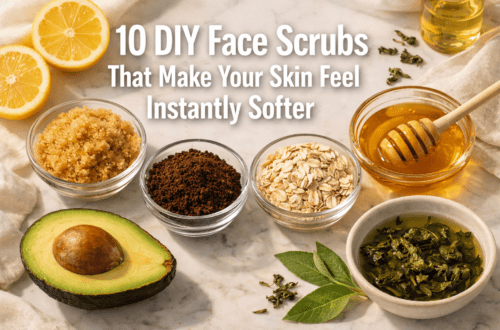
What Ingredients Do You Need for This DIY Green Tea Eye Cream Recipe?
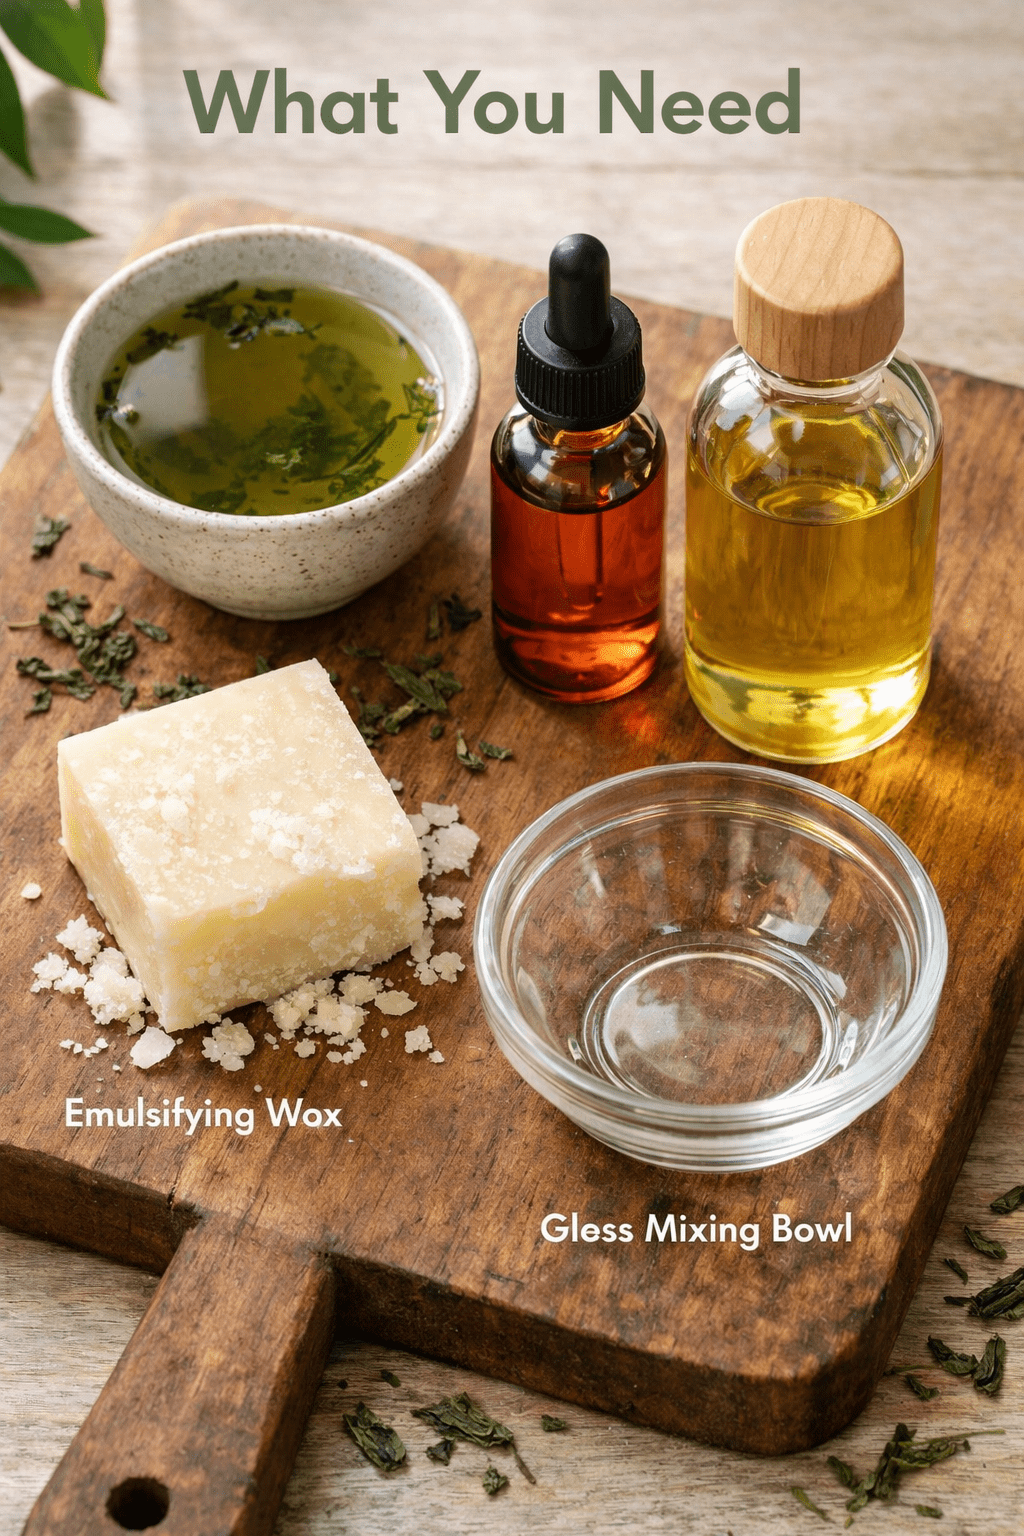
You need four core ingredients plus a few basic tools. This recipe makes roughly 2 ounces of cream, which is a good starting amount for a first batch.
Core Ingredients
| Ingredient | Amount | Purpose |
|---|---|---|
| Brewed green tea (cooled) | 1/4 cup | Active caffeine + antioxidants |
| Rosehip seed oil | 1 tablespoon | Collagen support, brightening [2] |
| Sweet almond oil | 1 tablespoon | Moisturizing, skin softening |
| Emulsifying wax | 1 tablespoon | Binds oil and water into cream |
Tools You’ll Need
- Double boiler (or a heatproof bowl over a pot of water)
- Cooking thermometer
- Small hand mixer or whisk
- Clean glass jar with lid (2 oz size works well)
- Measuring spoons
Why rosehip seed oil specifically? It penetrates deeper than surface-level oils, actively supporting cell regeneration and collagen production while also helping to fade dark circles [2]. It’s one of the best oils you can use for the eye area.
Why emulsifying wax? Green tea is water-based and oils are, well, oil-based. Without an emulsifier, they’ll separate in the jar. Emulsifying wax is what turns this into an actual cream rather than an oily liquid.
For more skin-loving DIY ideas using natural oils, check out this DIY collagen balm for dry, dull skin — it uses a similar approach with nourishing base ingredients.
How to Make This DIY Green Tea Eye Cream Recipe (Step by Step)
Follow these steps carefully, especially the temperature step — it’s where most batches go wrong [2].
Step 1: Brew and Cool Your Green Tea
Brew one green tea bag in 1/2 cup of hot water for 5 minutes. Let it cool completely to room temperature. You only need 1/4 cup for the recipe, so you can sip the rest.
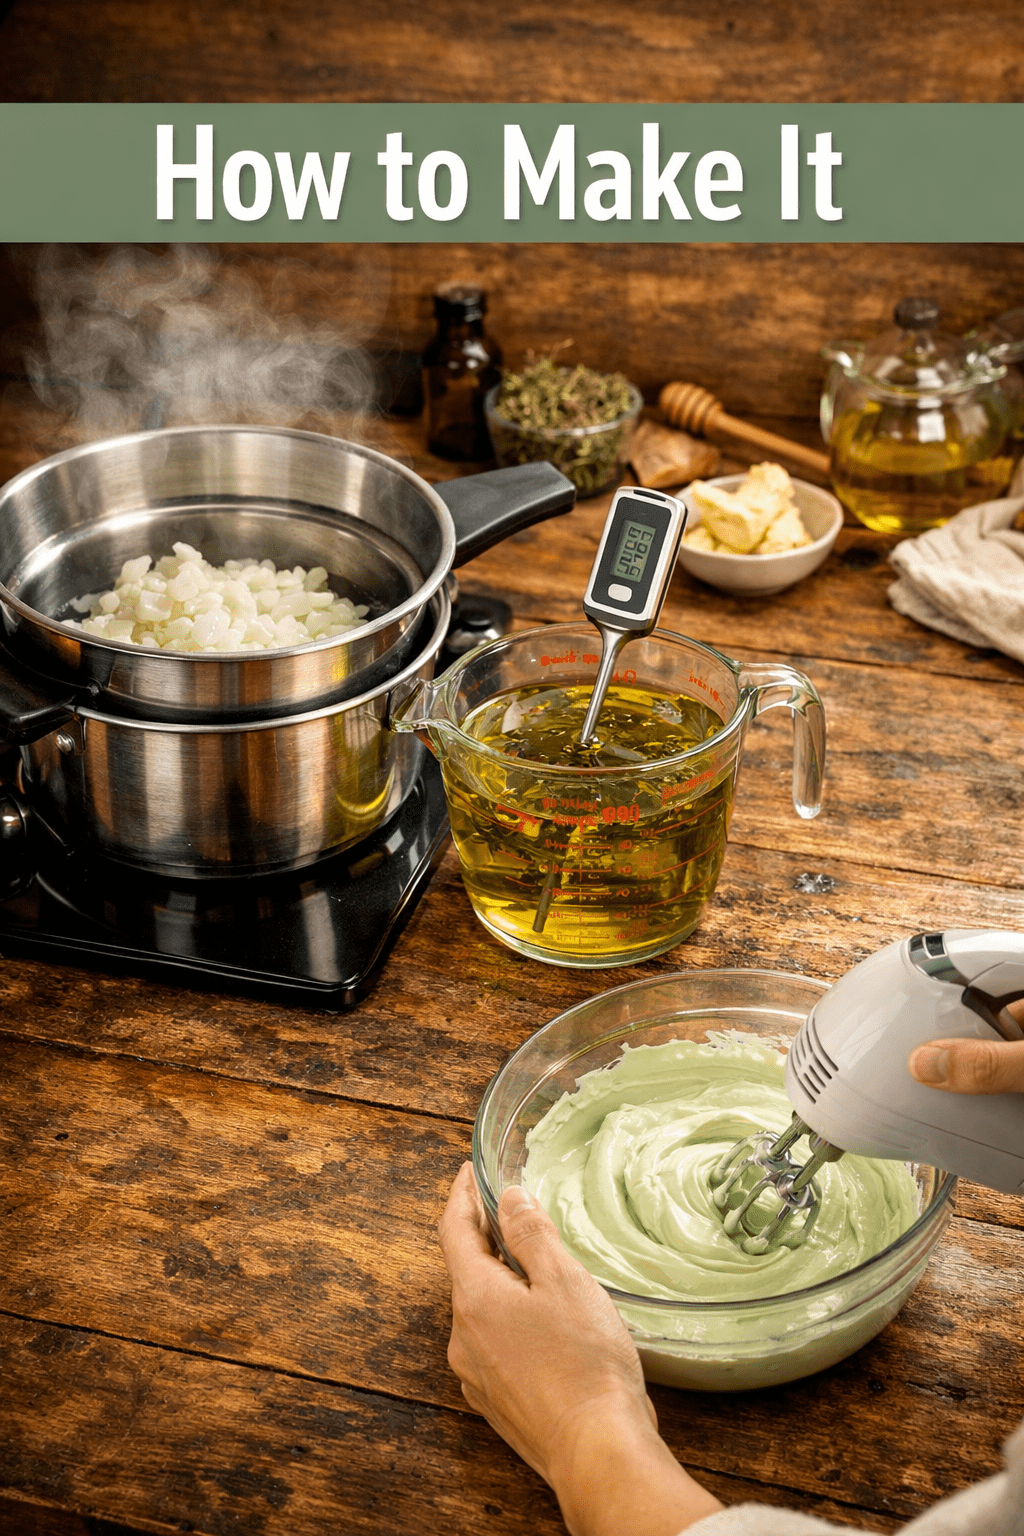
Step 2: Melt the Wax and Oils Together
In your double boiler, combine the emulsifying wax, rosehip seed oil, and sweet almond oil. Heat gently over low-medium heat, stirring occasionally, until the wax fully melts. This usually takes 5 to 8 minutes.
Step 3: Heat the Green Tea Separately
In a separate small saucepan or heatproof cup, gently warm your brewed green tea to the same temperature as your oil mixture. Use your thermometer here. Both should be around 160–170°F (70–75°C) [2].
⚠️ Critical step: If the temperatures don’t match when you combine them, the emulsion will break and your cream won’t set properly. Don’t skip the thermometer.
Step 4: Combine and Mix
Slowly pour the warm green tea into the oil mixture in a thin, steady stream while mixing continuously with your hand mixer on low speed. Keep mixing for 3 to 5 minutes as it starts to cool and thicken.
Step 5: Cool and Transfer
Continue mixing until the cream reaches room temperature and has a smooth, lotion-like consistency. Spoon it into your clean glass jar and let it cool fully before putting the lid on.
Step 6: Store and Label
Label your jar with the date. Store it in the refrigerator. Use within 2 to 3 weeks.
Quick tip: Using it cold from the fridge gives an extra de-puffing boost because the cool temperature also helps constrict blood vessels around the eyes.
If you enjoy making your own natural skincare from scratch, you might also love these 5 DIY face masks for glowing skin using simple kitchen ingredients.
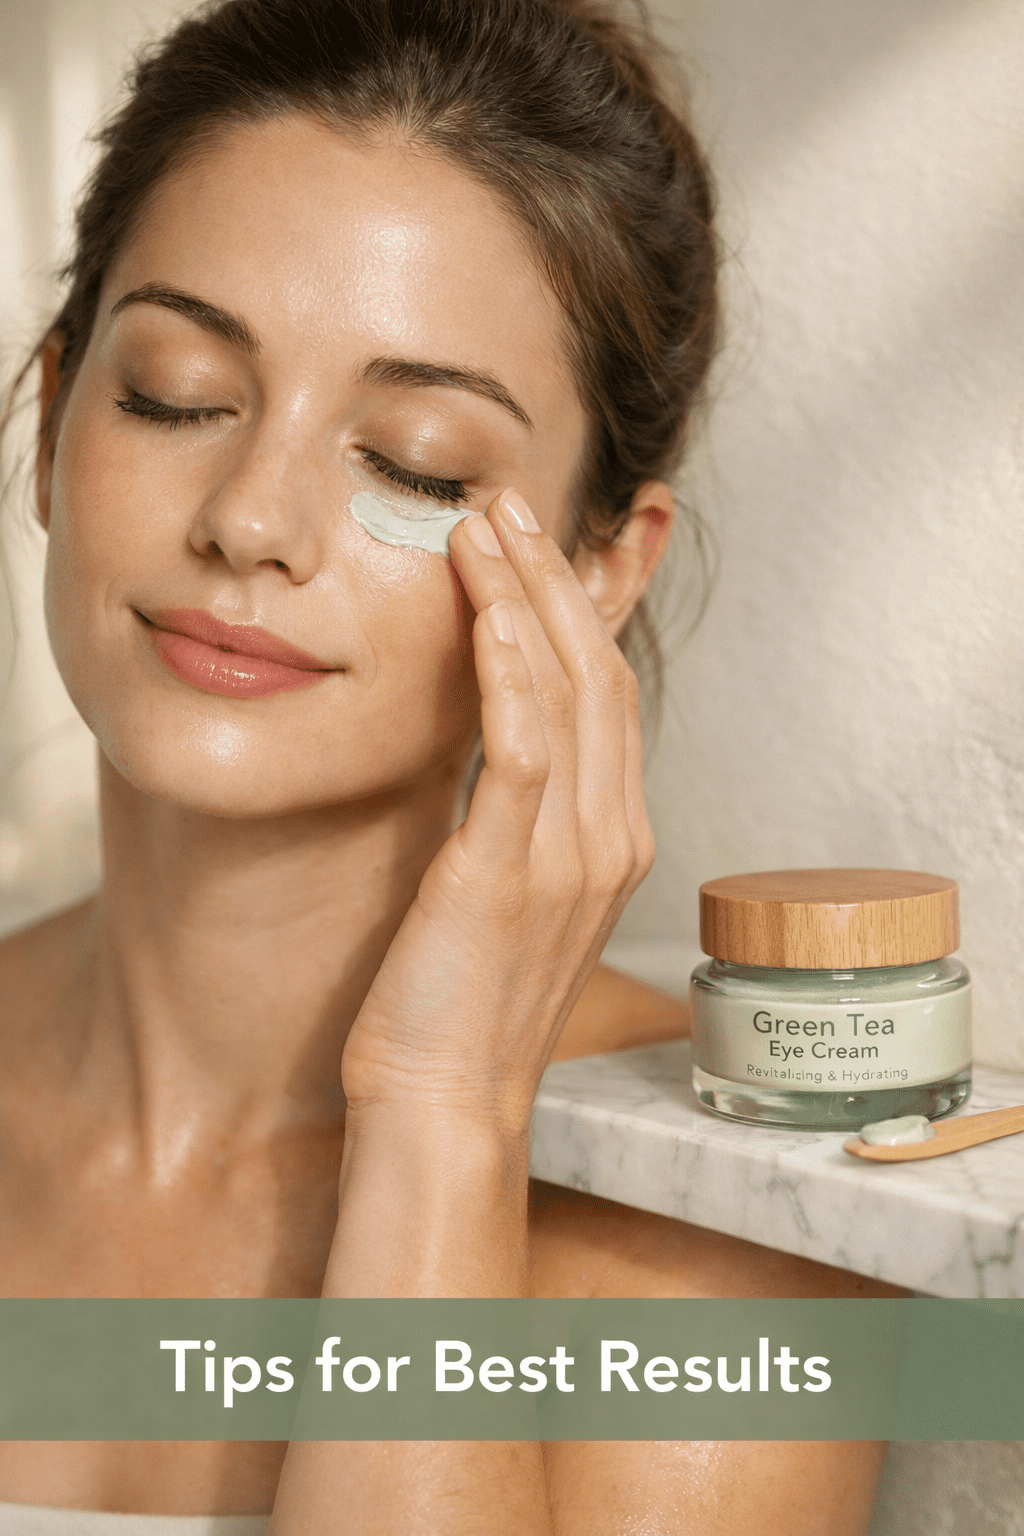
How Do You Apply Green Tea Eye Cream Correctly?
Apply a tiny amount (about a grain of rice size) to the under-eye area using your ring finger. The ring finger applies the least pressure, which matters because the skin around your eyes is the thinnest on your face.
Application steps:
- Cleanse your face and pat dry
- Scoop a small amount of cream onto your ring fingertip
- Dot it gently along your under-eye area, from inner corner to outer corner
- Tap lightly — don’t rub or drag
- Let it absorb for 1 to 2 minutes before applying anything else on top
Best times to apply:
- Morning: to reduce overnight puffiness
- Evening: as part of your nighttime routine to support skin repair while you sleep
Avoid getting the cream directly in your eyes. If irritation occurs, rinse with cool water and discontinue use.
What Mistakes Should You Avoid With This DIY Green Tea Eye Cream Recipe?
The most common mistakes are adding essential oils, skipping the temperature step, and using a contaminated jar. Each one can ruin your batch or irritate your skin.
Mistakes to avoid:
- ❌ Adding essential oils — Even gentle ones like lavender can irritate the delicate eye area. Skip them entirely [4]
- ❌ Mismatched temperatures — If your oil and tea are different temperatures when combined, the cream separates [2]
- ❌ Using a plastic container — Some plastics can react with the oils over time; use glass
- ❌ Skipping the patch test — Always test on your inner wrist 24 hours before applying near your eyes
- ❌ Keeping it too long — Without preservatives, this cream can grow bacteria after 2 to 3 weeks. When in doubt, toss it
- ❌ Rubbing it in — Dragging the skin around your eyes can worsen fine lines over time
Choose this recipe if: You want a simple, natural option for mild puffiness and tired-looking skin. It’s not a replacement for medical treatment if you have chronic, severe under-eye swelling.
You might also enjoy this homemade eye cream for dark circles for an alternative approach targeting pigmentation specifically.
Can You Customize This Recipe for Different Skin Concerns?
Yes, and it’s easy to do with simple swaps. The base recipe works well as-is, but you can adjust it based on what your skin needs most.
Customization options:
- For extra dryness: Swap sweet almond oil for jojoba oil, which more closely mimics the skin’s natural sebum
- For more brightening: Add 1 teaspoon of vitamin C powder (ascorbic acid) to the cooled cream after mixing — stir it in gently
- For extra anti-aging support: Add 1/2 teaspoon of vitamin E oil to the oil phase before melting
- For sensitive skin: Use a chamomile tea blend instead of plain green tea to add extra calming properties
If you’re interested in other DIY skincare recipes that target aging and dullness, this DIY anti-age face mask uses kitchen ingredients in a similar spirit.
For a full-face glow-up alongside your eye cream routine, the DIY aloe vera face mask for glowing skin overnight pairs really well with this recipe.
FAQ
How long does it take to see results from green tea eye cream?
Most people notice a mild reduction in puffiness within a few days of consistent use. Darker circles may take 2 to 4 weeks of daily application to show visible improvement, since caffeine absorbs gradually over time [4].
Can I use green tea bags directly on my eyes instead of making a cream?
Yes, chilled used green tea bags placed on closed eyes for 10 to 15 minutes can reduce puffiness quickly. The cream is better for daily moisturizing and longer-term results.
Is this DIY green tea eye cream safe for sensitive skin?
Generally yes, but always do a patch test first. Avoid adding any essential oils, as these are the most common cause of irritation near the eyes [4].
Why does my cream look separated or watery?
This almost always means the oil and tea were different temperatures when combined [2]. Reheat both gently to the same temperature and re-mix using a hand mixer until it emulsifies again.
How should I store this eye cream?
Store it in a clean, sealed glass jar in the refrigerator. Use within 2 to 3 weeks. If it smells off or changes color, discard it.
Can I use this cream on my eyelids?
No. Apply only to the under-eye area and orbital bone. The eyelid skin is extremely thin and sensitive, and cream can migrate into the eye.
What does emulsifying wax do, and can I skip it?
Emulsifying wax binds the water (green tea) and oil phases together. Without it, the mixture will separate into two layers. You can’t skip it if you want a stable cream.
Can I double the recipe?
Yes. Simply double all ingredient amounts. The process stays exactly the same.
Is this safe to use during pregnancy?
Consult your healthcare provider before using any new topical product during pregnancy, especially one containing caffeine.
Can I use this on other areas of my face?
Yes. It works well as a light moisturizer for the face in general, though it’s specifically formulated for the delicate eye area.
Conclusion
Making your own DIY green tea eye cream is genuinely one of the more satisfying natural skincare projects you can try at home. The ingredients are affordable, the process takes under 30 minutes, and the results — reduced puffiness, brighter under-eyes, and softer skin — are real and backed by what we know about caffeine and polyphenols [1][2][4].
Your next steps:
- Brew a batch of green tea today and let it cool while you gather your other ingredients
- Follow the step-by-step recipe above, paying close attention to the temperature-matching step
- Do a patch test on your inner wrist before applying near your eyes
- Apply every morning and evening for at least two weeks to see consistent results
- Store it in the fridge and enjoy the bonus cooling effect each morning
If you want to build out a full natural skincare routine, explore more recipes in the DIY skincare category for ideas that complement this eye cream beautifully.
References
[1] Coffee Facial Serum And Eye Cream – https://greeneyedgrace.com/staging/coffee-facial-serum-and-eye-cream/
[2] DIY Firming Eye Cream – https://jenniraincloud.com/diy-firming-eye-cream/
[3] DIY Eye Creams – https://www.healthline.com/health/beauty-skin-care/diy-eye-creams
[4] Easy DIY Eye Cream To Erase Dark Circles Puffiness – https://essentiallynatural.co.za/blogs/the-essentially-natural-blog/easy-diy-eye-cream-to-erase-dark-circles-puffiness