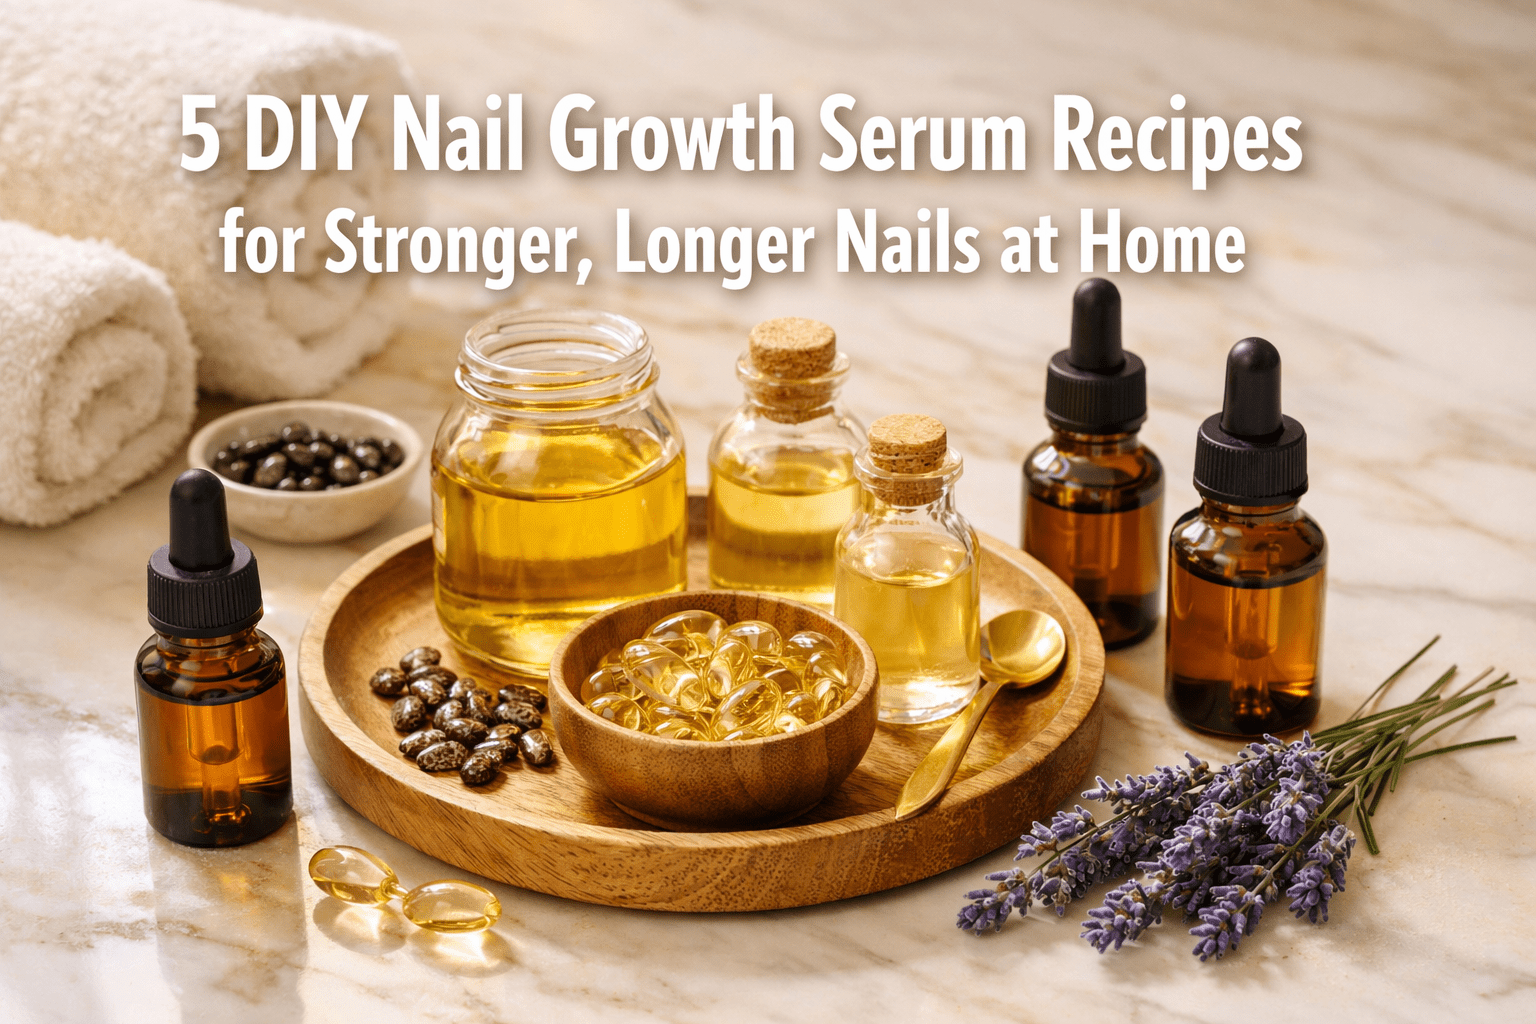
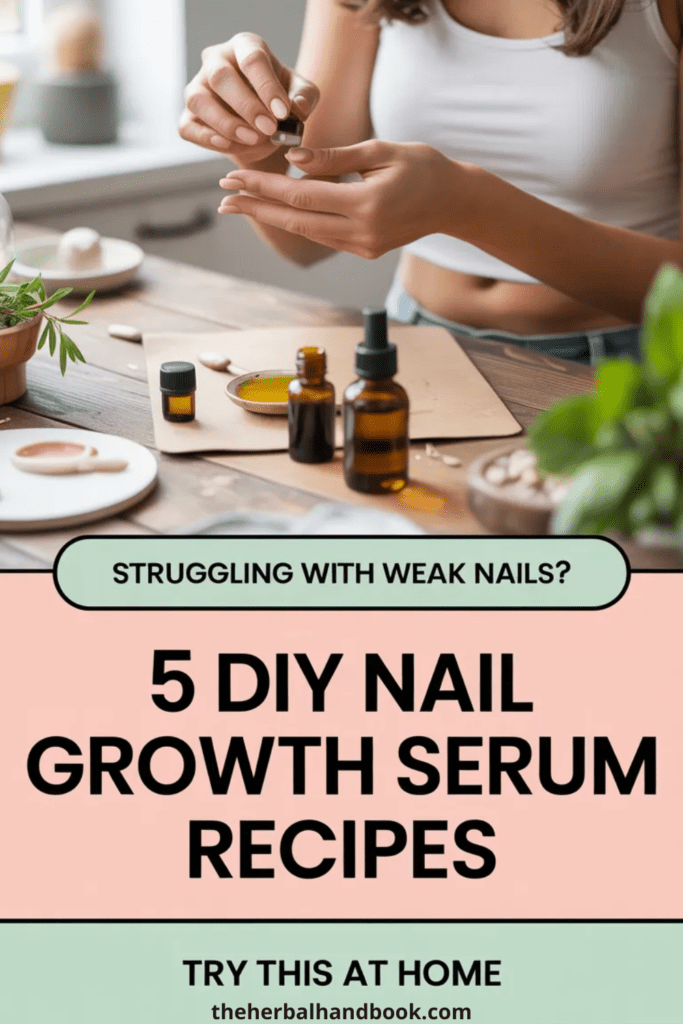
Quick Answer: You can make an effective DIY nail growth serum at home using a few carrier oils and vitamin E. The most reliable base combines castor oil, jojoba oil, and vitamin E oil — applied twice daily, this kind of homemade serum can produce stronger nails in 2–3 weeks and visible growth improvements in 4–6 weeks [2]. These recipes cost a fraction of commercial products and take under five minutes to mix.
Key Takeaways 💅
- Nails are made of keratin, a protein that weakens when it loses moisture or nutrients — oil-based serums directly address this [2].
- The most effective DIY nail growth serum recipes use castor oil, jojoba oil, and vitamin E as a core trio [2].
- Apply your serum twice daily (morning and night) for best results [3].
- Expect stronger nails in 2–3 weeks and visible length improvements in 4–6 weeks with consistent use [2].
- Essential oils like lavender and tea tree add antifungal and soothing benefits beyond just fragrance [3].
- All five recipes below use simple, affordable ingredients available at most health food stores or online.
- Store your serum in a small amber glass dropper bottle to protect oils from light degradation.
- These recipes work best when paired with good nail hygiene — keep nails clean, filed, and avoid harsh chemical removers.
Why Do Nails Become Weak and Brittle in the First Place?
Nails lose strength when they lose moisture and key nutrients. Your nails are made primarily of keratin, a structural protein that forms overlapping layers [2]. When those layers dry out or get damaged by water, chemicals, or rough handling, the keratin structure breaks down — and you end up with peeling, splitting, or slow-growing nails.
Oil-based serums work because they penetrate the nail plate and surrounding cuticle, replenishing moisture and creating a protective barrier. This is exactly why the best DIY nail growth serum recipes lean heavily on carrier oils rather than water-based formulas.
Common causes of weak nails include:
- Frequent hand washing or dish soap exposure
- Acetone-based nail polish remover
- Low dietary intake of biotin, zinc, or protein
- Hormonal changes
- Cold, dry weather
If your nails are consistently brittle despite good care, it’s worth checking in with a healthcare provider to rule out nutritional deficiencies.
What Ingredients Actually Promote Nail Growth?
The ingredients that work best for nail growth are ones that hydrate, protect, and nourish the keratin structure. Here’s what the core ingredients in these DIY nail growth serum recipes actually do:
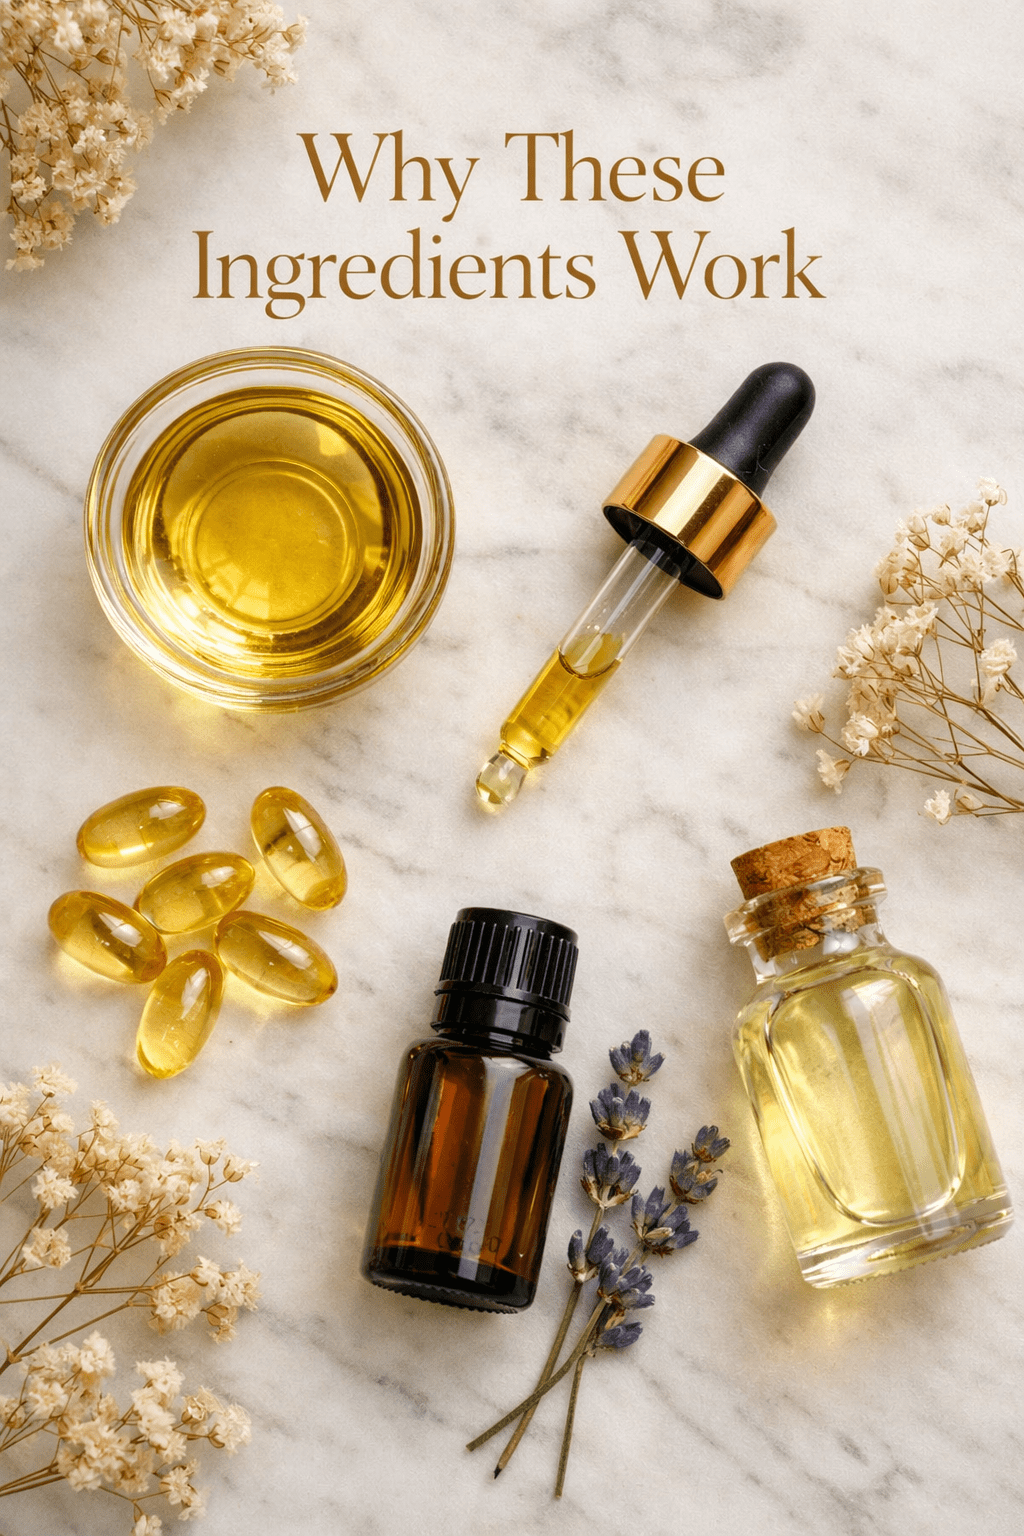
| Ingredient | Primary Benefit | Why It Works |
|---|---|---|
| Castor oil | Strengthens and adds flexibility | Thick, conditioning oil that reduces brittleness [2] |
| Jojoba oil | Deep hydration | Mimics natural skin sebum; absorbs without greasiness [3] |
| Vitamin E oil | Antioxidant repair | Protects nails from environmental damage and supports healthy growth [3] |
| Argan oil | Nourishment and shine | Rich in fatty acids and vitamin E; softens cuticles [1] |
| Coconut oil | Moisture and antifungal | Penetrates nail plate; naturally antimicrobial [1] |
| Lavender essential oil | Soothing and antifungal | Calms irritated cuticles; adds mild antifungal protection [3] |
| Tea tree essential oil | Antifungal defense | Helps prevent nail infections that slow growth [3] |
| Sweet almond oil | Lightweight carrier | Gentle, non-irritating; good for sensitive skin around nails [2] |
💡 Pull quote: “Jojoba oil mimics the natural sebum your skin already produces, which is why it absorbs so cleanly and leaves nails feeling nourished rather than greasy.” [3]
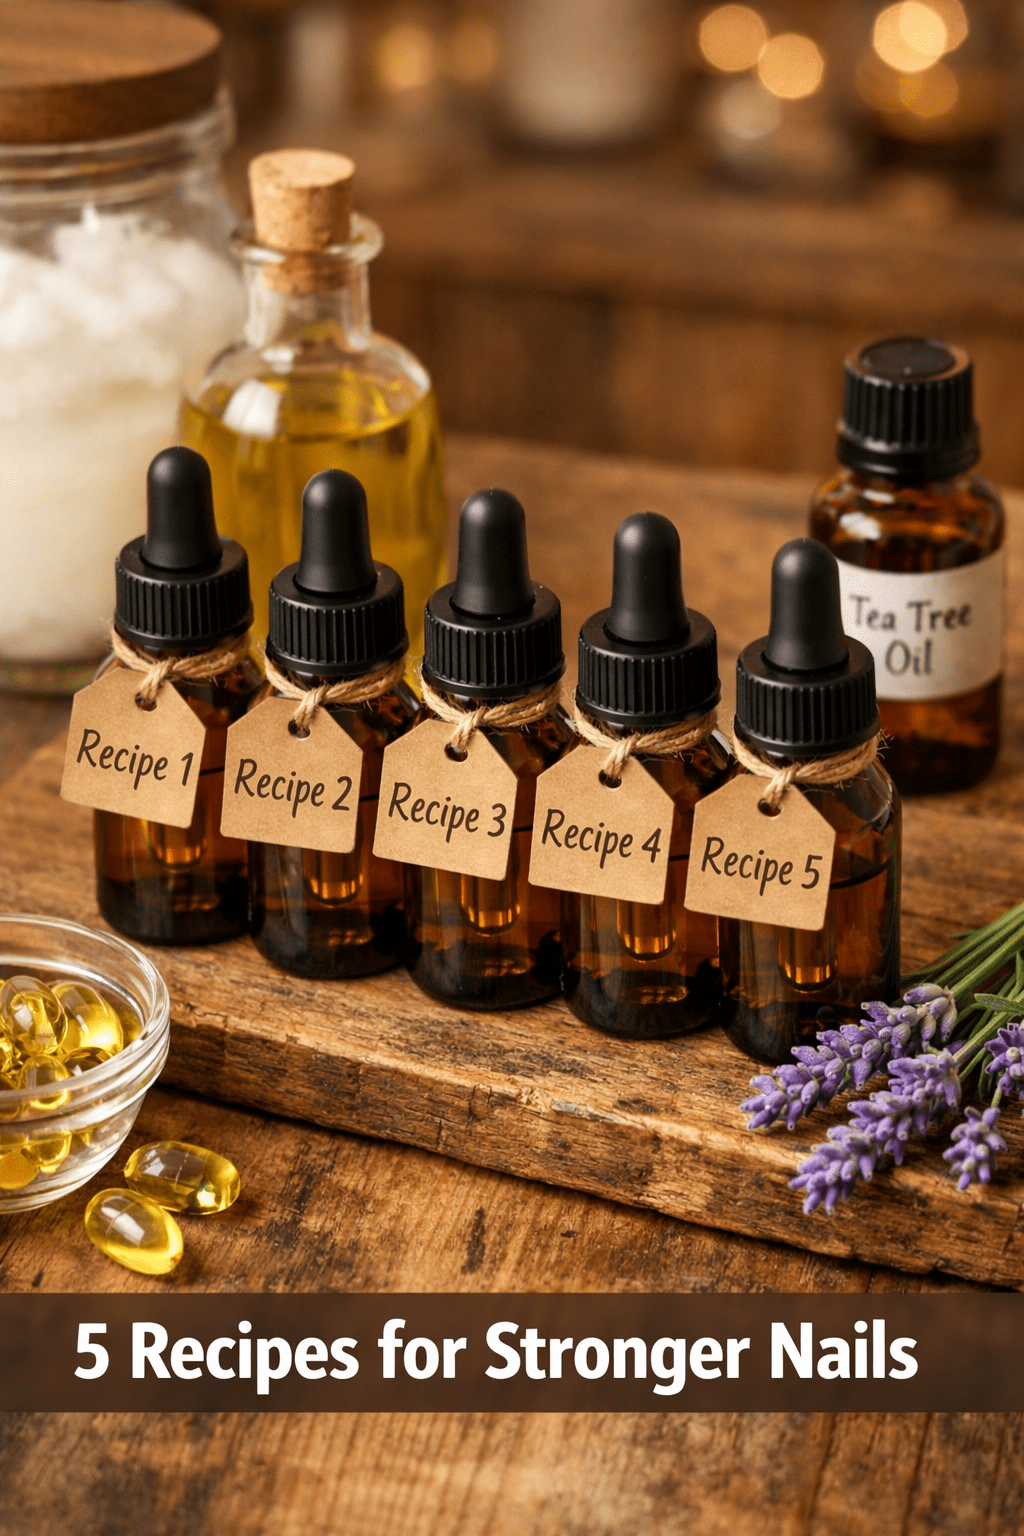
5 DIY Nail Growth Serum Recipes You Can Make Today
These five DIY nail growth serum recipes range from a simple two-ingredient starter to a more advanced multi-oil blend. Pick the one that matches what you already have at home.
Recipe 1: The Classic Castor + Jojoba Serum (Best for Beginners)
This is the most recommended starting point for anyone new to homemade nail serums [2]. It’s simple, effective, and uses just a handful of ingredients.
You’ll need:
- 1 tablespoon castor oil
- 1 tablespoon jojoba oil
- 1 teaspoon sweet almond oil
- 5 drops vitamin E oil
- 2 drops lavender essential oil (optional)
How to make it:
- Combine all oils in a small amber glass dropper bottle.
- Seal and shake gently for 30 seconds.
- Apply 1–2 drops to each nail, massaging into the nail plate and cuticle.
- Leave overnight or allow 10 minutes to absorb before washing hands.
Best for: Anyone starting out with DIY nail care, especially those with dry or peeling nails.
Recipe 2: The Argan Oil Nourishing Blend (Best for Damaged Nails)
This formula from VedaOils focuses on deep nourishment for nails that are heavily damaged or very slow-growing [1].
You’ll need:
- 1 tablespoon argan oil
- 2 tablespoons castor oil
- 2 tablespoons virgin coconut oil
- 7 drops vitamin E oil
- 2 drops lavender essential oil
How to make it:
- Gently warm the coconut oil until liquid (if solid).
- Mix all ingredients in a dropper bottle.
- Shake well before each use.
- Apply to clean, dry nails twice daily.
Best for: Nails that are heavily damaged from acrylics, gel polish, or chemical exposure.
Recipe 3: The Antifungal Defense Serum (Best for Prone-to-Infection Nails)
If your nails tend to develop discoloration or you’re dealing with mild fungal issues, this blend adds tea tree oil for its natural antifungal properties [3].
You’ll need:
- 2 tablespoons castor oil
- 1 tablespoon jojoba oil
- 5 drops vitamin E oil
- 4 drops tea tree essential oil
- 2 drops lavender essential oil
How to make it:
- Combine all oils in a small glass bottle.
- Shake before each use.
- Apply to nails and cuticles, focusing on the sides of the nail where fungal issues typically start.
- Use once daily in the evening.
⚠️ Note: Tea tree oil is potent. If you notice any irritation, reduce to 2 drops or dilute further with extra jojoba oil.
Recipe 4: The Overnight Repair Serum (Best for Nighttime Use)
This thicker, more intensive blend is designed to be applied right before bed and left on overnight. The higher castor oil ratio makes it deeply conditioning [2].
You’ll need:
- 3 tablespoons castor oil
- 1 tablespoon argan oil
- 6 drops vitamin E oil
- 3 drops lavender essential oil
How to make it:
- Mix all ingredients in a dropper bottle.
- Before bed, apply 2 drops per nail and massage in circular motions.
- Slip on a pair of cotton gloves to lock in moisture while you sleep.
- Rinse hands in the morning.
Best for: People with very dry, brittle nails who want maximum conditioning. The cotton glove trick makes a noticeable difference.
Recipe 5: The Lightweight Daily Serum (Best for Daytime Use)
This lighter formula absorbs quickly and won’t leave your hands feeling oily during the day [3].
You’ll need:
- 2 tablespoons jojoba oil
- 1 tablespoon sweet almond oil
- 4 drops vitamin E oil
- 2 drops tea tree essential oil
- 1 drop lavender essential oil
How to make it:
- Combine in a small roller-ball bottle for easy application.
- Roll onto each nail and cuticle in the morning.
- Allow 5 minutes to absorb before applying hand cream or polish.
Best for: Daily use, especially for people who work with their hands or prefer a non-greasy finish.
How Do You Apply DIY Nail Growth Serum for Best Results?
Apply 1–2 drops of serum to each nail, massage it gently into both the nail plate and the cuticle, and allow at least 10 minutes for absorption [2][3]. For maximum effectiveness, apply twice daily — once in the morning and once before bed.
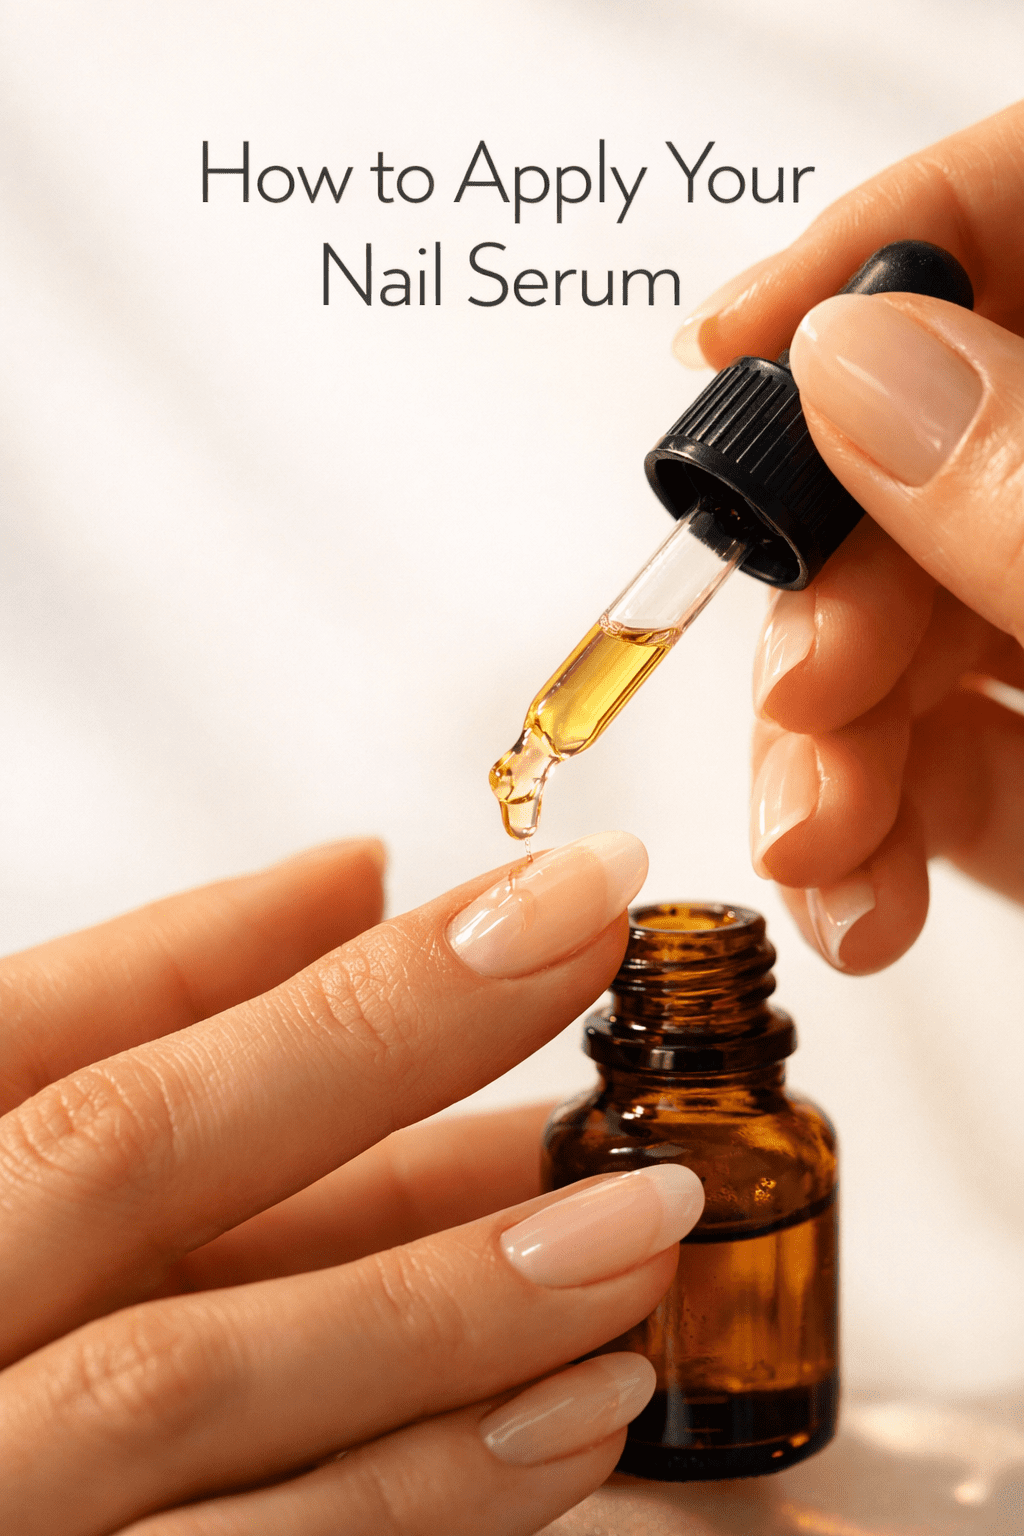
Step-by-step application routine:
- Clean your nails — remove any polish and wash hands with a gentle soap.
- Dry thoroughly — water on the nail surface reduces oil absorption.
- Apply 1–2 drops per nail using a dropper or roller-ball applicator.
- Massage gently — use small circular motions on the nail and cuticle for 30–60 seconds per hand.
- Leave it on — don’t rinse. Allow 10 minutes before touching anything, or apply before bed.
- Use cotton gloves overnight (optional but effective for the thicker recipes).
💡 Pro tip: Pair your nighttime serum routine with a quick nail soak 2–3 times a week. Check out these 10 nail soak DIY recipes for healthy, strong nails to complement your serum routine.
Common application mistakes to avoid:
- Applying serum over wet or damp nails (blocks absorption)
- Skipping the cuticle — this is where nail growth starts
- Using too much product (more isn’t better; 1–2 drops per nail is enough)
- Being inconsistent — results depend on daily use over several weeks
How Long Before You See Results from a Homemade Nail Serum?
Most people notice stronger, less brittle nails within 2–3 weeks of consistent twice-daily use. Visible length improvements typically show up around the 4–6 week mark [2].
Results vary based on:
- How damaged your nails are to start with (more damaged = slower initial progress)
- Application consistency (twice daily outperforms once daily significantly)
- Diet and hydration (nails grow from within, so nutrition matters too)
- Age (nail growth naturally slows with age)

Realistic timeline:
| Week | What to Expect |
|---|---|
| Week 1–2 | Nails feel more hydrated; cuticles softer |
| Week 2–3 | Less breakage and peeling |
| Week 4–6 | Visible nail length growth |
| Week 6–8 | Stronger nail structure overall |
If you’re also interested in natural growth support for hair, the same principles apply — you might enjoy this DIY rosemary water for hair growth recipe as a companion ritual.
Are These DIY Nail Serum Recipes Safe for Everyone?
These recipes are generally safe for most adults when used as directed. However, there are a few situations where you should be cautious.
Who should patch test first:
- People with nut allergies (sweet almond oil is tree-nut derived — substitute jojoba if needed)
- Anyone with sensitive skin around the nail bed
- People prone to contact dermatitis
Who should consult a doctor first:
- Anyone with a diagnosed nail fungal infection (a serum alone won’t treat it)
- Pregnant or breastfeeding individuals using essential oils
- People with psoriasis or eczema affecting the nail area
Edge case: Tea tree oil can cause irritation in some people even when diluted. If you notice redness or itching, remove it from your recipe and use lavender only.
How Do DIY Nail Serums Compare to Commercial Products?
DIY nail growth serum recipes are more affordable and customizable than most commercial options, though some commercial products do contain clinically studied ingredients.
For reference, one commercial option worth knowing about is Rejuvacote 1 Nail Growth System by Duri, which contains arginine amino acids, calcium, celery seed extract, vitamin E, and tea tree oil [5]. It’s a solid ready-made choice if you prefer not to mix your own.
DIY vs. Commercial — quick comparison:
| Factor | DIY Serum | Commercial Product |
|---|---|---|
| Cost | Very low (ingredients last months) | Moderate to high per bottle |
| Customization | Full control over ingredients | Fixed formula |
| Transparency | You know every ingredient | Proprietary blends common |
| Convenience | Takes 5 minutes to make | Ready to use immediately |
| Effectiveness | Strong with consistent use [2] | Varies by product |
The bottom line: if you enjoy natural remedies and want to know exactly what’s going on your nails, DIY is the smarter choice. If you travel frequently or want a grab-and-go option, a quality commercial serum is a fair backup.
Conclusion: Start Your Nail Growth Routine Today
These five DIY nail growth serum recipes give you everything you need to build a simple, effective nail care routine at home. You don’t need expensive products or complicated steps — just a few quality oils, a small dropper bottle, and the consistency to apply your serum twice a day.
Your action plan:
- Pick one recipe that matches your nail type and what you have on hand.
- Make a small batch (a little goes a long way — start with half the recipe quantities).
- Apply twice daily for at least four weeks before judging results.
- Pair with nail soaks 2–3 times a week for faster improvement.
- Track your progress by taking a photo of your nails at the start of week one.
For more natural beauty recipes you can make at home, browse the full collection at The Herbal Handbook. And if you’re looking to extend your DIY wellness routine, the 7 calendula recipes for skin care and DIY collagen balm for dry, dull skin are great next steps.
Strong, healthy nails are absolutely achievable with natural ingredients. Give it four weeks — you’ll be glad you started.
Frequently Asked Questions
Q: Can I use these DIY nail growth serum recipes on toenails too?
Yes. All five recipes work equally well on toenails. The antifungal defense serum (Recipe 3) is especially useful for toenails, which are more prone to fungal issues.
Q: How long does a batch of homemade nail serum last?
Most batches stored in a sealed amber glass bottle last 3–6 months. Keep them away from direct sunlight and heat to extend shelf life.
Q: Can I apply nail polish over my serum?
Wait at least 20–30 minutes after applying serum before putting on polish. Applying polish over oily nails causes it to lift and peel faster.
Q: What if I’m allergic to one of the oils?
Substitute freely. If you’re allergic to sweet almond oil, replace it with more jojoba oil. If coconut oil breaks you out, use argan oil instead. The core of any recipe is castor oil + vitamin E — everything else is adjustable.
Q: Is castor oil really necessary, or can I skip it?
Castor oil is the most important ingredient for nail strength and flexibility [2]. Skipping it will reduce the serum’s effectiveness. If you dislike the thick texture, use it only in your nighttime formula and a lighter oil blend during the day.
Q: Can children use these nail serums?
The carrier oil blends (without essential oils) are generally gentle enough for older children. Avoid essential oils for children under 10 without consulting a healthcare provider first.
Q: How do I know if my serum has gone bad?
If the oil smells rancid, sour, or “off,” discard it and make a fresh batch. Vitamin E oil helps extend the shelf life of the blend.
Q: Do I need to refrigerate my homemade nail serum?
No. Room temperature storage in a dark bottle is fine. Refrigeration can cause coconut oil to solidify, making the serum harder to use.
Q: Can I add other essential oils not listed here?
Yes — frankincense and myrrh are popular additions for their skin-supporting properties. Always dilute essential oils to no more than 2–3% of the total formula (roughly 2–4 drops per tablespoon of carrier oil).
Q: What’s the best bottle to store DIY nail serum in?
A small amber glass dropper bottle (5–10ml) is ideal. It protects the oils from UV light and gives you precise control over how much you apply.
References
[1] Diy Nail Growth Serum – https://www.vedaoils.com/blogs/news/diy-nail-growth-serum
[2] Diy Nail Serum Easy Recipe For Stronger Nails – https://wellinfinity.com/diy-nail-serum-easy-recipe-for-stronger-nails/
[3] lemon8-app – https://www.lemon8-app.com/lemon9244421596/7426885563619574278?region=us
[4] Nail Growth Serum Recipes – https://glamnaildesigns.com/nail-growth-serum-recipes/
[5] Grow Stronger Hair And Nails In 2026 With Products That Work – https://www.beautynewsnycofficial.com/beauty/hair-care/grow-stronger-hair-and-nails-in-2026-with-products-that-work/